

From Backyard Shed to Sound‑Proof Studio: A DIY Guide for Creators
There’s a quiet rebellion happening in neighborhoods across the country. Homeowners are swapping the conventional “home office” for a modest, weather‑proof structure tucked behind the maple tree—a shed or gazebo that’s been transformed into a personal sanctuary for art, music, podcasting, and focused work. I call it the micro‑creativity hub, and it’s more than a pretty piece of outdoor real estate. It’s a strategic response to the noise, distractions, and ergonomic pitfalls of a room that doubles as a kitchen, living room, and bedroom.
Why a Shed or Gazebo?
Unlike a spare bedroom, a garden shed is already a detached, self‑contained envelope. That separation gives you three crucial advantages:
- Acoustic isolation. The walls, roof, and floor are surrounded by earth or open air, which naturally dampens external traffic, HVAC hum, and household chatter.
- Focused ambiance. A dedicated structure lets you curate lighting, temperature, and décor without compromising the rest of the house.
- Scalability. Whether you start with a 6×8 foot shed or a larger gazebo, the space can grow with your creative ambitions.
When paired with a few smart design tricks, a humble wooden box can rival a commercial studio in both function and feeling.
Choosing the Right Structure
Not every shed is created equal. Here’s a quick decision matrix to help you pick the perfect starting point:
| Factor | Shed | Gazebo |
|---|---|---|
| Enclosure | Fully enclosed, walls on all sides | Open sides, roof only |
| Weatherproofing | Typically better; can add insulation | Requires extra sealing and possibly curtains |
| Natural Light | Limited unless you add windows | Abundant daylight, great for visual arts |
| Flexibility | More privacy, easier to soundproof | Ideal for open‑air workshops, but less sound isolation |
For pure audio work (recording vocals, podcasts, or acoustic instruments), a fully enclosed shed is the safer bet. If you’re a painter, sculptor, or someone who thrives on natural light, a gazebo with retractable side panels can be a blissful alternative.
Step‑by‑Step Build: From Box to Studio
1. Foundation and Leveling
Begin with a stable, level base. A concrete slab is the gold standard, but a compacted gravel pad works well for smaller sheds. Ensure the surface is level within ¼ inch over the entire footprint; uneven foundations cause long‑term structural stress and acoustic leakage.
2. Weather‑Proof Envelope
Even if you plan to install insulation later, start with a high‑quality, double‑wall panel system. Look for products rated for R‑15 or better, and seal all seams with exterior‑grade tape. For gazebos, consider adding removable side curtains made from acoustic‑grade fabric to keep wind and insects at bay while still allowing airflow.
3. Acoustic Treatment
Here’s where the magic happens. Acoustic treatment is not the same as soundproofing; it’s about controlling reflections within the space.
- Mass‑loaded vinyl (MLV) on walls and ceiling adds density without sacrificing interior space.
- Acoustic panels (foam or fabric‑wrapped) placed at the first reflection points—typically the side walls—reduce flutter echo.
- Bass traps in the corners absorb low‑frequency build‑up, crucial for music production.
If budget is tight, DIY panels made from recycled denim insulation wrapped in breathable fabric work surprisingly well. The key is to maintain a balance: too much absorption can make the room sound “dead,” while too little leaves you with a reverberant mess.
4. Electrical and Lighting
Plan a dedicated circuit with a GFCI outlet for safety. Install dimmable LED strips along the ceiling joists; they provide even illumination without the heat of traditional bulbs. For visual artists, a daylight‑balanced (5,000 K) LED panel mimics natural sunlight, reducing eye strain.
5. Climate Comfort
Even in moderate climates, temperature swings can be a nuisance. A quiet, wall‑mounted mini‑split HVAC unit offers both heating and cooling while staying under 50 dB. Pair it with a programmable thermostat to keep the environment stable for sensitive instruments or electronic gear.
6. Connectivity
Run an Ethernet cable from your router to the shed for reliable, low‑latency internet—essential for live streaming or remote collaborations. If running cable is impractical, a high‑gain outdoor Wi‑Fi antenna mounted on the roof can bridge the gap.
7. Finishing Touches
Choose a floor finish that feels good underfoot. Interlocking rubber tiles provide cushioning and isolate vibrations, which is especially handy for drum recording. Add a small bookshelf, ergonomic chair, and a few personal items to make the space truly yours.
Integrating Technology the Smart Way
While we’re not venturing into full‑blown home automation (that belongs in a separate post), a few low‑tech upgrades can future‑proof your studio:
- Smart power strips that monitor energy use and can be controlled via a phone app.
- Wireless MIDI bridges for musicians who want to keep cables to a minimum.
- Voice‑activated lighting scenes for quick transitions between “recording” and “relax” moods.
These additions keep the space flexible without overcomplicating the core design.
Case Study: The Hybrid Workshop Turned Creative Lab
One of my favorite examples of this transformation can be found in the Hybrid Workshop article. A local carpenter repurposed a 10×12 shed into a hybrid woodworking studio, blending traditional hand tools with CNC routers. He added acoustic panels to mute the roar of the machines and installed a high‑resolution monitor for CAD work. The result? A space that supports both the tactile pleasure of hand‑carving and the precision of digital fabrication.
Take inspiration from his approach: identify the primary activity, then layer in the technologies and acoustic solutions that support it. The same logic applies whether you’re building a podcast booth or a digital art enclave.
Design‑Build Synergy: Collaboration with Contractors
If you’re not a DIY veteran, partnering with a contractor who embraces Design‑Build Synergy can streamline the process. Look for firms that use real‑time 3D modeling; they can show you exactly how the acoustic treatments will sit, simulate sunlight throughout the day, and even predict sound transmission losses.
During the design phase, ask for a “flex wall” system—movable interior panels that let you reconfigure the studio layout as your needs evolve. This flexibility is a game‑changer for creators who may start with voice‑over work and later pivot to music production.
Budget‑Friendly Hacks
Not everyone wants to spend a small fortune on a professional‑grade studio. Here are a few frugal fixes that still deliver noticeable upgrades:
- Repurpose old blankets. Thick wool blankets can be hung on walls to dampen reflections in a pinch.
- Use garden mulch as a floor base. Lay a sheet of plywood over compacted mulch for an inexpensive, insulated floor.
- DIY diffusers. Stack irregularly sized wooden blocks covered in acoustic fabric to scatter sound evenly.
Maintaining Your Micro‑Studio
Once the space is live, treat it like any other piece of equipment:
- Check seals quarterly. Weather can degrade caulking, which reintroduces external noise.
- Clean acoustic panels. Dust reduces their absorption efficiency; a gentle vacuum works wonders.
- Upgrade incrementally. Start with basic treatment, then add a bass trap or a better HVAC unit as your budget allows.
Beyond the Studio: Community Gazebo Events
While the focus here is on personal creation, gazebos shine when they become communal hubs. Imagine hosting a monthly “open‑mic night” in a gazebo, complete with portable PA, battery‑operated string lights, and a small stage. The open‑air feel encourages community participation and can double as a pop‑up market for local artisans.
To make these events sustainable, use solar‑powered LED lanterns and a compact, quiet generator. This approach aligns with the broader trend of turning outdoor structures into multi‑purpose assets that serve both private and public needs.
Final Thoughts: Your Backyard, Your Rules
Transforming a shed or gazebo into a functional creative studio is more than a DIY project; it’s an investment in your mental bandwidth, artistic output, and overall well‑being. By treating the structure as a living, adaptable space—complete with acoustic treatment, smart climate control, and connectivity—you’ll discover a new level of focus that a shared house room simply can’t provide.
Whether you’re a budding musician, a freelance writer, or a hobbyist podcaster, the micro‑creativity hub offers a tangible solution to the chaos of modern home life. So grab a hammer, sketch out a plan, and let that backyard shed finally earn the respect it deserves.

When it comes to the world of blogging and writing, Rose DesRochers is a name that stands out. Her passion for creating quality content and connecting with her audience has made her a trusted voice in the industry. Aside from her skills as a writer and blogger, Rose is also known for her compassionate nature.
Related Posts

Creating Sustainable Outdoor Spaces: The Role of Sheds and Gazebos
Learn how sheds and gazebos can contribute to sustainable living and eco-friendly practices. Get tip... Read More

Backyard Office Revolution: Turning Sheds & Gazebos into Power‑Packed Workspaces
Learn to transform a simple backyard shed into a high‑performance office with solar energy, smart ... Read More
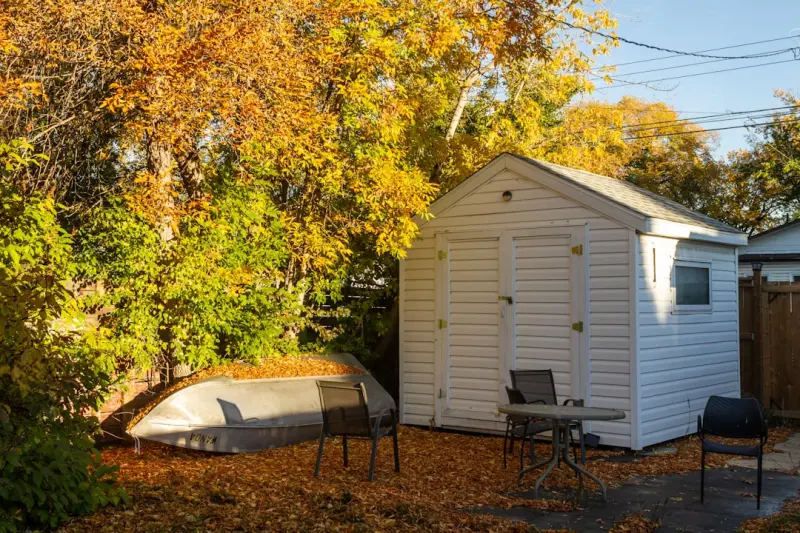
From Backyard Shed to Productivity Hub: Designing a Flexible Outdoor Workspace
Transform an ordinary shed into a bright, eco‑friendly office space that boosts focus, blends indo... Read More
Top Posts

Parametric Design‑Build: Speed, Sustainability, Collaboration
Parametric design injects data‑driven agility into design‑build, letting teams iterate faster, cut carbon, and collaborate in real time. This post outlines ...Read More

Rethinking Home Alarm Systems for Real‑World Safety
A personal guide that reshapes home alarm systems from a one‑time purchase into a lifestyle habit, covering sensor selection, false‑alarm learning, insuranc...Read More

When Buildings Breathe: Integrating Biophilic Design with Modern HVAC
A deep dive into biophilic HVAC shows how merging natural airflow, green walls, solar power, and AI-driven controls creates healthier, more energy‑efficient i...Read More
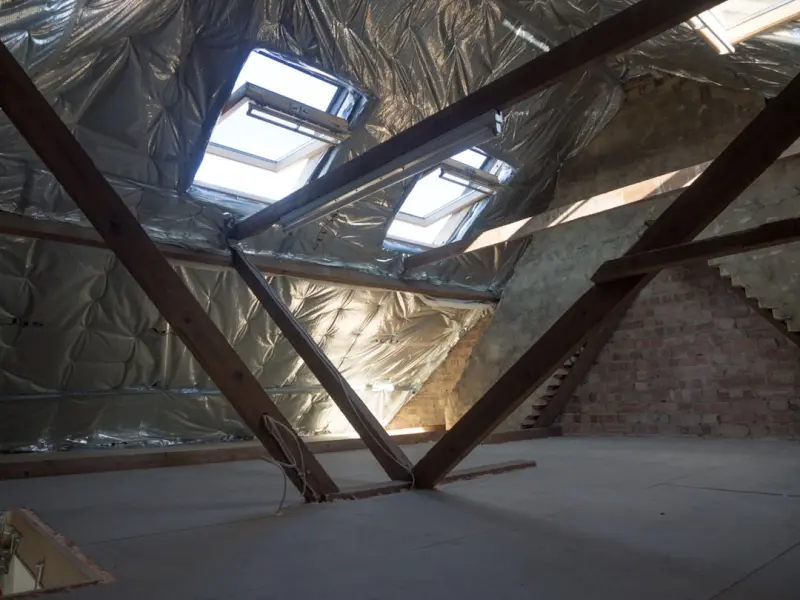
The Quiet Powerhouse: Reframing Insulation as a Strategic Business Lever
Insulation isn’t just a hidden wall layer—when paired with data and smart materials, it becomes a strategic asset that cuts energy costs, enhances employee ...Read More
0 Comments
Post Comment
You will need to Login or Register to comment on this post!