
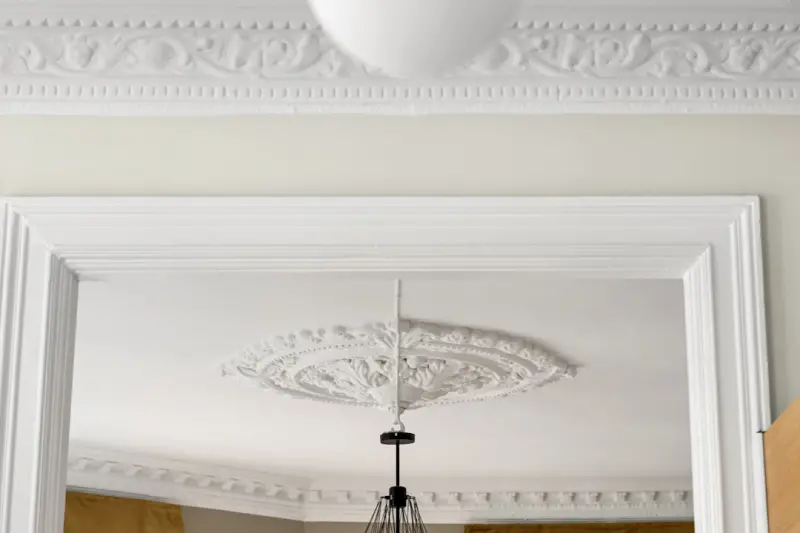
Why Crown Molding Deserves a Second Chance
When I first walked through my grandparents’ 1920s townhouse, the faded crown molding caught my eye like a silent storyteller. Those ornamental strips once framed the ceilings with elegance, yet decades of dust, paint flaking, and minor water stains have muted their charm. Restoring this woodwork isn’t just about aesthetics; it’s a tribute to the craftsmanship that defined an era, and a chance to inject timeless character back into modern living spaces.
Understanding the Historical Context
The architectural language of early‑20th‑century homes often relied on layered plaster and intricate wood trim to convey status and taste. Crown molding, in particular, served as a visual bridge between walls and ceiling, accentuating height and adding depth without the need for excessive décor. By researching original design catalogs and period photographs, homeowners can discern whether the profile they see is authentic or a later, simplified replacement, ensuring that the restoration honors the home’s true heritage.
First Steps: Inspection and Documentation
Before any tools touch the wood, conduct a thorough visual and tactile assessment, noting cracks, rot, and previous paint layers. Photograph each section from multiple angles, then create a simple map indicating problem areas; this documentation becomes a roadmap and a reference for future maintenance. If you discover hidden moisture, consider a moisture meter and, if needed, consult the insulation guide to address underlying climate issues that may threaten the trim’s longevity.
Cleaning the Surface Without Damage
Dust and grime can be removed safely using a soft microfiber cloth and a mild detergent solution—avoid harsh chemicals that may dissolve historic finishes. For stubborn grime, a gentle hand‑scrub with a soft‑bristled brush works wonders, followed by a thorough rinse with a damp cloth to prevent residue buildup. Below is a quick checklist of cleaning supplies that keep the wood’s integrity intact:
- Microfiber cloths
- pH‑neutral wood cleaner
- Soft‑bristle brush
- Bucket of lukewarm water
Repairing Cracks, Gaps, and Minor Rot
Small cracks can be filled with a high‑quality wood filler that matches the original grain; apply in thin layers, allowing each to cure before sanding smooth. For larger gaps or sections where rot has taken hold, carefully remove the compromised wood using a sharp chisel, then splice in a new piece cut from reclaimed lumber of similar species. This method not only restores structural stability but also preserves the authentic look, especially when you match the reclaimed piece’s patina to the surrounding molding.
Choosing Between Paint and Stain
The decision to paint or stain hinges on the desired visual impact and the existing finish. Paint offers a clean, uniform backdrop and can hide minor imperfections, while stain celebrates the wood’s natural grain, adding warmth and depth. If you opt for paint, select a low‑VOC, latex‑based product to protect indoor air quality; for stain, a water‑based, penetrating formula will enhance durability without compromising the wood’s breathability.
Protective Finishes for Longevity and Sustainability
After the color treatment dries, seal the molding with a clear, polyurethane‑based finish that resists wear and moisture. Eco‑friendly options, such as plant‑based polyurethanes, provide the same protective qualities while reducing the home’s carbon footprint. By integrating sustainable finishes, you align the restoration with broader environmental goals, echoing the ethos found in the energy‑efficient renovation checklist.
Modern Enhancements: Hidden Lighting and Smart Controls
One subtle way to elevate restored crown molding is to embed LED strip lighting along the top edge, creating a soft halo effect that accentuates architectural detail after dark. Choose flexible, dimmable LEDs with a warm color temperature to complement the wood’s tone, and connect them to a smart hub for voice‑activated control. This fusion of classic craftsmanship with contemporary technology not only adds visual drama but also increases the room’s functional ambiance.
Maintenance Routine and Final Thoughts
To preserve your renewed crown molding, dust it weekly with a dry cloth, and schedule a gentle cleaning session each season. Inspect for signs of moisture intrusion after heavy rains, and reapply a protective coat every three to five years, depending on traffic and exposure. By treating crown molding as a living element of your home—one that requires care, appreciation, and occasional upgrades—you ensure that its historic elegance continues to shape the character of your interior for generations to come.

Lifan Chen is a freelancer based in Toronto specializing in marketing. With expertise in crafting effective marketing strategies and campaigns, Lifan helps businesses grow their brand presence and reach target audiences. As a Toronto-based freelancer, Lifan combines local market insights with creative marketing skills to deliver tailored solutions for clients.
Related Posts
Smart Sensors Meet Home Restoration: A New Age of Precision
A deep dive into the role of smart sensors in modern home restoration, revealing how data‑driven i... Read More
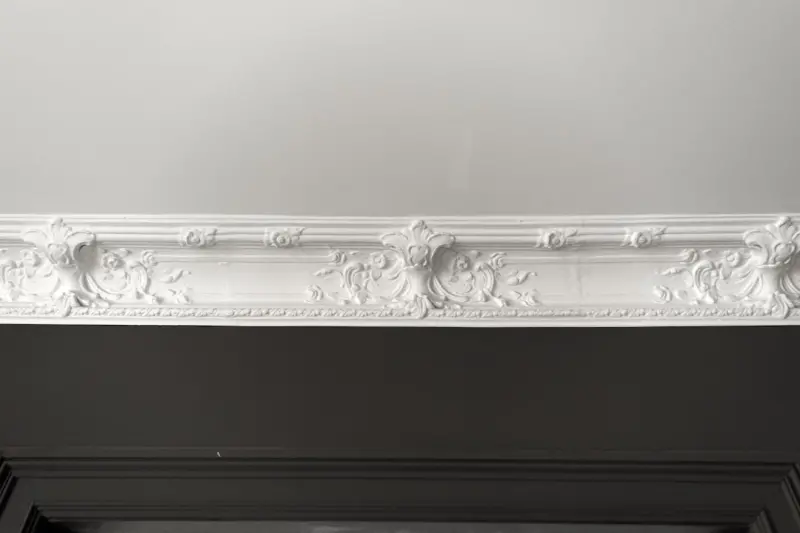
Reviving Historic Crown Molding: A Hands‑On Guide to Authentic Home Restoration
Discover a step‑by‑step approach to restoring historic crown molding, balancing authenticity, co... Read More

The Art of Home Restoration: A Comprehensive Guide
Home restoration is a multifaceted process that involves reviving and rejuvenating a property to its... Read More
Top Posts

The Impact of Sustainable Practices on Home Painting
Sustainable home painting practices offer a range of benefits, from improved indoor air quality to cost savings. Learn about eco-friendly painting options....Read More
A Sustainable Kitchen Renovation That Feels Like Home
A personal, step‑by‑step guide to a sustainable kitchen remodel, blending reclaimed materials, smart appliances, and cozy design for a space that’s both b...Read More
Weatherproof Your Home Like a Pro: Practical Hacks for Every Season
Learn a layered, data‑driven approach to home weatherproofing, from grading and drainage to smart sensors and seasonal maintenance, ensuring comfort and lower...Read More

Why Emotional Intelligence Is the Next Frontier for Home Alarm Systems
Home alarm systems are evolving from loud, reactive devices to empathetic, context‑aware allies. Discover how AI, behavioral analytics, and privacy‑first de...Read More
0 Comments
Post Comment
You will need to Login or Register to comment on this post!