
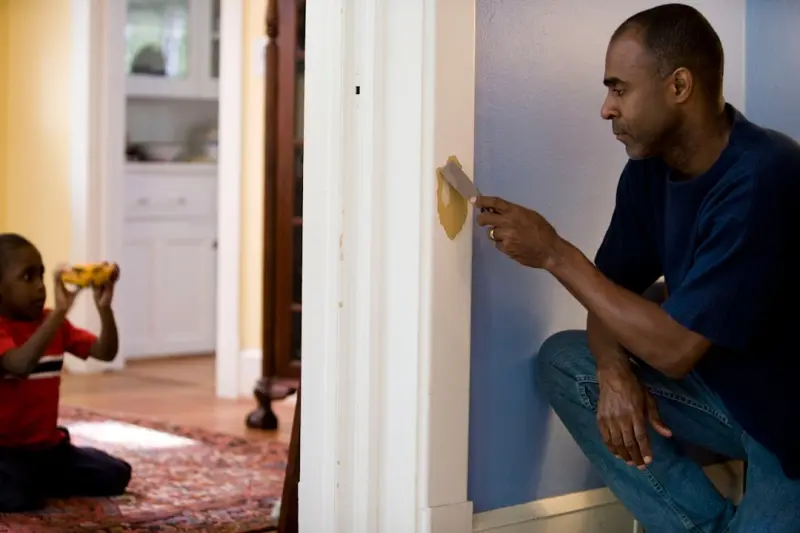
Why Drywalling Deserves More Than a Weekend Project
When I first tackled a full‑house drywall renovation, I quickly learned that the humble gypsum board is the silent backbone of every interior space, shaping not only walls but the way a room feels. Choosing the right type of drywall and mastering a few pro‑level techniques can turn a rushed weekend job into a lasting upgrade that pays dividends in comfort and resale value. In this post I’ll walk you through the decisions that separate a shaky, patch‑work wall from a seamless, resilient surface you’ll be proud to show off.
Picking the Perfect Sheet: Size, Weight, and Specialty Options
Standard 4 × 8 foot sheets are a safe bet for most rooms, but opting for 4 × 12 foot panels reduces the number of seams, cutting down on both labor and the dreaded “crackle” sound that can haunt a finished wall. If you’re renovating a bathroom or kitchen, moisture‑resistant “green board” or the newer “purple board” offers superior protection against mold, while fire‑rated 5‑hour drywall adds a safety cushion for garages and utility rooms. I’ve found that buying a mix of lightweight panels for ceilings and heavier, denser sheets for high‑traffic walls strikes a perfect balance between ease of handling and durability.
Preparing the Space: From Studs to Safety
Before the first sheet ever touches the studs, I always double‑check that the framing is level, the joists are securely fastened, and any electrical or plumbing work is completed and inspected—skipping this step invites headaches later. Wearing a dust mask, safety glasses, and a sturdy pair of gloves isn’t just about compliance; it’s about preserving your health when you’re sanding and cutting gypsum that releases fine particles. A quick tip I swear by: tap the studs with a hammer and listen for a solid thud—any hollow spot signals a need for reinforcement before the drywall goes up.
Mastering the Tape and Mud Dance
Applying joint compound (or “mud”) might feel like painting, but the rhythm is crucial: a thin first coat, a second wider coat, and a final feathered finish create a smooth canvas that hides seams without visible ridges. I always use paper tape for its superior strength on interior walls, but for ceilings I switch to fiberglass mesh to prevent cracking under the weight of gravity. Remember to let each layer dry completely—usually 24 hours for the first coat—before sanding; rushing this step is the fastest way to create a wall that looks like a sandpaper battlefield.
Soundproofing Secrets: Turning Walls into Quiet Sanctuaries
If your home borders a busy street or a noisy upstairs neighbor, adding a layer of acoustic drywall or a resilient channel can dramatically lower transmitted sound. I like to sandwich a thin sheet of sound‑dampening insulation between the studs before attaching the drywall, then finish with a second sheet of standard board for added mass. This “sandwich” method not only improves privacy but also boosts the wall’s overall structural integrity, making it a win‑win for comfort and durability.
Fire‑Resistance and Safety: More Than a Code Requirement
Fire‑rated drywall, often marked with a red or pink edge, contains glass fibers that slow the spread of flames, buying precious minutes for evacuation and fire‑fighter response. When renovating a garage or a home theater, I install at least one layer of 5‑hour fire‑rated board on the wall that separates the space from living areas, then seal all gaps with fire‑stop caulk. This extra layer not only complies with building codes but also offers peace of mind that your home can better withstand unexpected sparks.
Moisture Management: The Battle Against Hidden Decay
Even the most meticulous drywaller can be undone by hidden moisture that fuels mold and warps the board, especially in basements and bathrooms. I always pair moisture‑resistant drywall with a vapor barrier and ensure proper ventilation by installing exhaust fans that pull humid air outward. If you suspect an existing wall has been compromised, a simple moisture meter can reveal hidden damp spots—address those before you ever lift a new sheet, or you’ll spend more time on repairs than on the original project.
Eco‑Friendly Choices: Recycling and Sustainable Practices
Drywall waste can be a massive contributor to landfill volume, but many manufacturers now offer recycled gypsum that matches the performance of virgin board while reducing carbon footprints. I make a point to collect off‑cuts and donate them to local Habitat for Humanity projects, turning what would be trash into valuable building material for those in need. Additionally, using low‑VOC joint compounds and dust‑control vacuums helps keep indoor air quality high for both the crew and the occupants.
Budgeting and Timeline: Staying on Track Without Cutting Corners
From my experience, a realistic budget allocates roughly 30 % of total costs to materials, 40 % to labor (even if you’re DIY‑ing, factor in your own time), and the remaining 30 % for unexpected expenses like extra insulation or corrective work. I always create a detailed timeline that breaks the project into phases—framing check, hanging, taping, sanding, and finishing—so I can monitor progress and adjust as needed. When you keep a tight schedule, you avoid the temptation to rush critical steps, which is often the root cause of future wall failures.
Finishing Touches: Paint, Texture, and the Final Reveal
Once your walls are smooth and dust‑free, the final step is choosing a finish that complements the room’s purpose: matte for bedrooms, semi‑gloss for high‑traffic areas, and a subtle texture for ceilings to hide minor imperfections. I like to test paint swatches under different lighting conditions before committing, because the way light hits drywall can dramatically alter perceived color. For a personal touch, consider a light wash of water‑based pigment that adds depth without overwhelming the surface—an easy way to make your drywall feel custom‑crafted.
Common Pitfalls and How to Dodge Them
Even seasoned DIYers fall into traps like over‑sanding, which can thin the joint compound and create cracks, or using too much mud, which leads to shrinkage and bubbling. I’ve learned to trust the “feel” of the compound—when it’s smooth and pliable, you’re ready to apply, and when it’s tacky after drying, it’s time to sand lightly. For more on avoiding hidden issues, check out The Home Inspector’s Hidden Checklist for a deeper dive into post‑drywall inspection tips.
Bringing It All Together: My Personal Drywall Philosophy
At the end of the day, drywalling is as much an art as it is a science; it demands patience, precision, and a willingness to learn from each coat and screw. By selecting the right board, respecting the preparation phase, and treating each step with the care it deserves, you create walls that not only look great but stand the test of time. If you’re ready to take your next renovation from “just okay” to “outstanding,” start with these fundamentals and watch your home transform one sheet at a time.

Kelly Reynolds is a dynamic freelance writer hailing from the picturesque landscapes of Alberta. A master of the written word, she juggles her passion for storytelling with the exhilarating chaos of being a mother to five spirited children. With an impressive portfolio that spans various genres, Kelly captivates readers through her engaging blog posts and thought-provoking articles.
Related Posts

Reinventing Drywall: High‑Performance Walls for Comfort, Efficiency, and Smarts
Discover a fresh approach to drywall that integrates acoustic backing, reflective insulation, recycl... Read More
Mastering Modern Drywall: From Sustainable Boards to Acoustic Perfection
Learn how to choose eco‑friendly drywall, integrate acoustic solutions, and future‑proof walls w... Read More

Eco‑Friendly Drywall: Sustainable Materials, Healthier Homes
Explore sustainable drywall choices, eco‑friendly installation methods, and future bio‑based tre... Read More
Top Posts
Reimagining Commercial Spaces: A Blueprint for Adaptive, Healthy, and Sustainable Renovations
A fresh perspective on commercial renovations that blends flexibility, wellness, and sustainability, guiding businesses to create adaptable, brand‑aligned wor...Read More

Smart Snow Strategies: Turning Winter Chaos into Operational Advantage
Snow removal can be more than a seasonal chore. By leveraging sensors, predictive analytics, autonomous equipment, and eco‑friendly melt systems, facilities t...Read More

Predictive Maintenance for HVAC: Harnessing AI to Keep Buildings Comfortable
Predictive maintenance uses sensors and AI to forecast HVAC failures before they happen, delivering energy savings, longer equipment life, and improved occupant...Read More

Staying Cozy While Saving Energy: My Top Tips for Home Heating and Cooling
Stay cozy while saving energy with these expert tips on home heating and cooling. Learn how to optimize your system, reduce waste, and enjoy a more comfortable ...Read More
0 Comments
Post Comment
You will need to Login or Register to comment on this post!