
Why Drywalling Still Beats the Alternatives in Modern Renovations
When homeowners ask me why I still champion traditional drywall over the flashier wall panels, I dive into the anatomy of the space and the long‑term payoff. Drywall’s versatility lets it adapt to high ceilings, curved arches, and even the quirkiest room layouts without sacrificing structural integrity or fire safety, something many “quick‑fix” alternatives can’t promise. In my years of hands‑on work, I’ve watched the cheapest veneer crack, warp, or outgas, while a properly installed gypsum board stays steadfast, proving that the humble wall still reigns supreme in durability and resale value.
Choosing the Right Board for Every Room
The first decision you make isn’t the finish—it’s the core board type that will dictate moisture resistance, fire rating, and even environmental impact. For basements and bathrooms, a green board offers moisture tolerance without the cost of full cement board, while kitchens benefit from the fire‑rated type X panels that can slow flame spread for precious minutes. If you’re eco‑conscious, look for recycled gypsum drywall; it uses post‑consumer waste, reduces landfill pressure, and often carries a comparable strength rating to virgin board, making it a win‑win for both budget and planet.
Measuring, Cutting, and the Art of Precision
Accurate measurement is the silent hero of any drywall project; a half‑inch error can cascade into wasted sheets and uneven seams. I swear by the “T‑square and utility knife” combo, snapping the blade along the scored line for a clean edge that fits like a puzzle piece. When you encounter odd angles or recessed niches, a keyhole saw or rotary cutter becomes indispensable, allowing you to navigate tight spaces without compromising the board’s integrity or creating jagged edges that will later reveal themselves in cracked mud.
Hanging Drywall Like a Pro: Fasteners and Placement
Most DIYers underestimate the importance of screw spacing, but proper placement prevents sagging and “pop‑outs” that haunt you months later. I recommend driving screws every 12 inches on ceilings and every 16 inches on walls, ensuring the head sits just below the surface without breaking the paper face. For added security in high‑traffic zones, a thin bead of construction adhesive behind each sheet can distribute load and reduce the number of fasteners needed—a technique I borrowed from commercial installers to boost wall resilience.
Taping, Mudding, and the Journey to a Seamless Surface
The finishing stage is where drywall transforms from a raw canvas to a polished backdrop, and it’s a process that rewards patience. Apply a thin coat of all‑purpose joint compound to the seams, embed a paper tape, then feather out with a broader knife to blend the edges; repeat this “three‑coat” routine, allowing each layer to dry completely before sanding. Patience pays off: a well‑sanded surface eliminates the dreaded “orange peel” texture and sets the stage for flawless paint or texture work.
Acoustic Mastery: Turning Walls into Sound Barriers
If your project calls for quietude—think home theaters, home offices, or apartments—standard drywall often falls short, letting low‑frequency vibrations travel unhindered. Enter acoustic drywall, a denser board infused with polymer layers that dampen sound, paired with resilient channels that decouple the sheet from studs, dramatically reducing transmission. When combined with acoustic sealant at all perimeter gaps, you create a wall system that not only looks sleek but also shields you from the cacophony of city life or noisy neighbors.
Integrating Low‑Voltage Wiring Before You Cover Up
Modern homes demand more than just power; they require data, surveillance, and smart‑home hubs, all of which must be concealed behind a seamless surface. Before you nail the first sheet, plan conduits for Ethernet, coax, and low‑voltage cables, using flexible metal or PVC raceways that can be clipped to studs and later hidden by the drywall. This pre‑emptive strategy saves you from the nightmare of cutting through finished walls later, and it aligns perfectly with the advice in DIY Home Repair Mastery, where foresight beats re‑work every time.
Finishing Touches: Texture, Paint, and Sustainable Coatings
Once the mud is sanded smooth, the choice of texture or paint becomes a design decision rather than a functional one. If you crave a subtle depth, a light stipple or knockdown texture can hide minor imperfections while adding visual interest. For eco‑savvy homeowners, low‑VOC paints paired with natural lime‑based primers not only keep indoor air quality high but also complement the recycled gypsum boards discussed earlier, creating a cohesive, health‑focused wall system.
Repair, Maintenance, and Future‑Proofing Your Walls
No wall stays perfect forever; dents, nail pops, and moisture spots are inevitable, but the repair process is straightforward when you start with the right foundation. Keep a small stash of matching drywall, joint compound, and a utility knife on hand; a quick patch, feathered with the same mud technique, will blend invisibly. Moreover, consider installing removable access panels in strategic spots—these allow future upgrades to wiring or insulation without the need to chisel through finished drywall, keeping your home adaptable for years to come.
Wrapping Up: The Quiet Power of a Well‑Done Drywall Project
At the end of the day, drywall isn’t just a blank canvas; it’s the structural backbone that supports aesthetics, acoustics, safety, and technology. By selecting the right board, measuring meticulously, and embracing modern finishing tricks—like acoustic panels and pre‑wired conduits—you turn an ordinary wall into a silent, sturdy, and sustainable asset. For those who love repurposing, remember the inspiration from Turning Scraps into Signature Pieces, proving that even waste can become a cornerstone of quality construction.

Paul Gray is a dynamic blogger based in Brampton, where he shares his life with his amazing wife, Sarah. Known for his engaging writing style and relatable insights, Paul has carved out a niche in the blogging world that resonates with readers from all walks of life. When he's not crafting captivating posts, you can find him savoring a cold beer or indulging in the latest blockbuster movie. With a friendly demeanor and a passion for storytelling, Paul brings a unique perspective to his work, making him not just a blogger, but a voice for those who appreciate the simple joys of life.
Related Posts

When Drywall Meets Design: Turning Walls into Smart, Sustainable Spaces
Discover the transformative potential of today’s drywall—from recycled gypsum and acoustic upgra... Read More
Beyond the Sheet: How Innovative Drywall Practices Are Redefining Interiors
A deep dive into modern drywall trends—from low‑VOC joint compounds and smart tools to moistureâ... Read More

The Art of Drywalling: A Comprehensive Guide
Drywalling is an essential step in building or renovating a home. Learn the tips and techniques for ... Read More
Top Posts
The Handyman’s Playbook: Mastering Adaptive Home Repairs
A seasoned handyman shares a comprehensive playbook for evolving from reactive fixes to strategic home‑care, covering proactive inspections, smart‑home inte...Read More
When Foundations Crumble: A Veteran Contractor’s Blueprint for Sustainable Repairs
A seasoned contractor reveals how to diagnose, stabilize, and sustainably repair foundation problems, turning costly cracks into long‑lasting, green solutions...Read More

Redesigning the Heart of the Home: A Data‑Driven, Human‑Centric Kitchen Renovation Blueprint
Discover how a data‑first approach, modular island design, high‑tech coatings, and sustainable materials transform a kitchen into a flexible, future‑ready...Read More
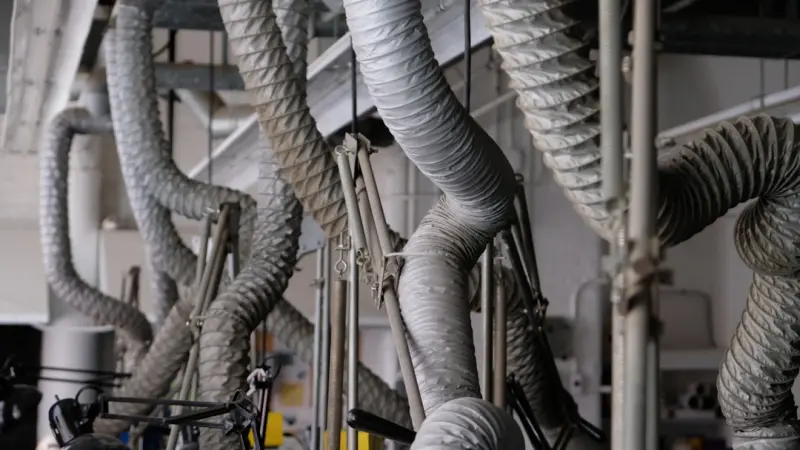
The Unsung Power of Duct Cleaning: Boosting Health, Efficiency, and Asset Longevity
Duct cleaning often flies under the radar, but it’s a vital part of building maintenance. This post explores the hidden costs of dirty ducts, the benefits of ...Read More
0 Comments
Post Comment
You will need to Login or Register to comment on this post!