
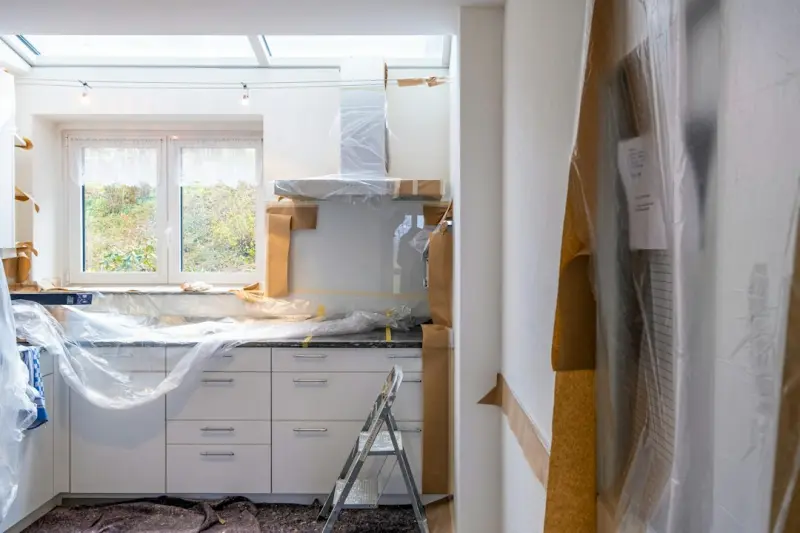
Renovating a home while juggling work, family, and a never‑ending to‑do list feels like trying to solve a Rubik’s Cube blindfolded. The key to keeping the process from turning into chaos is a solid, realistic checklist that respects both your vision and your schedule. Below is a comprehensive, battle‑tested guide that walks you through every phase—pre‑planning, budgeting, contractor coordination, material selection, and post‑renovation cleanup—so you can stay in control, avoid costly missteps, and still enjoy a livable space during the transformation.
1. Define the “Why” Before the “What”
It’s tempting to jump straight into paint swatches or kitchen layouts, but the strongest foundations start with purpose. Ask yourself:
- What problem am I solving? Is it storage, flow, energy efficiency, or a lifestyle shift?
- Who will benefit? Consider the needs of children, aging parents, or remote workers.
- What is the timeline? A weekend bathroom remodel differs drastically from a multi‑room gut.
Write down concise answers. This “why” sheet becomes a north‑star that keeps every subsequent decision aligned and prevents scope creep.
2. Conduct a Real‑World Feasibility Audit
Even the most inspiring design can hit a wall—literally—if you overlook structural realities. Schedule a quick walk‑through with a trusted professional (architect, structural engineer, or seasoned contractor) and evaluate:
- Load‑bearing walls that can’t be moved without reinforcement.
- Existing electrical and plumbing routes that may need rerouting.
- Ventilation and moisture patterns that could affect new finishes.
Document findings in a simple spreadsheet: Issue – Impact – Required Action – Estimated Cost. This audit saves you from expensive surprises mid‑project.
3. Set a Flexible Budget with Contingency Buffers
Budgeting isn’t just adding up material costs; it’s anticipating the unknown. Follow these steps:
- Establish a hard ceiling. This is the absolute maximum you’re willing to spend.
- Allocate 70‑80% to core items. Materials, labor, permits, and essential trades.
- Reserve 15‑20% as a contingency. This cushion covers unexpected structural work, price spikes, or design tweaks.
- Track every expense. Use a dedicated spreadsheet or budgeting app and update it daily.
When you see the contingency being tapped, you’ll either need to pause, re‑scope, or find savings elsewhere—never resort to hidden credit‑card debt.
4. Choose the Right Contractor—It’s a Partnership, Not a Transaction
Finding a contractor who “gets” your vision is half the battle. Use this mini‑checklist during interviews:
- License and insurance verification.
- Portfolio of similar projects.
- References from past clients (ask specific questions about communication and timeline adherence).
- Written estimate broken down by labor, materials, and subcontractor costs.
- Willingness to sign a detailed contract that includes milestones, payment schedule, and change‑order process.
Remember: the cheapest bid often hides hidden costs. Prioritize transparency and a collaborative attitude.
5. Map Out a Realistic Timeline with Buffer Days
Every renovation hits at least one snag—delayed shipments, weather, or a mis‑ordered component. Build a timeline that includes:
- Critical Path Tasks: Demolition, structural modifications, rough‑in electrical/plumbing, and final finishes.
- Buffer Days: Add 10‑15% extra days to each major phase.
- Living‑Space Plan: Identify which rooms stay occupied, which need temporary relocation, and plan for essential utilities (e.g., portable toilet, temporary kitchen).
Share this timeline with all stakeholders; a shared calendar helps everyone anticipate and adapt.
6. Prioritize Sustainable and Low‑Impact Materials
Choosing greener materials isn’t just a trend; it reduces long‑term maintenance costs and improves indoor air quality. Look for:
- Low‑VOC paints and sealants.
- Reclaimed wood or rapidly renewable bamboo for flooring and cabinets.
- Recycled‑content insulation and drywall.
When you need a finishing touch that merges technology with sustainability, consider smart paint options. These coatings can respond to humidity or light levels, adding a subtle layer of performance without sacrificing aesthetics.
7. Leverage Modular Construction Techniques Where Possible
Modular elements can dramatically cut on‑site labor, waste, and schedule overruns. For instance, prefabricated wall panels, bathroom pods, or modular kitchen cabinets arrive ready to install, reducing the mess and time spent on site. Dive deeper into the benefits of this approach by exploring modular construction techniques. Even if you’re not doing a full modular build, borrowing aspects—like pre‑assembled countertop islands—can streamline your project.
8. Integrate Smart Systems Early, Not as an Afterthought
Smart home tech is now mainstream, and retrofitting after a renovation can be messy and expensive. Plan for:
- Conduit runs for future wiring (security cameras, smart thermostats, voice‑controlled lighting).
- Dedicated circuits for high‑draw devices (electric vehicle chargers, home office equipment).
- Water‑leak detection sensors in wet zones. A discreet, network‑connected sensor can alert you before a minor drip turns into a flood.
One cost‑effective addition is silent drain sensors. These devices monitor flow rates and can flag clogs early, saving you from emergency plumber calls.
9. Create a Detailed Materials Procurement List
Every item—from screws to countertop edges—belongs on a master list. Include:
- Product name, manufacturer, and SKU.
- Quantity, unit price, and total cost.
- Delivery date and lead time.
- Storage location on‑site (especially for fragile items).
Cross‑reference this list with your budget spreadsheet. Ordering in bulk where possible can net discounts, but avoid over‑stocking items that may become obsolete (think color trends).
10. Set Up a “Renovation Command Center”
Designate a single spot—physical or digital—where all project documents reside: contracts, permits, inspection reports, photos, and daily logs. A shared cloud folder (Google Drive, Dropbox) with clearly labeled sub‑folders keeps everyone on the same page. Include a daily “status board” that notes completed tasks, pending items, and any issues that need escalation.
11. Manage Disruption to Daily Life
Renovations can be stressful for the whole household. Mitigate impact by:
- Setting up a temporary “quiet zone” where the family can retreat from dust and noise.
- Scheduling noisy tasks (hammering, demolition) during work hours if possible, when the household is less likely to be home.
- Providing a portable kitchen setup (microwave, mini fridge) to maintain basic meal preparation.
- Ensuring clear communication of daily expectations—what rooms will be off‑limits, what times dust control will be performed, etc.
12. Conduct Regular Inspections and Sign‑Offs
Don’t wait until the end of a phase to discover a mistake. Schedule brief, daily walk‑throughs with the contractor and ask for a written sign‑off on completed tasks. This practice creates a paper trail and reinforces accountability.
13. Final Walk‑Through and Punch List Creation
When the major work wraps, conduct a comprehensive walk‑through with the contractor. Document any deficiencies—paint touch‑ups, misaligned fixtures, or missing hardware—in a punch list. Assign a deadline for each item and track completion. Only release final payment after the punch list is fully resolved.
14. Post‑Renovation Clean‑Up and Air Quality Reset
Construction dust can linger for weeks, affecting health and the finish of new surfaces. Follow these steps:
- Professional air‑scrubbing for at least 48 hours, especially if you used VOC‑rich materials.
- Deep cleaning of all surfaces with a HEPA‑vacuum and microfiber cloths.
- Replace HVAC filters and consider a UV‑light air purifier in high‑traffic zones.
Only then should you move furniture back and fully enjoy your refreshed space.
15. Document the Project for Future Reference
Preserve a digital archive of:
- Before‑and‑after photos.
- Warranty information for fixtures and appliances.
- Contact information for all subcontractors.
- As‑built drawings and any permits filed.
This file becomes invaluable for future resale, insurance claims, or any subsequent upgrades.
Bonus Tip: Turn Your Renovation into a Learning Opportunity
If you enjoy DIY, carve out small, manageable tasks—like installing a backsplash or assembling a shelving unit. Not only does this reduce labor costs, but it also deepens your connection to the home you’re shaping. Just remember to stay within your skill set and let professionals handle the heavy‑lift structural work.
Renovations don’t have to be a nightmare of endless emails, surprise invoices, and sleepless nights. By following this checklist, you gain clarity, control costs, and protect your peace of mind while turning your house into the home you truly need.

Tom Ferguson is a Canadian freelance writer with a passion for storytelling, current events, and thoughtful commentary. Drawing on years of writing experience, he shares engaging insights on a wide range of topics, bringing a uniquely Canadian perspective to his work.
Related Posts

The Ultimate Renovation Checklist for First‑Time Homeowners
A comprehensive, step‑by‑step renovation checklist that helps first‑time homeowners plan, budg... Read More

The Ultimate Renovation Checklist: A Sustainable Approach
Create a comprehensive renovation checklist to ensure a smooth and sustainable home upgrade. Learn h... Read More
The Ultimate Renovation Checklist for Seamless Project Execution
Discover a detailed renovation checklist that walks you through every phase—from budgeting and per... Read More
Top Posts

Passive Solar Shading: The Smart Homeowner’s Blueprint for Weather Proofing
A practical guide to leveraging passive solar shading—dynamic window films, exterior louvers, and reclaimed materials—to create a smarter, more energy‑eff...Read More

Digital Twins on the Jobsite: Turning Data into Construction Gold
A practical guide for general contractors on implementing digital twins, from sensor deployment to real‑time analytics, showing how data‑driven insights can...Read More

Transform Your Bathroom: The Unexpected Power of Bathtub Refinishing
Explore why a simple bathtub refinishing can turn an outdated bathroom into a spa‑like retreat, boost home value, and align with sustainable renovation goals....Read More

The Intersection of Plumbing and Sustainable Home Restoration
Plumbing plays a critical role in sustainable home restoration. Learn how to adopt eco-friendly plumbing solutions, conserve water, and reduce energy consumptio...Read More
0 Comments
Post Comment
You will need to Login or Register to comment on this post!