
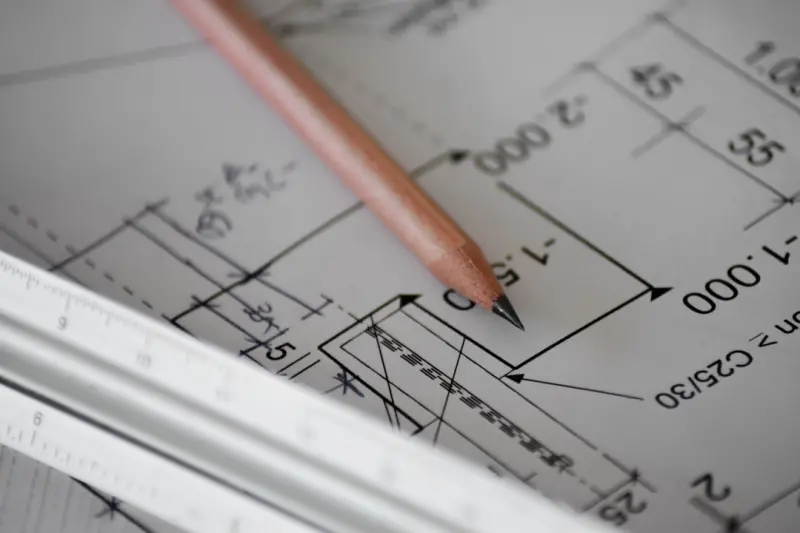
Why a Renovation Checklist Is Your Secret Weapon
Every homeowner who’s ever stared at a pile of paint cans, lumber scraps, and an endless to‑do list knows the feeling of a project spiraling out of control; that’s where a solid renovation checklist becomes the difference between triumph and turmoil. I’ve walked the line from ambitious DIYer to seasoned project manager, learning that the most successful transformations start with a paper‑backed promise to yourself—a roadmap that captures every decision before a single nail is driven. When you treat the checklist as a living document rather than a one‑off, you gain the confidence to anticipate setbacks, allocate resources wisely, and keep the excitement alive from demolition to the final reveal.
Defining Vision, Scope, and Non‑Negotiables
The first line of any checklist should answer the simple question: what does success look like once the dust settles? Write down the primary goals—whether it’s extra square footage, improved flow, or a modern aesthetic—then break each goal into measurable outcomes like “add 250 sq ft of living space” or “increase natural light in the kitchen by 30 %.” By flagging non‑negotiables (e.g., maintaining historic crown molding, keeping the home office functional) early, you create a filter that will keep later choices aligned with the original vision, preventing costly detours and design fatigue.
Research, Permits, and the Power of Early Consultation
Before any demolition, dive deep into local building codes, zoning restrictions, and permit requirements; a missed permit can halt a project for weeks and inflate costs dramatically. Schedule preliminary meetings with a qualified architect or designer who can translate your vision into compliant plans, and don’t shy away from asking tough questions about setbacks, easements, or utility relocations. For homeowners considering an expansion, my experience with smart home addition planning shows that early alignment on structural feasibility saves both time and money.
Budgeting with Real‑World Buffers and Transparent Tracking
Set a firm budget ceiling, then add a 10‑15 % contingency to absorb the inevitable surprises—think hidden water damage, material price spikes, or unexpected labor rates. Break the total cost into categories (design, permits, demolition, construction, finishes) and track each expense against a spreadsheet or budgeting app, updating it weekly to stay accountable. When you see a line item creeping beyond its limit, you can pivot quickly, either by sourcing an alternative material or adjusting the scope before the overrun compounds.
Timeline Development: Sequencing Tasks for Maximum Efficiency
Map out the project timeline in phases, assigning realistic start and finish dates to each critical task such as demolition, framing, rough‑in utilities, and finish work; this creates a clear critical path that highlights dependencies. Include buffer days for inspections, material deliveries, and weather delays, because a missed inspection can push the entire schedule back by days or even weeks. By visualizing the sequence, you can coordinate trades more effectively, ensuring the electrician isn’t waiting for the drywall crew and the painter isn’t left with an unfinished wall.
Materials Selection: Balancing Aesthetics, Durability, and Sustainability
Choosing the right materials is where your personal style meets long‑term performance; prioritize products with proven durability, low VOC emissions, and a warranty that backs their lifespan. Order samples and install a small test patch—especially for finishes like tile or wallcoverings—to evaluate color, texture, and wear before committing to bulk purchases. When it comes to interior walls, I recommend reviewing drywall best practices to ensure a smooth substrate that reduces rework and keeps the finish looking pristine for years.
Contractor Management: Communication, Contracts, and Milestone Payments
A clear contract that outlines scope, schedule, payment terms, and change‑order procedures is the backbone of any successful renovation; never assume verbal agreements are sufficient. Establish a weekly check‑in, either in person or via a shared project board, where you review progress, address concerns, and confirm upcoming milestones. Tie payments to completed phases—foundation, framing, finishes—so that incentives are aligned and both parties stay motivated to meet quality and timing expectations.
Quality Control, Inspections, and the Punch‑List Process
Mid‑project inspections are non‑negotiable; they catch issues like uneven framing, improper insulation, or plumbing leaks before they become expensive fixes. Create a punch‑list that captures every minor deficiency—from a misaligned cabinet hinge to a stray paint drips—and walk the site with the contractor before final sign‑off. This disciplined approach not only guarantees a polished end result but also protects you from warranty disputes down the road.
Post‑Renovation Wrap‑Up: Documentation, Warranty Management, and Ongoing Care
Once the final coat of paint has dried, compile all project documentation—permits, contracts, receipts, warranties—into a single, easily accessible folder; this becomes your reference for future resale or maintenance. Conduct a thorough walkthrough with the contractor to confirm every item on the punch‑list is resolved, and request a written warranty summary for key installations like HVAC, roofing, and cabinetry. Finally, schedule regular maintenance checks based on manufacturer recommendations, turning your freshly renovated space into a lasting, hassle‑free investment.

Craig Brett is a freelancer with a passion for the outdoors. His love for nature inspires his work, bringing authentic and engaging perspectives to projects related to outdoor activities, adventure, and environmental topics.
Related Posts
A Human‑Centric Renovation Checklist for the Hybrid Workplace
Discover a fresh renovation checklist that balances employee wellbeing, sustainability, and business... Read More

The Ultimate Home Renovation Checklist: Paul Gray's Essential Guide
Paul Gray shares his essential home renovation checklist. Discover how to plan, budget, find the rig... Read More
The Ultimate Renovation Checklist: From Planning to Perfect Finish
A comprehensive, homeowner‑focused renovation checklist that guides you from vision and budgeting ... Read More
Top Posts

Beyond Aesthetic: How Smart Paint Transforms Home Functionality
Smart paints are redefining home renovation, offering antimicrobial protection, energy‑saving color shifts, conductive pathways, and even solar power generati...Read More

Smart Snow Strategies: Turning Winter Chaos into Operational Advantage
Snow removal can be more than a seasonal chore. By leveraging sensors, predictive analytics, autonomous equipment, and eco‑friendly melt systems, facilities t...Read More

Bathtub Refinishing: A Sustainable Solution for a Fresh New Look
Bathtub refinishing is a sustainable solution for updating your bathroom without breaking the bank or harming the environment. Learn about the benefits and proc...Read More

Tunable Window Treatments: Turning Light Into a Strategic Asset
Discover why dynamic, data‑driven window treatments are reshaping workplaces, delivering glare control, energy savings, and enhanced occupant comfort—all wh...Read More
0 Comments
Post Comment
You will need to Login or Register to comment on this post!