
Why an Underused Space Deserves Its Own Renovation Playbook
When I first walked into the attic of my grandmother’s century‑old house, I wasn’t looking for a storage closet; I was seeing potential. The sloping roof, the forgotten windows, the dusty floorboards—all whispered stories of rooms that could become a home office, a studio, or even a quiet retreat. Yet, the excitement of transformation can quickly dissolve into a maze of decisions, permits, and budget overruns if you don’t have a roadmap.
That’s why I’ve crafted this Renovation Checklist specifically for those hidden gems: basements, attics, converted garages, or any nook that’s been relegated to “later.” It’s not a generic to‑do list; it’s a strategic guide that aligns your vision, technical requirements, and long‑term value.
1. Define the End Goal—Beyond “Just a Room”
Before a single measurement is taken, write down what you want the space to achieve. Is it a creative studio that needs natural light and acoustics? A home office that demands ergonomic wiring and sound isolation? Or perhaps a multifunctional family hub that must blend durability with style?
Answering these questions early helps you prioritize trade‑offs. For example, a studio may justify a higher ceiling and better insulation, while a storage‑focused conversion might lean on cost‑effective shelving.
2. Conduct a Full‑Scale Feasibility Study
- Structural Review: Engage a structural engineer to verify load‑bearing walls, floor joists, and roof framing. Even if you’re just adding drywall, the added weight of fixtures (like a bathtub in a converted attic) can be critical.
- Utility Mapping: Locate existing electrical panels, plumbing stacks, and HVAC ducts. Understanding the “as‑built” condition prevents costly surprises when you need to reroute or upgrade.
- Code Compliance: Check local building codes for egress, fire safety, and accessibility. Some jurisdictions require a minimum ceiling height or a specific window size for habitable spaces.
- Moisture & Insulation Audit: Basements are notorious for dampness, while attics often lack proper insulation. Conduct a blower‑door test or hire a moisture specialist to identify hidden issues.
3. Budget with Built‑In Buffers
Every renovation project discovers an unexpected expense—whether it’s a surprise pipe that needs replacement or a hidden mold patch. I recommend a 15‑20% contingency on top of your baseline estimate.
Break your budget into categories:
- Design & permits
- Demolition & structural work
- Mechanical, electrical, plumbing (MEP)
- Finishes (flooring, paint, trim)
- Furniture & décor
- Contingency
Tracking each line item in a simple spreadsheet lets you spot overruns before they spiral.
4. Prioritize “Future‑Proof” Infrastructure
Even if you’re renovating a single room now, consider the next decade. Installing extra conduit for data, adding a dedicated circuit for high‑power devices, or pre‑routing HVAC ducts can save thousands later. Think of it as building in flexibility, not just meeting today’s needs.
For inspiration on how smart integration can elevate a property after renovation, explore the concepts in Predictive Maintenance: Turning Data Into Your Property’s Superpower. While the article focuses on post‑renovation analytics, the underlying principle—embedding technology early—applies perfectly to any remodel.
5. Choose Materials That Align with Use & Lifestyle
Materials are more than aesthetics; they dictate durability, maintenance, and even indoor air quality. Here’s a quick matrix:
| Space Type | Flooring | Wall Finish | Ceiling |
|---|---|---|---|
| Home Office | Low‑VOC carpet tiles or engineered hardwood | Acoustic panels + washable paint | Acoustic ceiling tiles |
| Creative Studio | Polished concrete or resilient rubber | Exposed brick or matte finish | Exposed beams with acoustic baffles |
| Family Hub | Luxury vinyl plank (LVP) or solid hardwood | Durable washable paint | Standard drywall with recessed lighting |
When selecting wall finishes, consider the latest innovations in drywall that enhance both aesthetics and performance. The article Beyond the Sheet: How Innovative Drywall Practices Are Redefining Interiors dives deep into these options and can help you make an informed choice.
6. Lighting—Layered, Adaptive, and Energy‑Smart
Lighting is often the silent hero of a successful renovation. Aim for three layers:
- Ambient: General illumination using LED recessed fixtures or sleek surface‑mounted lights.
- Task: Focused lighting for workstations, reading nooks, or art tables.
- Accent: Highlight architectural features, artwork, or built‑in shelving.
Integrate dimmers and smart controls from the outset. A single “scene” button can transition a space from bright productivity mode to a relaxed evening ambiance.
7. Ventilation & Air Quality
Even if your renovation isn’t adding a bathroom, proper ventilation matters. Install a heat‑recovery ventilator (HRV) or an energy‑recovery ventilator (ERV) to bring in fresh air without sacrificing efficiency. Pair this with low‑VOC paints and adhesives to keep indoor pollutants at bay.
8. Create a Detailed Phasing Schedule
Breaking the project into phases helps manage disruption, especially in occupied homes. Typical phases include:
- Prep & Demolition – Secure the area, set up dust barriers, and remove unwanted elements.
- Structural & Rough‑In – Frame walls, run new wiring, plumbing, and HVAC ducts.
- Insulation & Drywall – Install insulation, hang drywall, and tape/finish.
- Finishes – Paint, install flooring, trim, and hardware.
- Final Touches – Install lighting, fixtures, and conduct a walkthrough.
Assign realistic timelines to each phase and build in a “buffer week” before moving to the next step. This mitigates the domino effect of delays.
9. Document Every Step
From permits to receipts, keep a digital folder (cloud‑based for easy sharing) that logs:
- Permit numbers and approval dates
- Contractor agreements and change orders
- Product specifications and warranties
- Before‑and‑after photos
This documentation becomes invaluable for future resale, insurance claims, or simply troubleshooting any post‑renovation issues.
10. Post‑Renovation Review & Maintenance Plan
Once the space is live, schedule a “walk‑through audit” with your contractor. Verify that all work meets the agreed scope, test all electrical outlets, and ensure that ventilation is functioning.
Develop a maintenance calendar: quarterly filter changes for HVAC, annual checks for moisture in basements, and bi‑annual inspections of any built‑in cabinetry or fixtures. By treating your renovated space as a living asset, you’ll preserve its value and functionality for years to come.
Bonus: Harnessing Green Design Without Overhauling the Whole Home
Even a modest renovation can make a big environmental impact. Consider these low‑effort upgrades:
- Switch to LED lighting throughout the space.
- Install low‑flow plumbing fixtures if you’re adding a sink.
- Use reclaimed or recycled materials for shelving and accent walls.
- Integrate a small indoor plant wall for natural air filtration.
For a broader perspective on how outdoor spaces can complement indoor sustainability, the piece Designing Climate‑Smart Landscapes: Turning Outdoor Spaces into Energy‑Saving Assets offers actionable ideas you can echo inside.
Wrapping It All Together
Renovating an underused area isn’t just about adding square footage; it’s about unlocking latent value and improving daily life. By following this checklist—starting with a crystal‑clear vision, moving through rigorous feasibility, budgeting wisely, future‑proofing infrastructure, and finishing with diligent documentation—you’ll turn that forgotten nook into a purposeful, thriving space.
Remember, the magic happens at the intersection of creativity and systematic planning. Use this guide as your compass, stay adaptable, and watch your hidden space evolve into the heart of your home.

When it comes to the world of blogging and writing, Rose DesRochers is a name that stands out. Her passion for creating quality content and connecting with her audience has made her a trusted voice in the industry. Aside from her skills as a writer and blogger, Rose is also known for her compassionate nature.
Related Posts

Renovation Checklist: A Seven‑Stage Playbook for Adaptive‑Reuse Success
Discover a detailed seven‑stage renovation checklist designed for adaptive‑reuse projects, cover... Read More

The Ultimate Home Renovation Checklist: Paul Gray's Essential Guide
Paul Gray shares his essential home renovation checklist. Discover how to plan, budget, find the rig... Read More

The Ultimate Renovation Checklist for Aging‑In‑Place Homes
Discover a comprehensive, printable checklist that guides homeowners through every stage of an aging... Read More
Top Posts
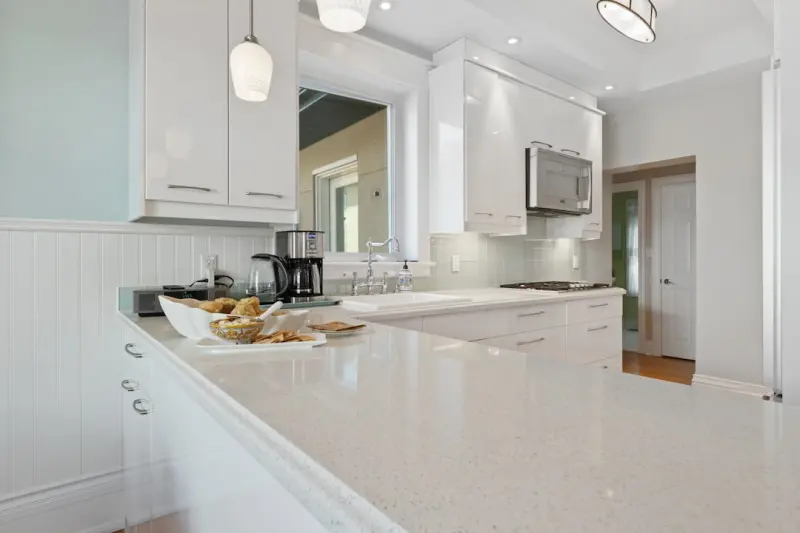
Countertop Intelligence: Turning Work Surfaces into Strategic Assets
Countertops are evolving from static slabs to intelligent, sustainable, and modular platforms that deliver real‑time insights, reinforce brand identity, and b...Read More
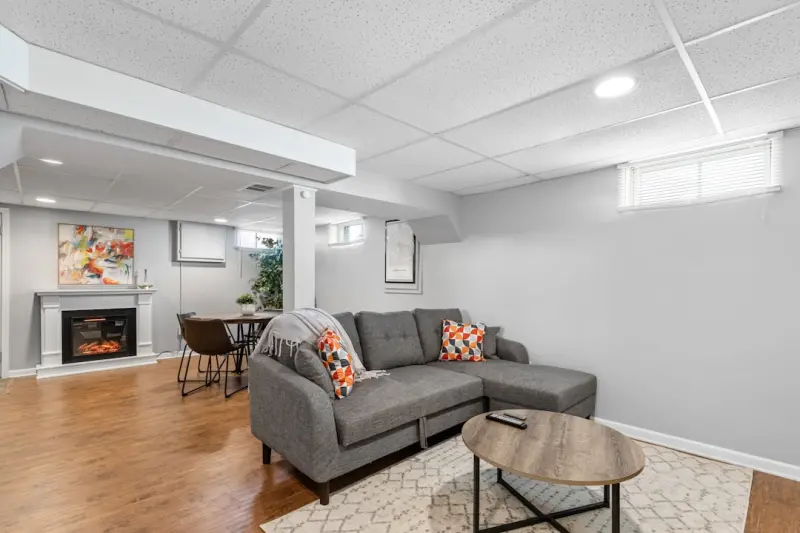
Transform Your Basement into a Year‑Round Wellness Hub
A fresh look at turning under‑used basements into vibrant, healthy spaces that support work, relaxation, and eco‑friendly living....Read More

When Grain Meets Code: The Rise of Smart Woodworking
Discover the emerging world of smart woodworking, where sensors, AI, and data-driven insights enhance durability, sustainability, and design while preserving th...Read More

Turn Your Walls into Energy‑Saving Assets with Smart Paint
Learn how modern paint technology can lower heating costs, improve air quality, and transform any room’s look—plus practical tips for DIY and pro applicatio...Read More
0 Comments
Post Comment
You will need to Login or Register to comment on this post!