

Why I Keep Coming Back to Forgotten Furniture
Every time I walk past a weathered dining table or a dented dresser, I feel a pull that’s part curiosity, part reverence. To most, these pieces are just clutter; to me, they’re silent histories waiting for a second act. My journey into furniture restoration began not with a grand plan but with a simple urge to rescue a family heirloom that had been relegated to the attic. That first success—turning a cracked oak sideboard into a centerpiece for a modern living room—taught me that restoration is less about fixing objects and more about honoring the stories they carry. This mindset shapes every project I tackle, driving me to blend traditional craftsmanship with a dash of modern ingenuity, all while keeping the soul of the piece intact.
Diagnosing the Piece: A Forensic Approach
Before any sanding or staining, I treat each item like a case study. I start by cataloguing the wood type, joinery methods, and any original finishes. Understanding whether a piece is solid pine, reclaimed walnut, or a composite influences every decision downstream. I also examine past repairs—nail holes, glue lines, or patched sections—to gauge the extent of hidden damage. This diagnostic phase can be as revealing as an X‑ray, uncovering structural weaknesses that aren’t obvious to the casual eye. By documenting these findings, I create a roadmap that respects the original construction while outlining the interventions needed to bring the piece back to life.
Salvaging Authentic Hardware and Details
One of the joys of restoration is the hunt for period‑correct hardware. Antique brass pulls, dovetail drawer slides, and original mortise‑and‑tenon joints not only add authenticity but also elevate the piece’s value. I frequent local salvage yards, estate sales, and online marketplaces, always with a keen eye for wear patterns that signal genuine age. When I locate a matching knob or hinge, I clean it with a gentle citrus‑based solvent, preserving its patina instead of erasing it. These small details often become the focal point of the finished piece, reminding anyone who sees it that the past and present can coexist beautifully.
Modern Tools Meet Time‑Honored Techniques
While I cherish hand tools—chisels, planes, and a good old block plane—I also leverage modern technology to enhance precision. A digital colorimeter, for instance, helps me match existing stains within a single shade tolerance, ensuring continuity across repaired sections. Likewise, a variable‑speed rotary tool allows for controlled removal of old finishes without gouging delicate edges. When I need to recreate intricate inlays, a CNC router can cut patterns that would take hours by hand, freeing me to focus on the finishing touches. This blend of old and new keeps my workflow efficient without compromising the craftsmanship that defines each restoration.
Gentle Cleaning: Removing Years Without Stripping Character
The first step after assessment is a careful cleaning regimen. I avoid harsh chemicals that could strip away historic finishes; instead, I opt for a solution of warm water, mild dish soap, and a few drops of essential oil. A soft‑bristled brush loosens grime from carved details, while a microfiber cloth wipes away residue without leaving fibers behind. For stubborn grime in crevices, I use a cotton swab dipped in the solution, ensuring the wood stays hydrated but not saturated. This method not only reveals the true color of the timber but also preserves the subtle wear that tells the story of the piece’s former life.
Structural Repairs: From Cracks to Core Reinforcements
When a leg wobbles or a tabletop cracks, the repair strategy depends on the damage’s scope. Minor splits can be sealed with a two‑part epoxy, carefully injected to fill voids before clamping the joint for a seamless bond. For more severe rot, I employ a technique called “scarf joint”—cutting the compromised area at an angle and inserting a matching timber insert, then gluing it with a waterproof adhesive. This method restores strength while maintaining the visual continuity of the grain. In cases where original joinery has failed, I reconstruct mortise‑and‑tenon connections using dowels and biscuits, echoing the craftsmanship of the era while ensuring the piece can bear modern use.
Finishing Touches: Stains, Paints, and Protective Coatings
Choosing the right finish is a balancing act between aesthetics and durability. For a piece that originally featured a warm, amber hue, I might select a low‑VOC oil‑based stain that deepens the grain without obscuring it. If the design calls for a contemporary twist, a matte chalk paint can provide a soft, velvety surface that still lets the wood breathe. Once the color layer is set, I protect it with a topcoat—either a water‑based polyurethane for high‑traffic areas or a natural wax for a more tactile feel. The final coat not only safeguards the wood against spills and scratches but also enhances the depth of the finish, allowing light to dance across the grain.
Sustainability and Storytelling: Giving New Purpose to Old Pieces
Restoring furniture isn’t just a hobby; it’s an eco‑friendly practice that reduces waste and honors craftsmanship. By extending the life of a solid‑wood chair, I divert a potential landfill load and preserve the carbon footprint embedded in the timber. Moreover, each restored piece becomes a conversation starter—a tangible narrative of reuse, resilience, and personal taste. I love seeing clients place a refurbished nightstand beside a sleek, modern bed, creating a visual dialogue between eras. This juxtaposition illustrates how thoughtful restoration can bridge design philosophies, making sustainability an integral part of interior storytelling.
Community, Learning, and the Road Ahead
Furniture restoration thrives on shared knowledge. I regularly browse forums, attend workshops, and contribute to DIY Home Repairs discussions, where fellow enthusiasts exchange tips on everything from glue selection to finish application. The collaborative spirit fuels my own growth, reminding me that every project is an opportunity to experiment and refine technique. If you’re curious about starting your own restoration journey, begin with a modest piece—perhaps a small side table—apply the diagnostic steps outlined above, and let the process unfold. With patience, the right tools, and a respect for the furniture’s history, you’ll discover that restoring is as rewarding as it is restorative.

Paul Gray is a dynamic blogger based in Brampton, where he shares his life with his amazing wife, Sarah. Known for his engaging writing style and relatable insights, Paul has carved out a niche in the blogging world that resonates with readers from all walks of life. When he's not crafting captivating posts, you can find him savoring a cold beer or indulging in the latest blockbuster movie. With a friendly demeanor and a passion for storytelling, Paul brings a unique perspective to his work, making him not just a blogger, but a voice for those who appreciate the simple joys of life.
Related Posts
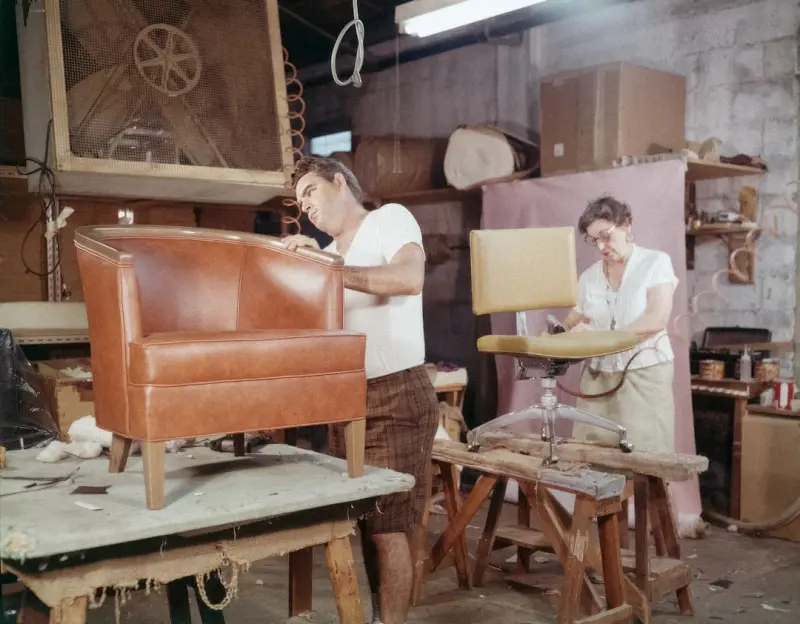
The Smart Artisan’s Guide to Profitable Furniture Restoration
Learn to blend craftsmanship with data, sustainability, and smart marketing to turn vintage furnitur... Read More
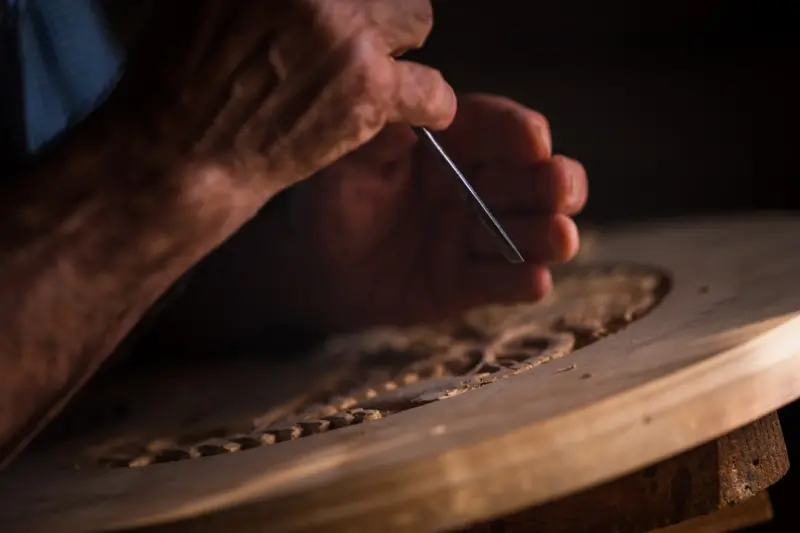
Reimagining Furniture Restoration: Craft Meets Science
A deep dive into merging traditional woodworking skills with modern science, offering step‑by‑st... Read More

From Dusty Heirloom to Modern Marvel: My Journey in Furniture Restoration
I breathe new life into forgotten furniture, turning heirloom tables and chairs into contemporary st... Read More
Top Posts

Rewilding the Front Yard: Turning Your Landscape into a Living Asset
A deep dive into rewilding residential yards—focus on soil health, layered planting, water management, and wildlife habitat—to create a low‑maintenance, h...Read More

The Home Inspector’s Blueprint for Sustainable, Smart Living
A seasoned inspector shares actionable insights on weather proofing, smart windows, DIY repairs, and future‑proofing homes for sustainable, smart living....Read More

The Silent Threat: A Data‑Driven Playbook for Mold Eradication
A comprehensive guide to using real‑time monitoring, moisture mapping, and sustainable remediation to turn mold from a hidden danger into a manageable compone...Read More
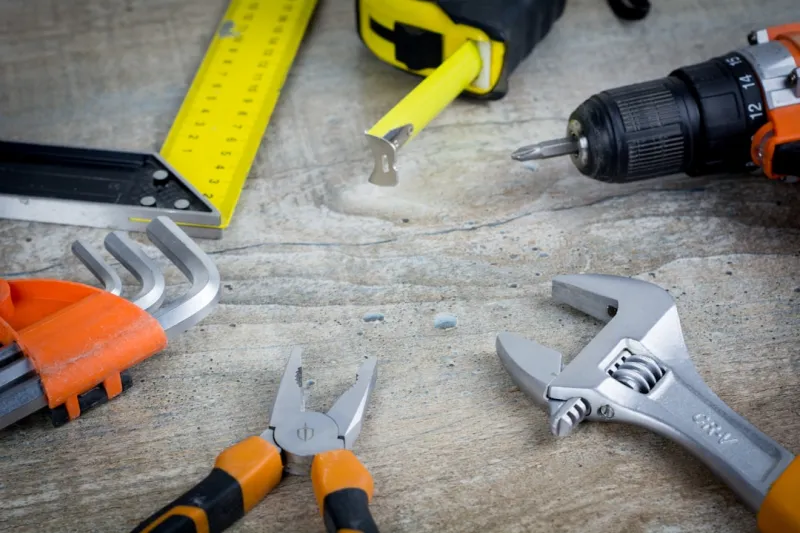
Embracing Sustainable DIY Home Repairs for a Greener Tomorrow
Make a positive impact on the environment by embracing sustainable DIY home repairs. Learn how to choose eco-friendly materials, energy-efficient solutions, and...Read More
0 Comments
Post Comment
You will need to Login or Register to comment on this post!