

Breathing New Life into Old Pieces: A Hands‑On Journey into Furniture Restoration
When I first inherited my grandfather’s battered walnut sideboard, I didn’t see a relic—I saw a conversation waiting to happen. Each dent, each faded veneer, whispered stories of family dinners, late‑night study sessions, and the inevitable clatter of a bustling household. Restoring that piece became more than a weekend project; it turned into a philosophy for how we treat the objects that surround us.
In this post I’ll walk you through the mindset, the method, and the unexpected benefits that come from reviving furniture you might otherwise toss. You’ll discover why a disciplined approach can save money, reduce waste, and even boost your creative confidence—all while keeping the soul of the original piece intact.
1. The Why Behind Restoration
Before you even pick up a sandpaper block, ask yourself what you hope to achieve. Restoration isn’t just about aesthetics; it’s a strategic decision that intersects three key pillars:
- Economic value: A well‑restored item can fetch a higher resale price or simply serve you longer without replacement costs.
- Environmental impact: Extending a piece’s lifecycle keeps wood, metal, and upholstery out of landfills and reduces demand for new raw materials.
- Personal satisfaction: There’s a quiet triumph in turning a worn‑out chair into a statement of craftsmanship.
If you’re looking for a broader perspective on sustainable decision‑making, consider how foundations of sustainable projects can inform the way you approach restoration. The same data‑driven mindset that guides large‑scale construction can be scaled down to the workshop bench.
2. Assessing the Piece: A Diagnostic Checklist
Every restoration begins with a thorough assessment. Skipping this step is like trying to bake a cake without measuring the ingredients—something’s bound to go wrong.
- Structural integrity: Examine joints, legs, and frames for cracks or rot. Use a screwdriver to probe hidden connections.
- Surface condition: Identify scratches, stains, and previous finishes. A simple water test (a few drops on an inconspicuous spot) will reveal whether the finish is oil‑based, water‑based, or lacquer.
- Hardware: Check knobs, pulls, and hinges for wear. Decide whether to refurbish, replace, or upcycle with a contrasting style.
- Historical context: Research the era and maker, if possible. Knowing whether you’re handling a mid‑century modern or a Victorian piece will guide your finish choices.
Document your findings with photos and notes. This record becomes a roadmap, helping you stay organized and avoid costly missteps later on.
3. Preparing the Workspace: Safety Meets Efficiency
A tidy, well‑ventilated workshop is non‑negotiable. Here are the essentials:
- Protective gear: Safety glasses, respirators (especially when sanding or stripping), and gloves.
- Dust control: A shop vac with a HEPA filter and a drop cloth to capture fine particles.
- Lighting: Bright, daylight‑balanced bulbs to accurately judge colors and finishes.
- Tool station: Keep sanders, scrapers, brushes, and clamps within arm’s reach to minimize movement.
Think of your workspace as an extension of the piece itself—clean, purposeful, and ready to support the transformation.
4. Stripping and Sanding: The Art of Removing the Past
Removing old finish is often the most labor‑intensive phase, but it’s also where you reclaim the wood’s true character.
Chemical Strippers vs. Mechanical Methods
For delicate surfaces, a low‑odor chemical stripper applied with a brush works well. Let it sit according to the manufacturer’s instructions, then scrape gently with a plastic putty knife. For tougher finishes, a combination of chemical and mechanical removal—using a random‑orbit sander with 80‑grit paper—offers the best of both worlds.
Remember to sand with the grain, progressing through 120‑grit to 220‑grit for a smooth, even surface. Finish with a fine‑grain (320‑grit) pad to prepare for staining.
5. Repairing Damages: When Fixing Becomes an Art Form
Small cracks can be filled with wood filler, but for larger structural issues you’ll need to employ more robust techniques.
- Glue‑up: Use a high‑quality wood glue, applying clamps for at least an hour to achieve a bond stronger than the original wood.
- Doweling: Reinforce joints by drilling matching holes and inserting dowels—especially effective on chair legs and table aprons.
- Epoxy patches: For deep gouges, mix two‑part epoxy, color it with wood stain, and sculpt it to match the surrounding grain.
Take pride in these repairs; they’re not blemishes but signatures of your craftsmanship.
6. Staining and Finishing: Color Meets Protection
The finish you choose defines the final mood of the piece. Here’s how to make an informed decision:
- Stain selection: Test three shades on scrap wood. Observe how the wood grain reacts—some stains deepen the grain, while others mask it.
- Application technique: Use a lint‑free cloth for oil‑based stains, allowing the wood to soak for a few minutes before wiping excess.
- Topcoat choice: Polyurethane offers durability for high‑traffic items, whereas a natural oil (like tung or Danish oil) retains a hand‑crafted feel.
Apply thin, even coats, sanding lightly with 320‑grit sandpaper between layers. Patience here yields a finish that ages gracefully rather than peeling under use.
7. Hardware and Accents: The Finishing Touches
Updating knobs, pulls, or hinges can dramatically shift a piece’s aesthetic without altering its core identity. Consider these approaches:
- Contrasting metal: Brass or matte black hardware on a light wood can introduce a modern edge.
- Vintage repurposing: Salvage handles from an old filing cabinet for an eclectic, industrial vibe.
- Custom carving: If you have the skill, add subtle wood‑inlay patterns that echo the original design language.
When you need inspiration for coordinating interior elements, designing purposeful small spaces can spark ideas on how restored furniture fits into a larger layout.
8. Documentation and Storytelling
Every restored piece carries a narrative. Capture it:
- Before‑and‑after photos.
- Notes on materials and techniques.
- Personal reflections on challenges and breakthroughs.
This documentation not only aids future projects but also becomes content you can share with clients, friends, or a growing online community of fellow restorers.
9. Scaling the Practice: From Hobby to Business
If you find yourself consistently finishing projects, you might consider turning your passion into a side gig. Here are three practical steps:
- Build a portfolio: Create a simple website showcasing your best before‑and‑after work.
- Network locally: Partner with antique shops, interior designers, and boutique hotels that value bespoke pieces.
- Pricing strategy: Factor in material costs, labor hours, and a modest profit margin. Transparency builds trust.
Remember, the same meticulous planning that guides large‑scale renovations—like the ideas explored in rethinking commercial renovations—applies equally to a single chair or a full dining set.
10. The Long‑Term Payoff: Sustainability Meets Style
Restoring furniture is a tangible expression of circular economy principles. By extending product lifespans, you directly reduce demand for virgin materials and lower the carbon footprint associated with manufacturing new pieces. Moreover, a well‑restored item often becomes a focal point that elevates the overall design of a space, proving that sustainability and style aren’t mutually exclusive.
In a world saturated with disposable trends, choosing to restore is a quiet act of rebellion—one that honors craftsmanship, preserves resources, and creates lasting beauty.
Conclusion: Your Next Project Awaits
Whether you’re tackling a neglected heirloom or a thrift‑store find, the restoration process offers a rewarding blend of problem‑solving, artistic expression, and environmental stewardship. Equip yourself with the right tools, adopt a systematic approach, and let each piece tell its story anew.
So, what’s gathering dust in your attic? Pull it out, roll up your sleeves, and start the conversation with the wood. You’ll be surprised at how much you learn—not just about the furniture, but about patience, precision, and the joy of making something old feel brand new.

Craig Brett is a freelancer with a passion for the outdoors. His love for nature inspires his work, bringing authentic and engaging perspectives to projects related to outdoor activities, adventure, and environmental topics.
Related Posts

Reviving Vintage Office Furniture: A Competitive Advantage
Restoring vintage office furniture isn’t just about saving money—it strengthens brand narrative,... Read More

Data‑Driven Furniture Restoration: Turning Tradition into Tech‑Powered Upcycling
Discover how leveraging data, 3‑D scanning, and smart finishes can transform traditional furniture... Read More

Restoring Furniture as Sustainable Storytelling: Data, Craft, and Circular Design
A deep dive into merging traditional furniture restoration with predictive data, sustainable materia... Read More
Top Posts
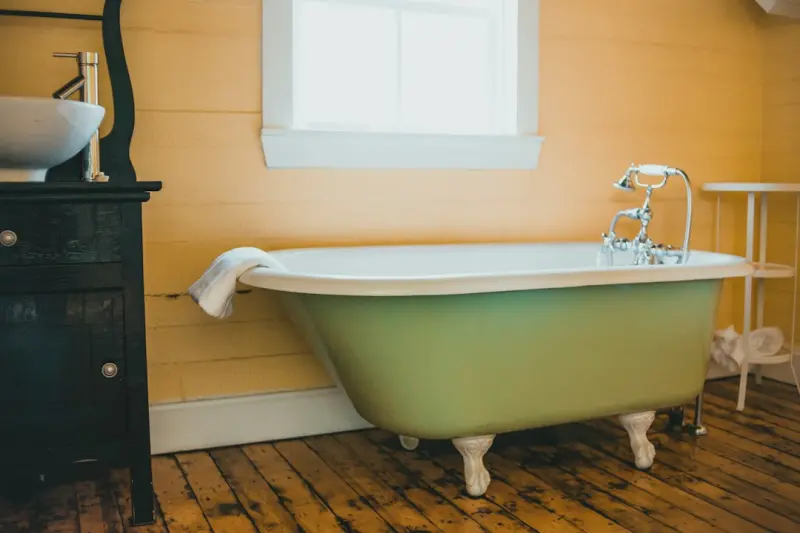
How a Fresh Finish Turns a Bathtub into a Sale‑Closing Asset
A freshly refinished bathtub can be the decisive factor that speeds up a home sale and raises the final offer. Learn why this low‑cost upgrade matters, how to...Read More

Rethinking the Sunroom: From Passive Nook to Adaptive Smart Hub
Explore how to upgrade a traditional sunroom into a multi‑purpose smart hub, balancing work, wellness, and sustainability through flexible zoning, electrochro...Read More
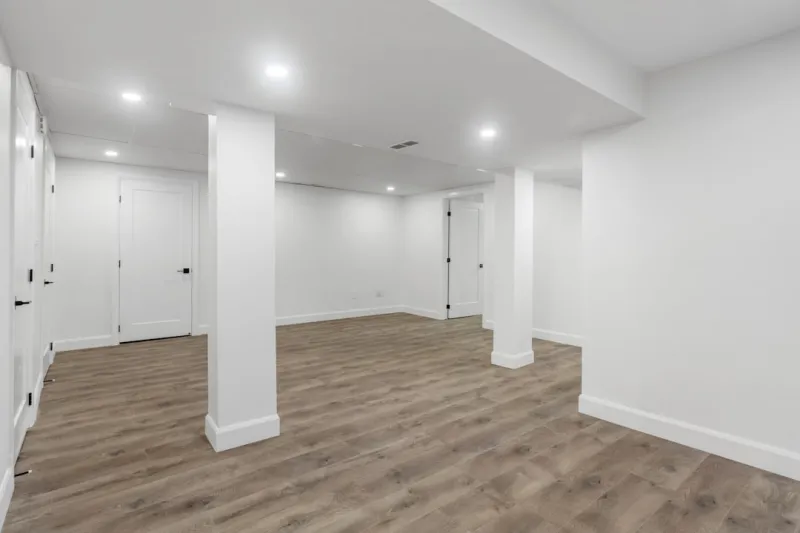
The Ultimate Guide to Basement Renovations: Transforming Your Space
Unlock the full potential of your home with a well-planned basement renovation. Learn the essential steps and considerations to create a beautiful, functional, ...Read More

Harvesting Steps: How Energy‑Generating Pavement Is Powering the Next Urban Grid
Modern paving is evolving from a passive surface to an active, energy‑producing, data‑rich platform that combats heat islands, manages stormwater, and power...Read More
0 Comments
Post Comment
You will need to Login or Register to comment on this post!