

Why Tiling Is the New Frontier for Sustainable Home Design
Every time I step onto a freshly laid floor, I feel a quiet thrill that goes beyond aesthetics; it’s the satisfaction of turning a room into a resilient, breathable space. Over the years I’ve watched trends swing from glossy porcelain to reclaimed stone, and what stays constant is the homeowner’s craving for beauty that doesn’t cost the planet. Smart tile choices now fuse durability with low‑impact manufacturing, letting us create interiors that age gracefully while keeping carbon footprints in check. In my workshops I often remind clients that a well‑executed tile job can outlast a carpet by decades, reducing the need for replacements and the waste that follows. This mindset aligns perfectly with a broader shift toward green building practices, where every square foot counts as a statement of intent toward a healthier home and a healthier world.
Choosing the Right Sustainable Tile Materials
When I scout for tiles, I start with the story behind the product: is it sourced from recycled clay, reclaimed wood‑look porcelain, or responsibly harvested natural stone? Materials like recycled glass mosaics or low‑VOC porcelain not only look stunning but also divert waste from landfills, a point I often reference in my article Sustainable Architecture: Crafting Buildings That Breathe and Endure. The manufacturing process matters, too—tiles fired at lower temperatures use less energy, and many manufacturers now offset emissions with renewable energy credits. For high‑traffic areas, consider porcelain with a high PEI rating; it’s harder, more resistant to staining, and often contains less water in its body than ceramic alternatives. By weighing these factors you’re not just picking a surface; you’re investing in a material that supports a circular economy and stands up to the wear and tear of daily life.
Preparing a Rock‑Solid, Sustainable Substrate
Before any tile ever meets the floor, the substrate must be flawless; a weak foundation will crack even the toughest tile. I always start by inspecting the existing slab for cracks, moisture intrusion, and levelness, then I reinforce it with a cementitious underlayment that incorporates recycled aggregates—a practice I detail in Building a Rock‑Solid, Sustainable Foundation: Lessons from the Trenches. This underlayment acts like a breathable membrane, allowing any residual moisture to escape while providing a level, supportive base for the adhesive. If you’re working over wood joists, I recommend a waterproofing membrane coupled with a floating screed to prevent moisture transfer that could rot the wood. The extra step of adding a thin layer of sand‑filled insulation also improves thermal performance, turning a simple floor into a modest climate control system. The effort spent on substrate preparation pays dividends in longevity and reduces future repair costs.
Designing the Layout: Geometry Meets Function
Tile layout is where art meets engineering, and I love guiding homeowners through the process of visualizing patterns that enhance flow and function. Start by measuring the room and drafting a mock‑up with chalk lines, ensuring that the central axis aligns with the longest wall to avoid awkward cuts at the edges. Diagonal or herringbone patterns can visually widen a cramped space, but they also demand more waste material, so plan for extra tiles accordingly. When integrating heated floor systems, place the heating loops perpendicular to the tile joints; this maximizes thermal conductivity and prevents hot spots. Strategic placement of accent tiles can draw the eye toward focal points like a fireplace or a built‑in bench, turning the floor into a narrative canvas. By balancing aesthetics with practical considerations—like grout line width for easier cleaning—you create a floor plan that feels both intentional and effortless.
Mastering Installation: Thin‑Set, Grout, and Precision
Applying the right adhesive is crucial; I favor a polymer‑modified thin‑set that bonds securely to both porous and non‑porous substrates while remaining flexible enough to accommodate slight movement. Spread the mortar with a notched trowel, pressing each tile firmly to eliminate air pockets—a step that can’t be rushed. For large format tiles, use a leveling system to keep the surface even and prevent lippage, which can become a tripping hazard. Once the tiles set, mix grout that matches the tile’s color palette but also contains antimicrobial additives for high‑traffic zones like kitchens. Apply grout with a rubber float, pressing it into joints to fill every crevice, then wipe away excess with a damp sponge before it dries. Finally, seal the grout with a penetrating sealer that repels stains yet allows the surface to breathe, extending the life of the floor for years to come.
Finishing Touches: Sealing, Cleaning, and Longevity
The final phase of a tile project is often overlooked, yet it determines how the floor will age. I always recommend a high‑performance sealant that protects against spills, especially for natural stone that can be porous. For ceramic and porcelain, a light topical seal keeps the surface looking glossy without trapping moisture. Routine cleaning should avoid harsh chemicals; instead, a pH‑balanced cleaner maintains the tile’s sheen while preserving the sealant. If you’re dealing with grout that tends to darken over time, a gentle bleach solution can restore its original hue without damaging the surrounding tile. For inspiration on maintaining a spotless environment, check out my guide on Eco‑Friendly Carpet Cleaning: Proven Strategies for a Healthier Home. Consistent care not only keeps the floor looking fresh but also prevents dirt from working its way into seams, where it could cause deterioration.
Future‑Proofing Your Tile Investment
Homeowners today want more than just immediate visual appeal; they seek solutions that stand the test of time and adapt to evolving needs. To future‑proof a tiled surface, select grout with a low shrinkage rate, reducing the risk of cracking as the building settles. Incorporate a moisture‑sensing underlayment that alerts you to leaks before they become visible, an approach I champion in Future‑Proofing Property Maintenance: A Veteran Contractor’s Playbook. Additionally, consider tiles with a slip‑resistant rating for areas prone to water exposure, such as bathrooms or entryways. By choosing products with recyclable end‑of‑life options, you ensure that when the day finally comes to remodel, the materials can be reclaimed rather than sent to landfill. These proactive measures transform a simple flooring job into a resilient, sustainable asset that adds lasting value to any home.
DIY vs. Professional Installation: Handyman Hacks for Success
There’s a strong DIY culture in the tiling community, and I respect anyone who wants to roll up their sleeves and lay a floor themselves. However, a few nuanced steps—like substrate preparation, precise leveling, and proper sealing—can be make‑or‑break moments that many novices miss. In my article Handyman Hacks: Sustainable Fixes Every Homeowner Should Know, I share tips on how to avoid common pitfalls, such as using a back‑bleed method for large tiles or employing a moisture meter before installation. If you’re confident in your measurements and have the right tools, tackling the project can be rewarding and cost‑effective. Yet, for complex layouts, radiant heating integration, or heritage stone, hiring a seasoned professional ensures the job meets both aesthetic and technical standards, protecting your investment and your peace of mind.
Closing Thoughts: Tiling as a Sustainable Statement
At the end of the day, tiling is more than a decorative choice; it’s an opportunity to embed sustainability into the very fabric of a home. By selecting eco‑friendly materials, preparing a robust substrate, and executing a meticulous installation, you create a floor that not only looks stunning but also serves as a long‑lasting, low‑maintenance asset. Each tile you lay becomes a small yet powerful declaration that you value durability, environmental stewardship, and thoughtful design. I encourage you to view your next tiling project as a chance to contribute to a greener future—one square foot at a time.

William Roy is a freelance writer originally from Montreal who moved to Ottawa with his wife of 50 years to be closer to their grandkids. Alongside his writing, William has a passion for fishing.
Related Posts
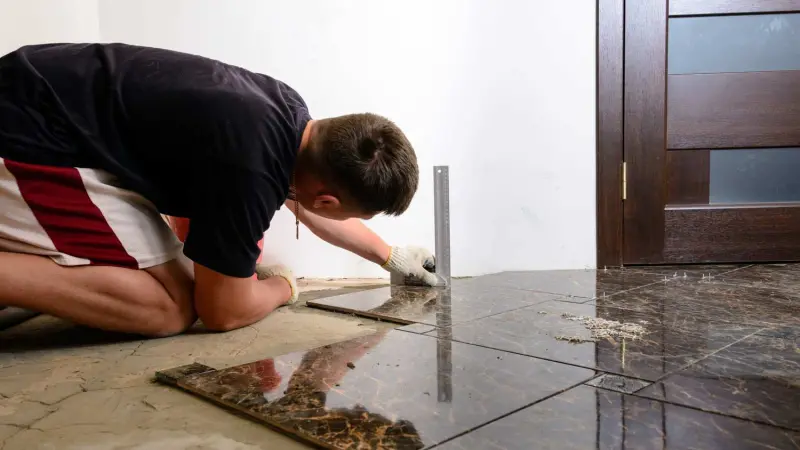
Tile Mastery: From Subfloor Secrets to Future‑Proof Design
Learn insider tips on preparing subfloors, choosing durable tiles, mastering grout, and adding smart... Read More
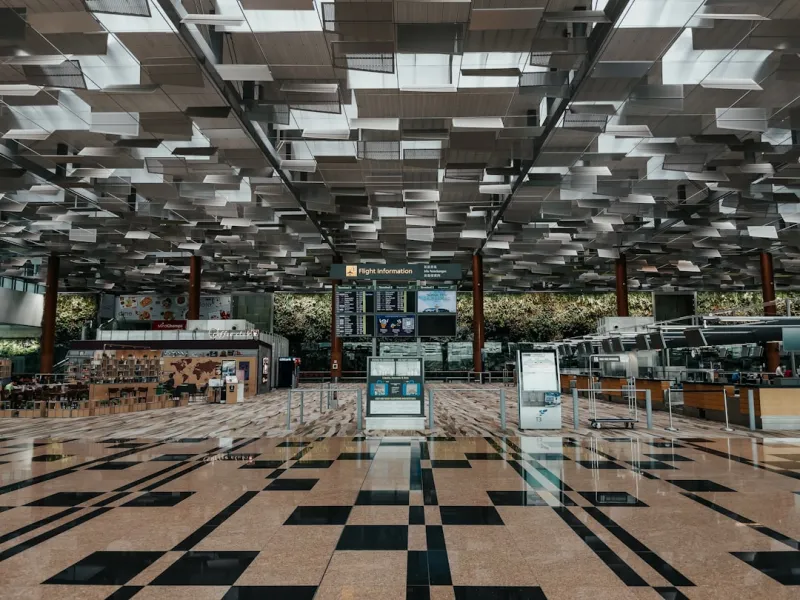
The Evolution of Tiling: Trends, Innovations, and Best Practices
The world of tiling is evolving rapidly, driven by advances in technology and changing consumer pref... Read More

Tiles as Data Hubs: Turning Floors into Smart, Sustainable Platforms
Discover the evolving role of tiles from decorative finishes to intelligent platforms that boost ene... Read More
Top Posts
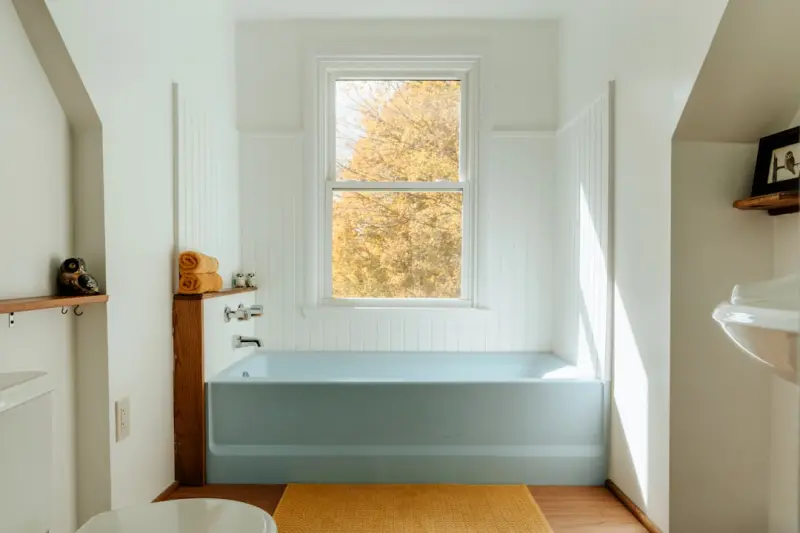
Beyond the Gloss: Crafting Smart, Sustainable Bathrooms with Bathtub Refinishing
Bathtub refinishing is evolving from a quick fix to a platform for design, sustainability, and smart home integration, offering homeowners a high‑impact, lowâ...Read More

The Greening of Lawn Care: Sustainable Practices for a Lush and Eco-Friendly Yard
Learn how to create a sustainable and eco-friendly yard with these simple and effective lawn care practices. From organic fertilizers to native plants, discover...Read More

Beyond Concrete: Rethinking Foundations for a Greener Tomorrow
A deep dive into sustainable foundation practices, from low‑carbon binders and thermal insulation to collaborative planning and data‑driven monitoring, show...Read More

The Ultimate Renovation Checklist for a Healthy, Future‑Proof Home
A comprehensive, purpose‑driven renovation checklist that guides homeowners through budgeting, sustainable material selection, acoustic comfort, smart repurpo...Read More
0 Comments
Post Comment
You will need to Login or Register to comment on this post!