
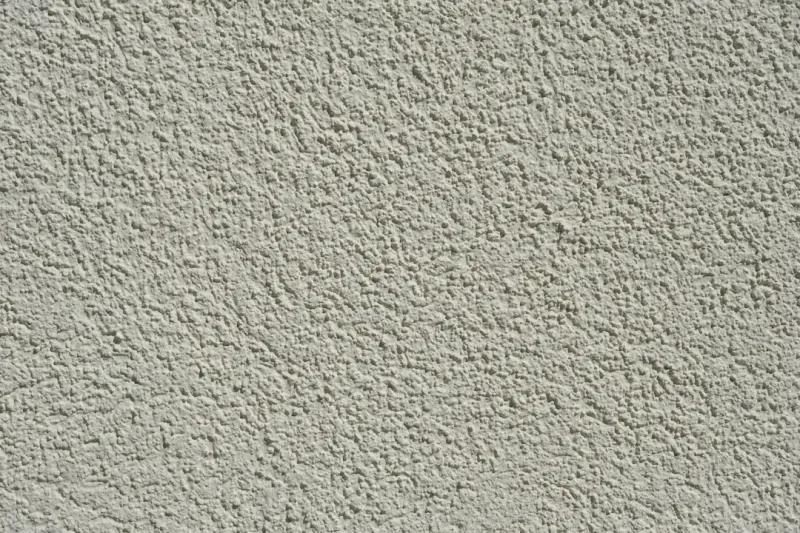
Why Texture Matters More Than Color in Modern Plastering
When I first swapped out a tired drywall surface for a hand‑trowed plaster finish, I discovered that texture can redefine a room’s mood in ways that even the most daring paint palette cannot achieve, because the subtle play of light across a rough‑sawn or smooth‑sand finish creates depth and tactile intrigue that invites occupants to pause and feel the space; this realization sparked a deeper investigation into the centuries‑old craft of decorative plaster, where every swipe of the trowel carries a story of material science, skill, and artistic intent, and where modern homeowners can harness that legacy to craft interiors that feel both timeless and unmistakably personal. Understanding the physics of plaster adhesion is essential, as the substrate must be clean, dry, and properly primed to allow the lime‑or‑gypsum mixture to bond without cracking, and a simple misstep—such as neglecting to apply a bonding agent on a glossy plaster wall—can lead to delamination that ruins months of labor and drains budgets; therefore, I always start with a thorough inspection, referencing a comprehensive home inspection checklist that ensures the surface is free of moisture, oil, or loose particles before the first coat arrives. Finally, the choice of finish—whether it’s a classic Venetian plaster, a contemporary stucco‑like texture, or an avant‑garde metallic patina—should align with the functional demands of the room, because high‑traffic areas benefit from a harder, more wear‑resistant coat, while a bedroom can luxuriate in a soft, whisper‑quiet plaster that absorbs sound and enhances comfort.
Preparing the Perfect Substrate: The Foundation of Flawless Plaster
The most common mistake I see on renovation sites is treating the substrate as an afterthought, yet the success of any plaster project hinges on meticulous preparation, which starts with identifying the existing wall composition—whether it’s plaster, drywall, or concrete—and then selecting the appropriate primer or bonding agent that will encourage a chemical grip rather than a superficial cling; for instance, a lime‑based primer on a cement block can create a breathable barrier that prevents moisture buildup, a critical factor in regions prone to humidity. In addition to chemical preparation, physical preparation involves sanding uneven patches, filling cracks with a compatible filler, and ensuring the surface is level within a tolerance of 3 mm over a 2‑meter span, because even minor deviations can manifest as visible ridges once the plaster sets, turning what should be a seamless wall into an unintended decorative element; I often use a long straightedge and a laser level to verify flatness before moving forward. When dealing with older homes that may harbor hidden mold, I integrate a brief but thorough mold removal tips routine, applying an antimicrobial treatment that safeguards the new plaster from future fungal intrusion and protects indoor air quality for the family.
Choosing the Right Plaster Mix for Your Project
Plaster isn’t a one‑size‑fits‑all material; the decision between gypsum, lime, or a hybrid mix depends on factors such as desired finish, drying time, and environmental conditions, with gypsum offering rapid set‑up and a smooth finish ideal for contemporary interiors, while lime provides a breathable, flexible surface that can accommodate subtle movements in historic structures without cracking, making it perfect for renovation projects that aim to preserve heritage while adding modern flair; I favor a gypsum‑lime blend when I need the quick workability of gypsum but also want the long‑term durability and moisture‑regulating properties of lime. Mixing ratios are equally critical; a typical 1:2 lime to sand blend yields a plaster that can be troweled to a thickness of up to 10 mm without sagging, whereas a 1:1 ratio produces a sturdier coat suitable for external façades, and the addition of a small amount of cement can increase compressive strength for high‑traffic zones, though it reduces breathability—a trade‑off that must be weighed against the room’s usage. Moreover, I always incorporate a water‑soluble polymer additive, which enhances adhesion and reduces shrinkage, ensuring that the final surface remains crack‑free even under temperature fluctuations, a subtle yet powerful technique that professional plasterers often keep under wraps.
Application Techniques: From Base Coat to Finishing Touches
Applying plaster is an orchestrated sequence of layers, each serving a distinct purpose, and my process begins with a thin scratch coat that acts as a key for the subsequent finish coat; this scratch coat is scored lightly while still wet, creating a micro‑texture that improves mechanical bonding and prevents the finish from slipping, a practice rooted in centuries‑old European plastering traditions and still relevant in modern construction. After the scratch coat cures—typically 24 hours for gypsum or up to 48 hours for lime—I apply the finish coat using a broad stainless steel trowel, spreading the material in even strokes that gradually build up the desired thickness, and I employ a technique called “buttering” where the trowel is kept slightly wet to achieve a glass‑like sheen, especially effective with Venetian plaster that mimics polished marble without the cost. For decorative effects such as stippling, rag‑rolling, or creating a subtle wave pattern, I introduce a secondary tool—like a stippling brush or a damp sponge—while the plaster is still workable, allowing the texture to set naturally; this is where creativity meets craftsmanship, and the finished wall can become a conversation piece that elevates the entire home’s aesthetic.
Protecting and Maintaining Your Plaster Work
Once the plaster has cured and been polished to the desired level, protection becomes paramount, and I recommend a breathable sealant that safeguards the surface from stains, moisture, and everyday wear without trapping vapor, which could lead to hidden rot or mold growth; silicone‑based breathable primers are excellent for this purpose, as they maintain the wall’s ability to “breathe” while providing a durable barrier that can be wiped clean with a damp cloth. Routine maintenance involves gently dusting the walls with a soft microfiber cloth to avoid abrasive scratches, and addressing any small chips or scratches promptly by feather‑feathering a thin patch of matching plaster and re‑polishing, a practice that preserves the integrity of the finish for years to come. For high‑traffic zones, I occasionally apply a clear, low‑sheen polyurethane topcoat, which adds an extra layer of protection against scuffs while still allowing the subtle texture to shine through, ensuring that the plaster continues to serve both functional and aesthetic roles without compromising its original character.
Integrating Plaster with Other Home Systems: A Holistic Approach
Modern renovations rarely exist in isolation, and plaster walls often intersect with electrical, plumbing, and HVAC systems, requiring careful coordination to avoid future headaches; I always map out conduit and pipe locations before the first coat, using a laser‑guided stud finder to locate hidden elements and marking them with a non‑permanent pencil, because once the plaster sets, cutting into it is both messy and costly, and any misalignment can compromise the system’s performance. When integrating plaster with insulated walls, I place a vapor‑permeable membrane behind the plaster to prevent moisture from becoming trapped between the insulation and the finish, a step that dramatically reduces the risk of condensation and the associated mold concerns that many DIY enthusiasts overlook, linking back to the importance of proper moisture management highlighted in the mold removal tips guide. Finally, for homes that feature concrete floors or structural elements, I apply a thin skim coat of plaster to create a seamless transition between floor and wall, a technique that not only unifies the visual language of the space but also provides a buffer against minor settlement cracks, echoing the principles discussed in the concrete repair article, where the blend of materials enhances overall durability and design coherence.

Related Posts

The Timeless Appeal of Plaster: Sustainable, Healthy, and Stylish Walls
Explore the sustainable, health‑boosting, and design‑forward world of plaster, from eco‑binder... Read More

The Evolution of Plastering: How Sustainable Solutions Are Revolutionizing the Industry
The plastering industry is undergoing a significant transformation, driven by the growing demand for... Read More

Embracing Sustainable Plastering: A New Era for Eco-Friendly Walls
Sustainable plastering is revolutionizing the construction industry, offering a healthier, more dura... Read More
Top Posts

The Evolution of Tiling: How Sustainable Solutions Are Revolutionizing the Industry
The tiling industry is undergoing a significant transformation, driven by the need for sustainable solutions. Learn about the evolution of tiling and how eco-fr... Read More

The Power of Paint: How Sustainable Home Painting Can Transform Your Space
Learn how sustainable home painting can transform your space and reduce your environmental footprint. Get eco-friendly tips and tricks for a healthier living en... Read More
The Future of Plastering: How Sustainable Practices Are Revolutionizing the Industry
The future of plastering is here. Learn how sustainable practices are revolutionizing the industry, from eco-friendly materials to natural plastering solutions.... Read More

AI‑Powered HVAC Zoning: The Future of Home Comfort
Explore AI‑powered HVAC zoning that learns your home’s rhythms, cuts energy bills, and integrates with smart devices for effortless, personalized comfort.... Read More
0 Comments
Post Comment
You will need to Login or Register to comment on this post!