

Why Plastering Deserves a Spot on Your Home’s Style Radar
When I first picked up a hawk‑blade trowel, I expected a quick fix for a cracked wall, but what unfolded was a tactile meditation that reshaped my view of interior design. Plaster isn’t merely a coating; it’s a medium that can absorb light, mute sound, and tell a story about the spaces we inhabit, turning a blank canvas into a subtle work of art that feels both timeless and surprisingly modern.
The Quiet Revival of an Ancient Craft
Historically, plaster was the backbone of grand cathedrals and aristocratic mansions, applied by artisans who understood the chemistry of lime and the rhythm of hand‑troweling, yet today it’s resurfacing in boutique apartments and eco‑conscious homes alike. This resurgence is driven by a yearning for textures that digital prints can’t replicate, and by a growing awareness that natural finishes can outperform synthetic wallcoverings in both durability and tactile appeal. I’ve watched clients gravitate toward plaster after experiencing the palpable difference it makes in a room’s ambience.
Beyond Aesthetics: Functional Benefits That Matter
First, plaster creates a seamless surface that resists cracking better than drywall because it distributes stress across a monolithic layer, reducing the need for frequent touch‑ups. Second, its dense composition dampens echo, making open‑plan living areas feel more intimate—an advantage I’ve personally measured with a simple hand‑clap test. Finally, when applied correctly, plaster acts as a breathable barrier, allowing walls to regulate humidity naturally, which can improve indoor air quality and even prolong the life of underlying structures.
Eco‑Friendly Mixes: From Lime to Clay
Traditional gypsum plaster is convenient, but its production carries a heavy carbon footprint, prompting many homeowners to explore greener alternatives such as hydraulic lime and earthen clay blends that sequester CO₂ as they cure. Lime plaster, in particular, offers the dual benefit of flexibility—accommodating slight building movements without fissuring—and a self‑healing quality where minor surface cracks re‑carbonate over time. I’ve experimented with a 1:3 lime‑to‑sand ratio, and the resulting finish not only feels velvety but also contributes to a healthier, lower‑impact home envelope.
Essential Tools and Preparation: Setting the Stage for Success
Before the first coat, preparation is paramount: clean the substrate, apply a bonding agent, and ensure the ambient temperature stays above 55°F to prevent premature drying. The toolset I trust includes a stainless‑steel hawk, a flexible stainless‑steel trowel, a mixing bucket with a sturdy stirrer, and a sanding block for the final skim. For a deeper dive into the gear that can make small repairs feel like professional jobs, see essential plastering tools that every DIY enthusiast should own.
Step‑by‑Step Workflow: From Scratch to Smooth
The process can be broken down into three decisive phases: the scratch coat, the brown coat, and the finish coat, each serving a specific function in building a robust, even surface. First, the scratch coat is applied thinly and scored while still wet to create a key for the next layer; then the brown coat, which is thicker, builds bulk and is leveled with a straightedge; finally, the finish coat—often a skim of joint compound—provides the silky texture ready for painting or left natural.
- Mix to a creamy, lump‑free consistency.
- Apply using a sweeping motion, maintaining consistent pressure.
- Allow each coat to cure fully before proceeding.
Common Pitfalls and How to Sidestep Them
One frequent error is over‑mixing, which incorporates excess air and leads to weak, crumbly layers; instead, stir just enough to achieve a uniform blend and let the mixture sit briefly to settle. Another mistake is neglecting proper sealing, especially in moisture‑prone areas, which can cause plaster to absorb water and deteriorate—something I’ve learned the hard way after a bathroom remodel went awry. For guidance on sealing techniques that protect plaster without compromising breathability, check out proper sealing techniques.
Moisture Management and the Hidden Threat of Mold
Even the most expertly applied plaster can suffer if the surrounding environment isn’t managed, as excess humidity encourages mold growth that stains and weakens the surface. Incorporating a vapor‑permeable membrane behind the plaster or using lime‑based mixes, which naturally resist mold, can mitigate these risks; however, it’s essential to diagnose any underlying leaks before embarking on a plaster project. I recommend reading moisture management strategies to safeguard your investment and maintain a healthy indoor climate.
Bringing It All Together: Your Next Plaster Adventure
Embracing plaster means committing to a craft that rewards patience, precision, and a willingness to experiment with texture and tone, but the payoff is a wall that feels alive under your fingertips and enhances the room’s overall character. Whether you choose a classic lime finish for a historic vibe or a sleek skim coat for a minimalist aesthetic, the process invites you to engage deeply with the material, turning an ordinary renovation into a creative journey. I encourage you to start small, perhaps on an accent wall, and let the tactile satisfaction of plaster guide you toward bolder, more expansive projects.

Kelly Reynolds is a dynamic freelance writer hailing from the picturesque landscapes of Alberta. A master of the written word, she juggles her passion for storytelling with the exhilarating chaos of being a mother to five spirited children. With an impressive portfolio that spans various genres, Kelly captivates readers through her engaging blog posts and thought-provoking articles.
Related Posts

Rethinking Plaster: Sustainable, Acoustic, and Smart Solutions for Modern Interiors
This article uncovers the hidden power of contemporary plaster, revealing its acoustic benefits, bre... Read More

Eco‑Focused Plastering: Green Materials & Future Techniques
A deep dive into modern plastering reveals eco‑friendly mixes, breathable walls for better indoor ... Read More
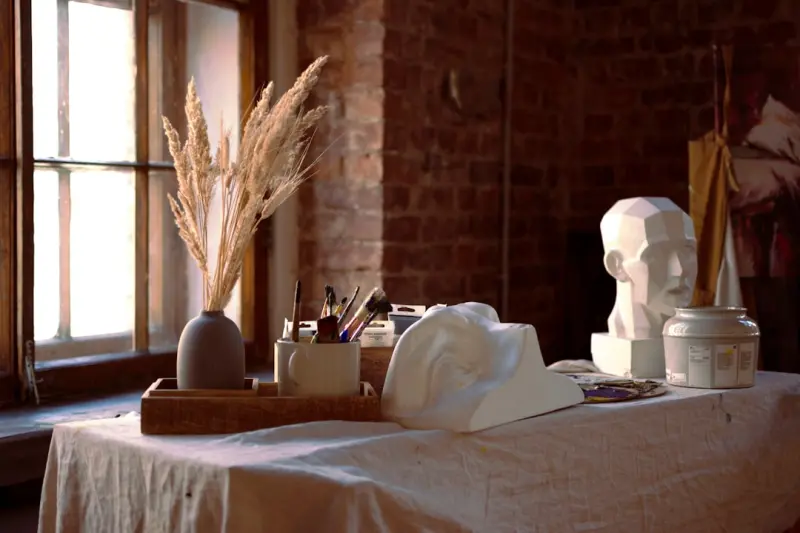
Plastering’s Modern Renaissance: Health, Design, and Smart Innovations
Plaster is returning to the spotlight as a versatile, health‑focused, and technologically enhanced... Read More
Top Posts
The Evolution of Masonry: A Comprehensive Guide to Modern Techniques and Materials
The evolution of masonry has come a long way, from traditional stonework to modern concrete innovations. Learn about the latest techniques and materials that ar...Read More

Reimagining Sheds and Gazebos as Creative Outdoor Outposts
Explore how to convert ordinary sheds and gazebos into multi‑purpose outdoor outposts for work, wellness, and community, with step‑by‑step guidance on lay...Read More

The Importance of Foundation Repair in Sustainable Home Maintenance
Foundation repair is crucial for sustainable home maintenance. Learn how to prevent damage and ensure a greener future with eco-friendly materials and technique...Read More

Designing Climate‑Smart Landscapes: Turning Outdoor Spaces into Energy‑Saving Assets
Discover how integrating shade trees, rain gardens, smart irrigation, and biophilic design can transform a commercial landscape into a cost‑saving, wellnessâ€...Read More
0 Comments
Post Comment
You will need to Login or Register to comment on this post!