
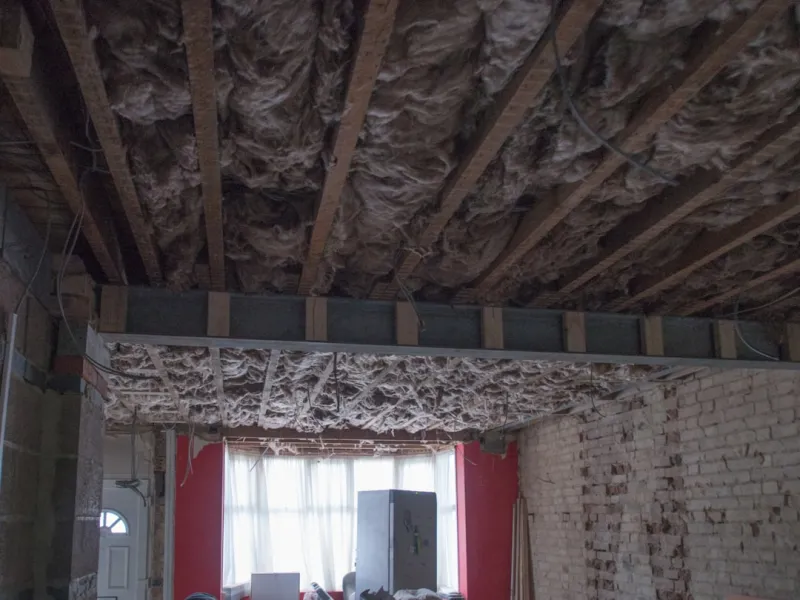
Why Insulation Became My Quiet Super‑Power
When I first started swapping out old windows and retro‑fitting my kitchen, I quickly realized that the real hero of any renovation is the layer you can’t see – the insulation hidden behind drywall, beneath floors, and wrapped around pipes. Good insulation does more than keep the house warm in winter; it creates a stable indoor climate that reduces drafts, protects against moisture, and cuts the thermostat’s workload, which translates to noticeably lower energy bills. I still remember the moment I felt the difference: stepping from a chilly, draft‑laden hallway into a cozy, evenly heated living room felt like walking from a cold front into a warm embrace, and that sensation sparked my obsession with mastering the hidden power of thermal barriers.
Understanding the Science Behind the Blanket
Heat moves in three ways – conduction, convection, and radiation – and each mode can be slowed down with the right insulating material, turning your home into a thermal blanket that resists unwanted temperature swings. Materials such as cellulose, mineral wool, and spray foam each have unique R‑values and moisture‑handling properties, allowing you to tailor a solution that fits the climate, budget, and structural constraints of your project. By mapping out where heat loss is greatest – typically the attic, walls, and foundation – you can prioritize upgrades that deliver the biggest comfort boost while also aligning with sustainability goals, a strategy I explored in depth in The Hidden Power of Insulation.
Choosing the Right Insulation for Every Space
Every room tells a different story: a sun‑lit sunroom needs high‑R‑value batts to keep the heat from escaping at night, while a damp basement benefits from moisture‑resistant rigid foam that also acts as a vapor barrier. I’ve learned to read the subtle cues of each space – the feel of the floor, the sound of wind whistling through gaps, and even the humidity levels on a humid day – to match material to need, ensuring the insulation not only performs but also lasts. For example, blown‑in cellulose is perfect for retrofitting existing walls because it fills irregular cavities without extensive demolition, whereas spray foam excels in sealing hard‑to‑reach corners and creating an airtight envelope that eliminates sneaky drafts.
DIY Insulation Hacks That Deliver Big Savings
Before calling a professional, I love tackling quick wins that anyone with a basic tool kit can handle, like adding reflective foil behind attic vents or stuffing low‑cost recycled denim batts into unfinished crawl spaces. These small interventions, when combined, act like a series of tiny fortifications that together slash heat loss by up to 30 percent, a result that feels astonishing after seeing the thermostat settle at a lower temperature. My favorite hack is to install removable foam gaskets around electrical outlets on exterior walls – a simple, inexpensive step that blocks a common source of winter drafts without compromising accessibility.
Air Sealing: The Unsung Companion to Insulation
Insulation alone can’t stop air leakage, so sealing gaps, cracks, and penetrations is essential for achieving the full performance promised by high‑R‑value materials. I spend a weekend with a caulking gun, a can of expanding spray foam, and a keen eye, hunting down the sneaky pathways where conditioned air escapes – around recessed lighting, where pipes enter the home, and behind baseboards. By combining a tight seal with a robust insulation layer, you create a synergistic system where heat stays exactly where you want it, dramatically improving comfort and reducing the workload on your heating and cooling equipment.
Addressing Thermal Bridges for a Truly Efficient Envelope
Thermal bridges occur when conductive materials like studs or metal framing bypass the insulation, creating cold spots that can lead to condensation and energy loss. In my recent renovation, I installed continuous exterior insulation panels that wrap around framing members, effectively breaking the bridge and creating a uniform thermal envelope. This approach not only boosts the overall R‑value but also protects interior finishes from moisture‑related damage, a win‑win that aligns perfectly with the holistic mindset of sustainable building.
Retrofit Strategies for Older Homes
Older homes often feature plaster walls, irregular framing, and limited crawl space access, which can make insulation upgrades feel like a puzzle. I’ve discovered that using a combination of dense‑packed cellulose in walls and thin‑film radiant barriers in attics can respect the historic character while dramatically improving performance. When dealing with vintage windows, adding interior storm panels provides an extra layer of insulation without compromising the original sash, allowing you to preserve the charm while enjoying modern comfort levels.
Integrating Insulation with Smart Heating & Cooling
Insulation doesn’t exist in isolation; it works best when paired with efficient heating and cooling systems that can capitalize on the stable indoor temperature it creates. In my home, I upgraded to a smart, zoned HVAC that communicates with a thermostat aware of the building envelope’s improved performance, allowing it to reduce runtime during milder periods. For a deeper dive into pairing these technologies, check out Smart, Sustainable Heating & Cooling, where I detail the tech that turns an insulated shell into a responsive, energy‑saving powerhouse.
Measuring ROI: From Comfort to Savings
One of the most rewarding aspects of insulation work is seeing tangible results on both comfort and the utility bill, and modern tools make this measurement easier than ever. I use a thermal imaging camera during winter to spot remaining cold spots, then compare before‑and‑after readings to quantify improvement, while a simple spreadsheet tracks monthly energy usage, highlighting the dollar savings that accrue over time. Typically, homeowners see a return on investment within three to five years, especially when combined with other energy‑efficiency upgrades, making insulation one of the smartest financial decisions for any remodel.
Common Pitfalls and How to Avoid Them
Even seasoned DIYers can fall into traps like over‑compressing batts, forgetting vapor barriers in humid climates, or neglecting to seal around penetrations after installation, which can undermine the entire system’s effectiveness. I’ve learned to double‑check each step: verify that batts are snug but not squashed, ensure that vapor barriers face the warm side of the assembly, and perform a final blower‑door test to confirm airtightness. By staying vigilant and consulting resources like Handyman Hacks, you can sidestep costly mistakes and enjoy a home that feels as cozy as it is efficient.

Kelly Reynolds is a dynamic freelance writer hailing from the picturesque landscapes of Alberta. A master of the written word, she juggles her passion for storytelling with the exhilarating chaos of being a mother to five spirited children. With an impressive portfolio that spans various genres, Kelly captivates readers through her engaging blog posts and thought-provoking articles.
Related Posts
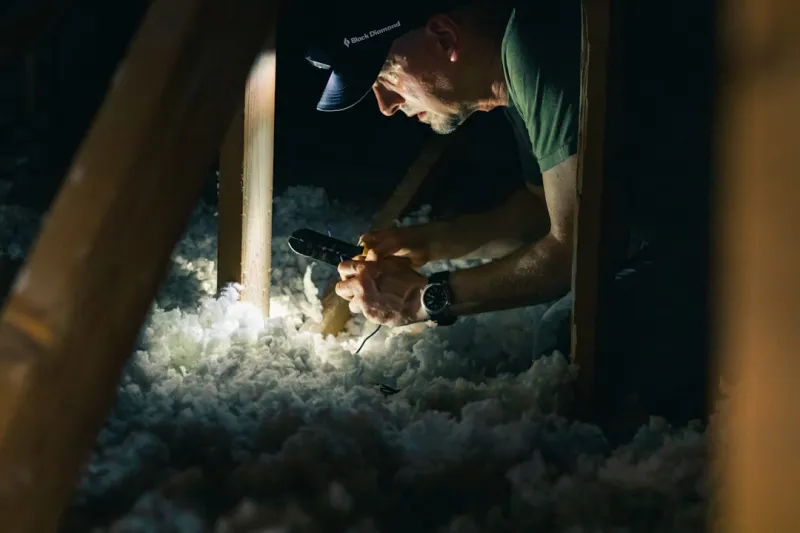
Unlocking the Hidden Power of Insulation for a Smarter, Sustainable Home
Explore the unsung hero of sustainable homes—insulation—and learn practical DIY steps, smart tec... Read More
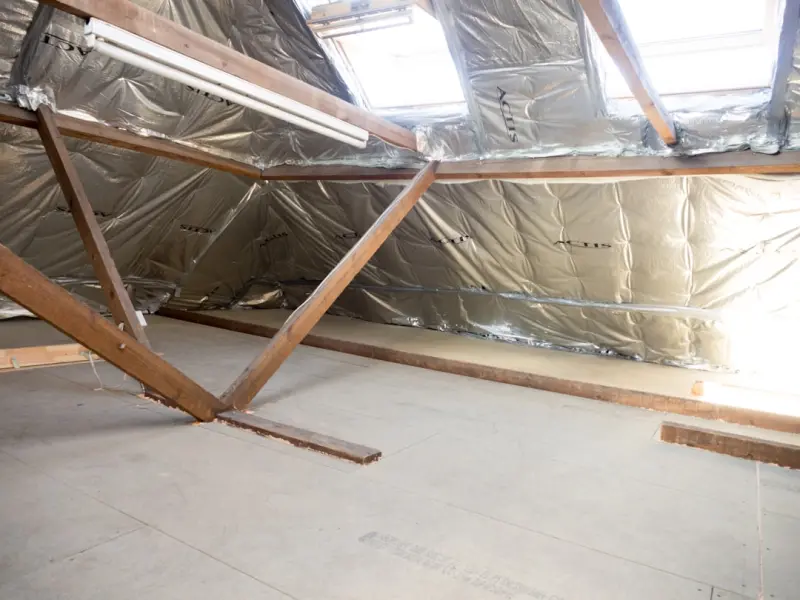
Beyond the R-Value: Insulation as a Wellness and ESG Catalyst
Insulation today does more than keep heat in; it enhances indoor air quality, acoustic comfort, and ... Read More
Dynamic Insulation: Turning Passive Barriers into Active Energy Managers
A deep dive into the next wave of insulation technology, showing how sensors, phase‑change materia... Read More
Top Posts
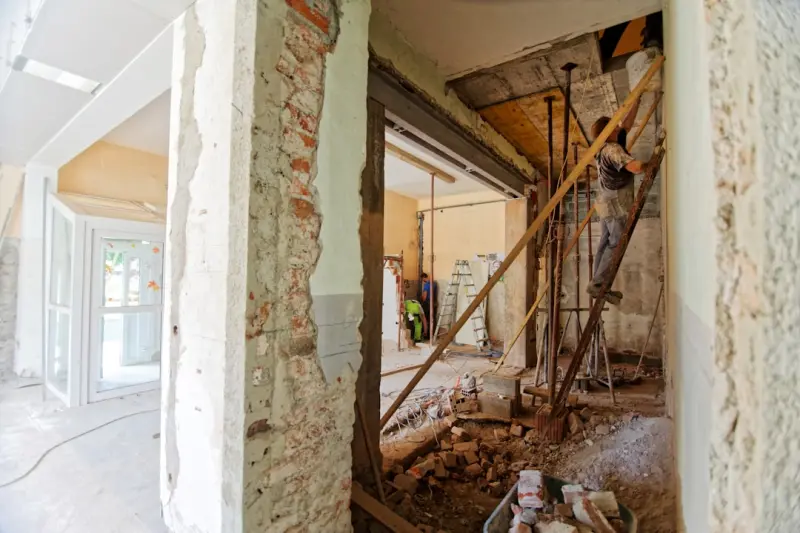
Reviving Vintage Windows: A Homeowner’s Guide to Authentic Restoration
Learn to assess, restore, and maintain vintage windows, blending heritage charm with modern efficiency for lasting home value....Read More
Quiet Revolution: Acoustic-Focused Garage Construction
Discover why acoustic performance matters in garage builds and explore materials, design tactics, and budget-friendly upgrades to create a quiet, functional spa...Read More
When Walls Whisper: Harnessing Acoustic Plaster for Healthier Spaces
Acoustic plaster blends timeless craftsmanship with modern sound‑absorbing technology, offering an elegant solution to noisy workspaces and homes while suppor...Read More

Smart Tree Care: Tech‑Driven Strategies for a Sustainable Home
Explore how modern technology, seasonal pruning, and soil health can transform tree care into a sustainable, energy‑saving habit for any homeowner....Read More
0 Comments
Post Comment
You will need to Login or Register to comment on this post!