

Breathing New Life into Aging Woodwork: A Craftsman's Roadmap
When a century‑old banister creaks under the weight of daily use, it whispers a story of craftsmanship that modern homes often forget, and restoring that woodwork becomes both a homage and a practical upgrade; the process demands patience, a keen eye for grain, and a willingness to blend traditional techniques with contemporary tools, all while respecting the original character that defines the piece. Preserving the patina of aged timber is not about erasing its history but about stabilizing and enhancing it, and this balance is achieved through meticulous surface preparation, judicious use of consolidants, and a finish that protects without cloaking the wood’s natural depth. By treating each component—whether a staircase, window frame, or decorative molding—as a living artifact, homeowners can transform wear into wonder, creating spaces that feel both timeless and refreshed.
Understanding the Wood’s Condition Before You Begin
Before any sanding or staining, the first step is a thorough assessment that identifies rot, insect damage, and structural weaknesses, and this diagnostic stage mirrors the investigative rigor found in hidden home issues detection, yet it focuses specifically on the nuances of timber degradation; a moisture meter, a sharp probe, and a good flashlight become your allies as you map out problem areas and prioritize interventions. Recognizing that not all damage is equal—surface checking versus deep rot—guides the choice between simple repair and full component replacement, and this decision-making process can save countless hours and dollars while ensuring the restored wood performs reliably for decades to come. With a clear map of the wood’s health, you can proceed confidently, knowing each action is backed by data rather than guesswork.
Choosing the Right Tools and Materials for a Seamless Restoration
Modern restorers now have access to a suite of tools that marry the precision of digital technology with the tactile feel of handcraft, and selecting the appropriate equipment—such as a variable‑speed orbital sander with fine‑grit pads, a low‑vibration oscillating multitool for intricate carvings, and a temperature‑controlled heat gun for gentle veneer removal—can dramatically reduce the risk of inadvertent damage while accelerating the workflow. Equally important is the selection of high‑quality materials; an oil‑based wood filler that penetrates deep cracks, a marine‑grade epoxy for structural reinforcement, and a breathable, UV‑resistant finish formulated for historic wood ensure longevity and maintain the authentic look of the piece. When these tools and materials are paired with proper technique, the restoration not only revives the wood’s aesthetic but also enhances its structural integrity for future generations.
Step‑by‑Step: From Surface Preparation to Final Finish
The restoration journey unfolds in three decisive phases: cleaning, repair, and finishing, each demanding its own concentration of effort and expertise; initially, a gentle but thorough cleaning—using a mild detergent solution, a soft‑bristled brush, and a vacuum—removes dust, grime, and previous coatings, laying the groundwork for any subsequent work. Next, the repair stage addresses imperfections: loose joints are re‑glued with wood‑compatible adhesives, cracks are filled with flexible filler, and any rotted sections are meticulously excised and replaced with matching species, ensuring grain continuity and structural soundness. Finally, the finishing phase involves a progressive sanding regimen, the application of a penetrating oil or stain to enrich color, and a protective topcoat—often a water‑based polyurethane or a hard‑wax oil—applied in thin, even layers, each cured fully before the next, resulting in a surface that is both beautiful and resilient.
Integrating Modern Protective Strategies Without Sacrificing Authenticity
While the allure of historic wood lies in its natural texture and aged hue, contemporary homeowners increasingly demand performance characteristics such as moisture resistance and low maintenance, and this is where dynamic weatherproofing concepts can be subtly introduced; micro‑ventilated finishes allow the wood to breathe while repelling water, and discreetly installed climate‑control sensors can monitor humidity levels around sensitive woodwork, alerting you before conditions become detrimental. These innovations are designed to operate behind the scenes, preserving the visual integrity of the restoration while delivering modern protection, and they underscore the philosophy that a successful project respects the past but does not shy away from future‑proofing solutions. By marrying tradition with technology, you safeguard the wood’s legacy without compromising on contemporary comfort.
Cost‑Effective Tips for DIY Enthusiasts and Professionals Alike
- Start with a small, visible section to test finishes before committing to the entire piece.
- Use reclaimed wood or matching off‑cuts for repairs to maintain grain consistency without inflating material costs.
- Apply a thin coat of linseed oil as a temporary sealant while you source the ideal finish, protecting the wood from moisture in the interim.
- Leverage community tool libraries or rental services for expensive equipment you’ll use infrequently, reducing upfront investment.
These practical strategies empower both seasoned craftsmen and ambitious DIYers to achieve professional‑grade results without breaking the bank, and they illustrate that thoughtful planning often outweighs expensive shortcuts; by focusing on incremental progress, sourcing quality yet affordable materials, and employing efficient workflows, the restoration becomes a rewarding journey rather than a financial burden.
Preserving the Narrative: Documenting Your Restoration Process
Every stroke of sandpaper and every layer of finish contributes to a story worth recording, and maintaining a detailed log—complete with photographs, material lists, and step‑by‑step notes—not only serves as a reference for future maintenance but also adds value to the home should you ever decide to sell, as prospective buyers appreciate the transparency and care embedded in the property’s history. This documentation can be organized in a simple digital folder, with timestamps and annotations that highlight challenges encountered and solutions devised, creating a living manual that can guide subsequent projects or assist professionals in diagnosing issues down the line. Moreover, sharing this journey on social platforms or a personal blog can inspire a community of restoration enthusiasts, fostering knowledge exchange and celebrating the craftsmanship that keeps historic wood alive.
When to Call in a Specialist: Recognizing the Limits of DIY
While many restoration tasks are within reach of an enthusiastic homeowner, certain scenarios—such as extensive structural damage, hidden rot behind plaster, or the presence of lead‑based paints—require the expertise of licensed professionals who possess specialized equipment and safety certifications, and knowing when to transition from DIY to professional intervention can prevent costly mistakes and ensure compliance with building codes; a quick consultation with a seasoned wood conservator can provide insight into the feasibility of your plans and suggest alternative approaches when necessary. Additionally, for heritage‑listed properties, regulations may mandate that only certified craftsmen perform restoration, preserving the historical integrity mandated by preservation societies. By respecting these boundaries, you safeguard both the physical artifact and the legal standing of your renovation project.
Future‑Proofing Your Restored Woodwork for Generations to Come
Once the restoration is complete, the next phase involves establishing a maintenance routine that extends the life of the wood, and this includes periodic dusting with a soft, lint‑free cloth, re‑application of protective finishes every few years depending on traffic and exposure, and vigilant monitoring of indoor humidity levels to thwart mold growth and prevent warping; investing in a simple hygrometer can provide real‑time data that informs when to engage dehumidifiers or adjust ventilation. Incorporating these preventive measures ensures that the beauty and durability achieved through meticulous restoration endure, allowing future occupants to enjoy the same tactile elegance and historical resonance that initially inspired the project. In this way, a thoughtful restoration becomes a lasting legacy, weaving past craftsmanship into the fabric of contemporary living.

Craig Brett is a freelancer with a passion for the outdoors. His love for nature inspires his work, bringing authentic and engaging perspectives to projects related to outdoor activities, adventure, and environmental topics.
Related Posts
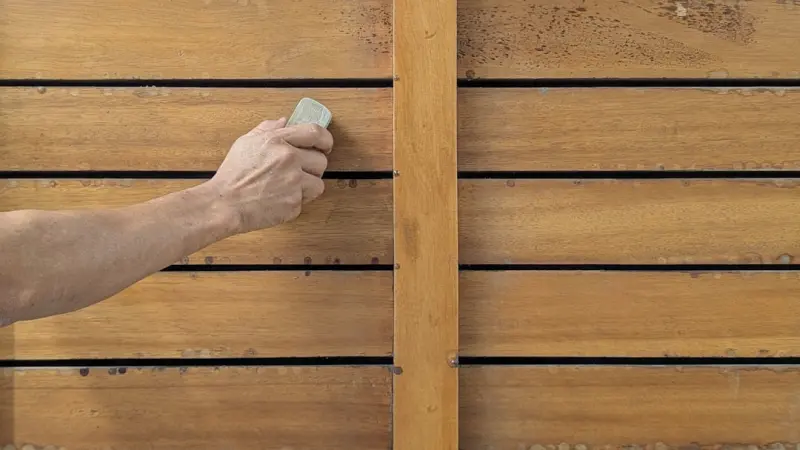
Smart Sensors Meet Home Restoration: A New Age of Precision
A deep dive into the role of smart sensors in modern home restoration, revealing how data‑driven i... Read More

Rediscovering Heritage: A Hands‑On Guide to Restoring Historic Home Details
Discover a practical, step‑by‑step approach to reviving original plaster, hardwood floors, and b... Read More
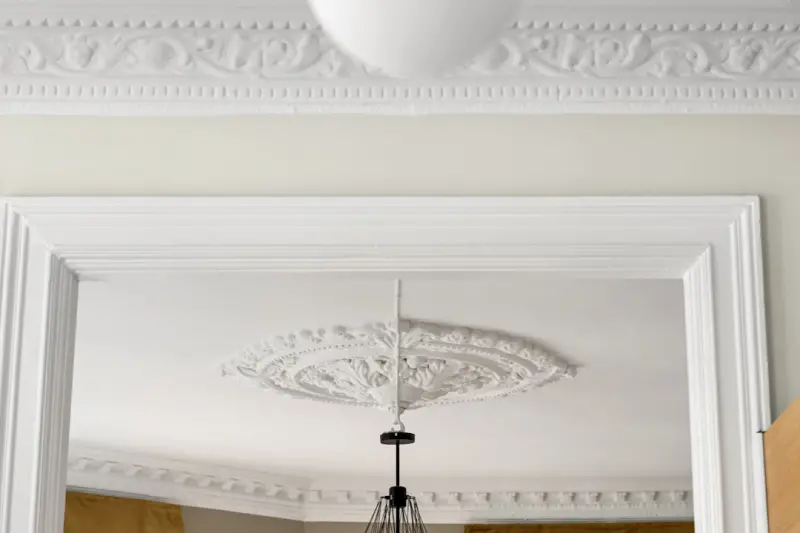
Reviving Classic Crown Molding: A Modern Homeowner’s Restoration Guide
Learn to breathe new life into historic crown molding using practical cleaning, repair, and finish t... Read More
Top Posts

How Augmented Reality Is Revolutionizing Bricklaying on the Jobsite
Augmented reality is merging with masonry, giving masons real‑time visual guidance, reducing material waste, accelerating training, and creating data‑rich a...Read More

Cultivating a Living Carpet: A Holistic Approach to Modern Lawn Care
Learn how to transform your lawn into a thriving ecosystem with soil science, native grasses, smart watering, and organic practices that keep your yard healthy ...Read More
Mastering Gutters: Sustainable Strategies for Home Longevity
A veteran contractor shares practical, sustainable gutter strategies—from material choices to maintenance routines—helping you protect your home, save money...Read More

When Foundations Speak: Early Signs, Smart Repairs, and Long‑Term Care
Learn how to detect early foundation warning signs, choose the right repair method, and integrate smart maintenance for lasting home stability....Read More
0 Comments
Post Comment
You will need to Login or Register to comment on this post!