
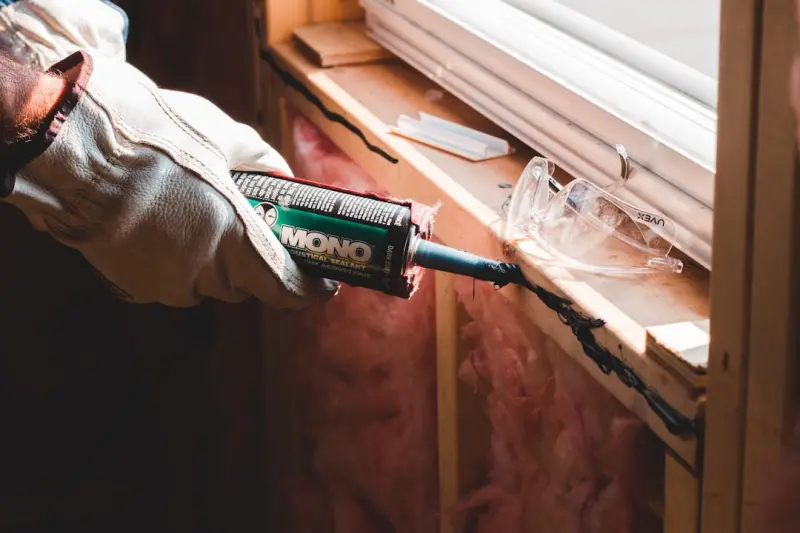
Why Caulking Deserves Your DIY Attention
Every homeowner learns early on that a leaky kitchen sink or a damp bathroom wall is more than a nuisance—it’s a warning sign that the sealant around your fixtures is failing. I’ve spent countless weekends wrestling with water stains, and each time the culprit turned out to be cracked, dried‑out caulk that had silently surrendered to time and temperature swings. Reviving those often‑overlooked seams not only halts moisture intrusion but also protects paint, wood, and plaster from the costly decay that follows unchecked water damage.
Gathering the Right Tools and Materials
Before you even think about scraping away the old, assemble a modest kit: a utility knife or a dedicated caulk remover, a caulking gun, painter’s tape, a silicone‑based caulk for wet areas, an acrylic‑latex variant for dry zones, a caulk‑smoothing tool or a simple wet finger, and a sturdy vacuum or brush to clear debris. A spray bottle filled with a mixture of water and a dash of dish soap proves invaluable for smoothing silicone, while a small bucket of mineral spirits keeps your hands clean if you opt for solvent‑based products. Having everything at hand prevents interruptions that can compromise the bond you’re about to create.
Preparing the Surface for a Perfect Bond
The secret to a long‑lasting seal begins with a clean, dry substrate; any residue or lingering old caulk will act as a barrier, allowing new moisture to seep behind the fresh bead. I start by scoring the old line with a utility knife, then gently pry it away using a caulk remover tool, taking care not to gouge the surrounding tile or trim. Once the old material is cleared, I wipe the joint with a cloth dampened in thermal imaging can reveal hidden moisture to ensure no damp patches remain, and finish with a vacuum pass to eliminate dust before the new caulk meets the surface.
Selecting the Ideal Caulk for Each Application
Not all caulks are created equal, and choosing the wrong type can shorten the life of your repair dramatically. For bathroom showers, tubs, and any area exposed to constant water, a 100% silicone sealant offers superior elasticity and resistance to mold, while for kitchen backsplashes or exterior trim where paintability is desired, a paint‑able acrylic‑latex blend provides easier cleanup and a smoother finish. I also keep a small tube of hybrid polymer caulk on hand for high‑traffic seams; it bridges the gap between flexibility and durability, giving you a versatile solution that adapts to the subtle movements of wood and metal.
Mastering the Application Technique
Applying caulk may look simple, but the trick lies in consistency and control; I always begin by laying down a thin strip of painter’s tape on either side of the joint to create clean edges and prevent excess squeeze‑out. Cutting the nozzle tip at a 45‑degree angle to match the width of the gap, I pull the gun’s trigger steadily, letting the bead fill the seam without pausing, then immediately smooth it with a wet fingertip or a dedicated caulk‑smoothing tool, pressing gently to press the material into the joint and eliminate air pockets. The final step is to peel away the tape while the caulk is still wet, revealing a crisp line that looks as if a professional installed it.
Understanding Curing Times and Environmental Factors
Even the best‑applied caulk needs proper time to cure; rushing the process can lock in imperfections and compromise the seal’s integrity. Silicone typically requires 24 hours of uninterrupted drying, though high humidity can extend that window, while acrylic‑latex may set within a few hours but still benefits from a full 12‑hour cure before exposure to water. I always check the manufacturer’s recommendations and, if possible, keep the area well‑ventilated and at a stable temperature, using a dehumidifier in damp seasons to accelerate the drying cycle without sacrificing adhesion.
Common Pitfalls and How to Avoid Them
One mistake I see time and again is over‑filling the joint, which creates bulging peaks that crack under pressure, or under‑filling, leaving gaps that invite mold growth; both scenarios can be remedied by re‑cutting the bead and smoothing it again once the excess has dried. Another frequent issue is neglecting to address the underlying cause of the seal failure—often a subtle leak or a cracked pipe—so I recommend pairing caulk repairs with long‑term mold prevention strategies to keep the environment dry and inhospitable to fungal spores. When a caulk line repeatedly fails despite flawless application, it may be time to investigate the fixture itself or consider a more robust sealant solution.
Maintaining Your Seals for Years of Protection
Just as you schedule annual HVAC tune‑ups, set a reminder to inspect high‑moisture caulk lines every six months, looking for signs of cracking, discoloration, or mildew. A quick visual check, followed by a gentle press test, will reveal any loss of elasticity before water finds a way in, allowing you to touch up the seal before a small issue becomes a major repair. By treating caulking as an ongoing maintenance task rather than a one‑off project, you’ll preserve the integrity of your home’s envelope, protect your paint and woodwork, and enjoy the peace of mind that comes from knowing the little things are taken care of.

David MacKinnon is a dynamic freelance writer known for his captivating storytelling and keen insights into the world of technology. With a passion for exploring the intersection of innovation and everyday life, he crafts engaging narratives that not only inform but also inspire his readers.
Related Posts
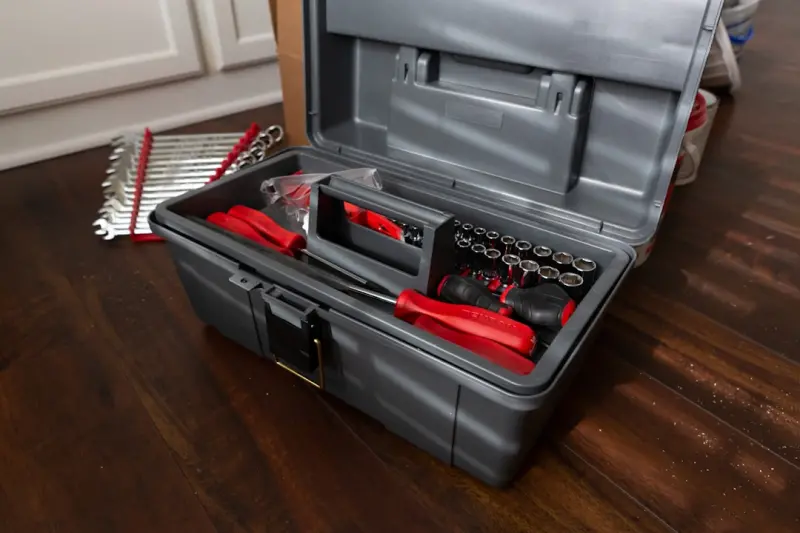
The Ultimate DIY Home Repair Kit: What Every Homeowner Should Carry
A practical guide to building a comprehensive DIY repair kit, covering core tools, specialty sub‑k... Read More

Unlocking Hidden Comfort: DIY Insulation Hacks for Every Room
A practical, room‑by‑room guide shows how simple DIY insulation upgrades can dramatically improv... Read More
Silencing Squeaks and Fixing Tiles: A DIY Home Repair Playbook
A comprehensive, step‑by‑step DIY guide that shows homeowners how to diagnose, repair, and maint... Read More
Top Posts

The Hidden Economics of Countertop Choices: Value, Durability, and the Bottom Line
A deep dive into the true cost of countertops, covering material selection, maintenance, health implications, integration with building systems, and circularity...Read More

Why Live‑Edge Woodworking Is the Next Frontier for Makers
Live‑edge woodworking transforms raw timber into striking, sustainable furniture. This article explores sourcing, techniques, design strategies, and how to ma...Read More
Adaptive Waterproofing: Turning Barriers Into Living Defenses
Traditional waterproofing is static; adaptive waterproofing uses smart membranes with sensors and actuation layers to detect and respond to water in real time, ...Read More

Solar-as-a-Service: Transforming Sunlight into a Predictable Business Cost
Solar-as-a-Service turns solar installations into subscription‑style contracts, giving businesses predictable energy costs, zero upfront capital, and built‑...Read More
0 Comments
Post Comment
You will need to Login or Register to comment on this post!