
Why Drywall Is My Creative Canvas
When I first picked up a drywall knife, I felt like an artist grabbing a fresh canvas—only the medium was gypsum and the stakes were structural. Every seam, every feathered edge becomes a subtle brushstroke that defines a room’s mood before a single piece of furniture arrives. Over the years I’ve learned that drywall isn’t just a backdrop; it’s a storytelling tool that can hide imperfections, improve acoustics, and even boost a home’s resale value. My approach is part‑engineer, part‑designer, and wholly obsessive about the tiny details that separate a “good” finish from a showroom‑ready masterpiece. In this post I’ll walk you through the strategies that have turned my DIY projects from “just okay” to “wow‑factor” without calling in a contractor.
Mapping the Wall: Planning for Precision
The first step in any drywall adventure is a solid plan—think of it as a blueprint for your future walls. I start by measuring stud spacing, marking ceiling heights, and visualizing where light switches and outlets will live. This pre‑flight checklist saves countless hours of guesswork and prevents the dreaded “I need a longer piece” moment mid‑install. I also lay out a cut‑list on graph paper, assigning each sheet a location so I can minimize waste and keep the job moving smoothly. A well‑drawn plan not only reduces material costs but also lets you spot potential obstacles, like uneven joists or hidden pipes, before the drywall ever touches the studs.
Selecting the Right Sheet for the Job
Not all drywall is created equal, and choosing the correct type can be the difference between a flawless finish and a future headache. For high‑moisture areas like bathrooms, I reach for green board—its moisture‑resistant core stands up to steam without swelling. In fire‑rated assemblies, Type X drywall offers the extra half‑inch of gypsum that can slow flame spread, an often‑overlooked safety upgrade. If you’re leaning toward a sustainable build, consider cellulose‑based panels that incorporate recycled paper fibers; they provide comparable strength while reducing your project’s carbon footprint. Matching the board to the room’s demands ensures durability and keeps you from re‑doing work later.
Eco‑Friendly and Health‑Focused Drywall Choices
Today’s homeowners are more conscious of indoor air quality, and I’ve found that low‑VOC, eco‑friendly drywall can make a noticeable difference. These panels are manufactured with reduced chemicals, which translates to fewer off‑gassing odors during and after installation. Pairing them with a low‑VOC primer creates a healthier breathing environment, especially important for families with young children or allergy sufferers. I also love the fact that many green drywall options are recyclable at the end of their life, aligning with a circular‑economy mindset. By opting for these materials, you’re not only protecting your home’s structure but also investing in long‑term well‑being for its occupants.
Moisture Management Beyond the Bathroom
Even in rooms you wouldn’t expect moisture, like basements or kitchens, proper wall preparation is key. I always install a vapor barrier behind the drywall when dealing with below‑grade spaces to prevent mold growth. For kitchens, a thin layer of water‑resistant paint over the drywall before installing tile can act as an additional safeguard. This layered defense strategy helps the walls breathe while keeping water at bay—a lesson I first learned while reading about basement makeover projects that rely heavily on drywall for both aesthetics and protection. Treating moisture proactively eliminates future repairs and preserves the integrity of your finish.
Acoustic Drywall for Quiet Comfort
If you love movie nights or have an open‑plan living area, controlling sound is as important as visual appeal. Acoustic drywall—often denser and sometimes layered with visco‑elastic damping—absorbs unwanted echoes and keeps neighboring rooms from overhearing. I’ve installed it behind home‑theater walls, and the difference is night‑and‑day: dialogue stays crisp, bass feels controlled, and the overall ambience becomes more intimate. The extra weight does require reinforced framing, but the payoff in reduced noise transmission is worth the added effort, especially for homes in bustling neighborhoods where peace and quiet are prized commodities.
Finishing Techniques That Save Time and Money
When it comes to taping and mudding, I swear by a three‑step method that cuts down sanding time dramatically. First, apply a thin coat of setting compound to embed the tape—this “cold‑set” approach hardens quickly and reduces shrinkage. Second, skim a broader feathered layer after the first coat dries, smoothing out any ridges. Finally, a light finishing coat smooths the surface before the first sanding pass. Using a pole sander with a fine‑grit pad instead of hand sanding cuts fatigue and yields an ultra‑smooth finish ready for paint. A tip I often share with fellow DIYers is to keep a spray bottle of water nearby; a quick mist on the mud before sanding reduces dust and creates a cleaner work environment.
Texture Trends: From Subtle to Statement
While many homeowners opt for a flat, paint‑ready surface, I’ve experimented with textures that add depth without overwhelming the space. A light “knockdown” finish gives a modern, understated look that hides minor imperfections, while a more pronounced “popcorn” texture can be a playful nod to retro design when applied selectively on a feature wall. For a truly bespoke effect, I sometimes use a trowel to create hand‑rolled patterns that mimic stone or fabric. These textural choices can become conversation starters and are surprisingly easy to achieve with a bit of practice and the right tools.
Integrating Smart Home Wiring Behind Drywall
Modern homes are increasingly wired for smart devices, and planning for that infrastructure early can prevent costly retrofits. I run low‑voltage cables for Wi‑Fi extenders, smart thermostats, and LED strip lighting behind the drywall before the sheets go up, using flexible conduit to protect the wires. This “behind‑the‑wall” approach keeps the aesthetic clean and eliminates visible cords that can clutter a room’s design. When it’s time to install, I leave small access panels that can be opened for future upgrades—future‑proofing your walls without compromising the sleek look you’ve worked hard to achieve.
Budgeting, Timeline, and When to Call the Pros
Even the most seasoned DIYer needs a realistic budget and timeline. I break my drywall project into three phases: material procurement, installation, and finishing. Allocating roughly 40 % of the budget to high‑quality boards and tools pays off in fewer mistakes and a smoother finish. I aim for a two‑week turnaround for a standard 1,200‑square‑foot room, allowing extra days for drying time between mud coats. If you encounter complex framing, high ceilings, or specialized acoustic requirements, it may be wise to consult a professional—especially for fire‑rated installations where code compliance is critical. Knowing when to step back and bring in expertise ensures your project stays on track and delivers the polished result you envision.

Kelly Reynolds is a dynamic freelance writer hailing from the picturesque landscapes of Alberta. A master of the written word, she juggles her passion for storytelling with the exhilarating chaos of being a mother to five spirited children. With an impressive portfolio that spans various genres, Kelly captivates readers through her engaging blog posts and thought-provoking articles.
Related Posts
Beyond the Sheet: How Innovative Drywall Practices Are Redefining Interiors
A deep dive into modern drywall trends—from low‑VOC joint compounds and smart tools to moistureâ... Read More
Reinventing Drywall: Modular, Smart, and Sustainable Solutions
A deep dive into modular drywall systems that cut waste, embed IoT sensors, and use recycled gypsum,... Read More
The Art of Drywalling: A Comprehensive Guide
Drywalling is a crucial step in construction and renovation, providing a smooth surface for painting... Read More
Top Posts

Reviving Vintage Office Furniture: A Competitive Advantage
Restoring vintage office furniture isn’t just about saving money—it strengthens brand narrative, enhances employee experience, and promotes responsible cons...Read More
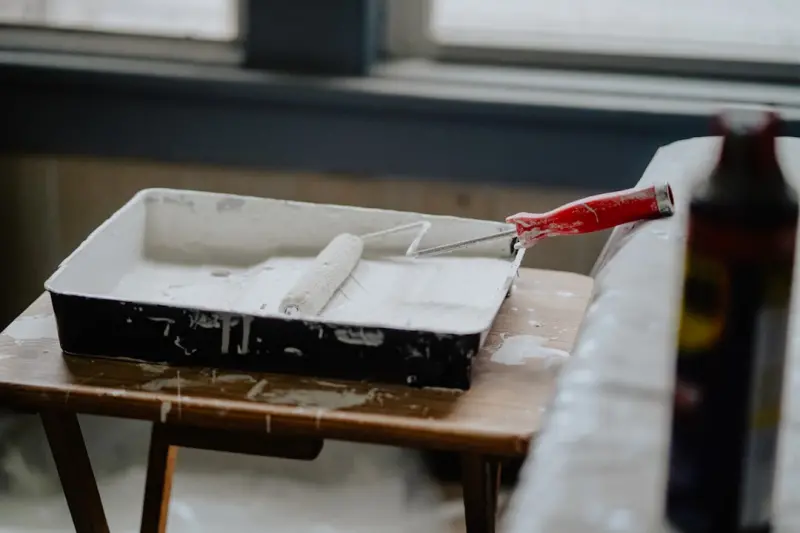
The Secret Power of Smart Paint: Turning Your Walls into Active Assets
Smart paint blends nanotech, sensors, and adaptive pigments to turn ordinary walls into health‑monitoring, energy‑saving surfaces, offering homeowners a pro...Read More
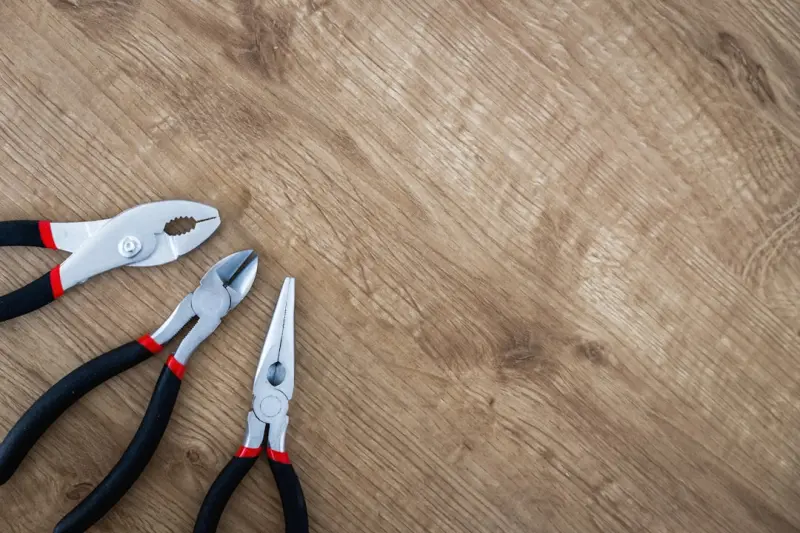
The Hidden Costs of DIY Appliance Repair and When to Call a Pro
DIY appliance repairs can lead to hidden expenses and safety risks. Learn the red flags and preventive steps to keep your home running smoothly....Read More
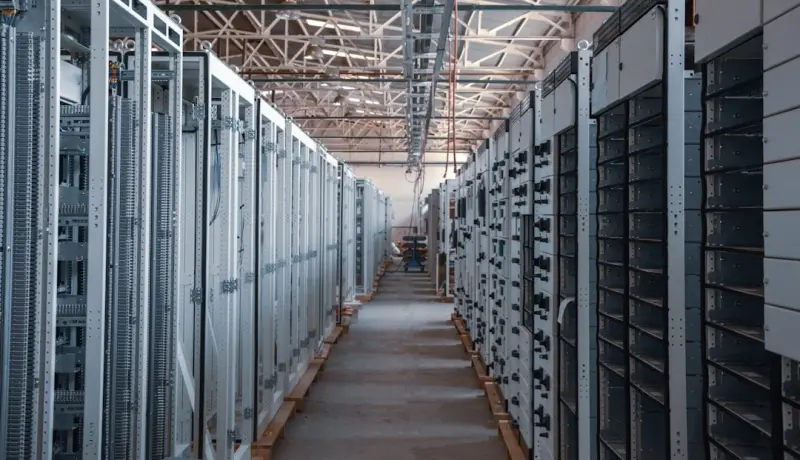
Thermal Energy Storage: The Quiet Powerhouse Behind Modern HVAC Efficiency
Thermal energy storage (TES) captures excess cooling or heating when utility rates are low and releases it during peak demand, delivering significant cost savin...Read More
0 Comments
Post Comment
You will need to Login or Register to comment on this post!