
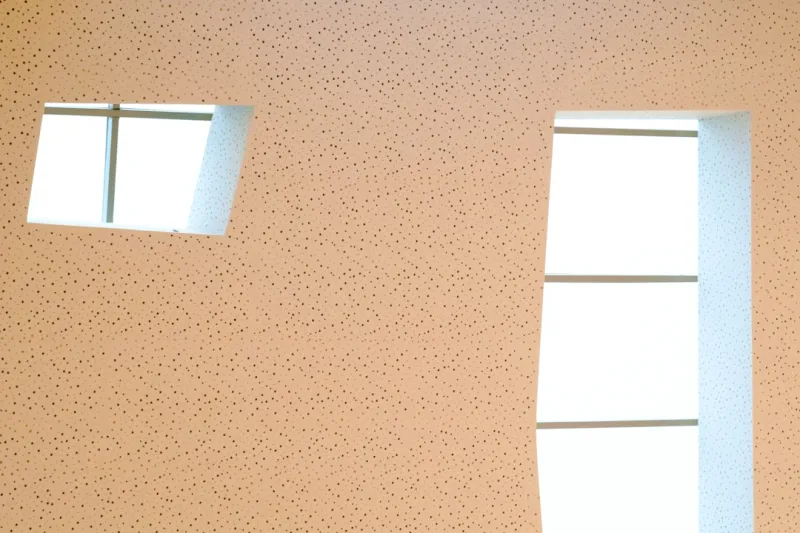
Introduction to Drywalling
Drywalling is a crucial step in the construction and renovation process, providing a smooth surface for painting and finishing. As a construction expert, I've seen firsthand the impact that well-executed drywalling can have on a room's aesthetic and functionality. In this article, I'll share my knowledge and experience on the art of drywalling, covering the basics, techniques, and best practices. Whether you're a seasoned DIY enthusiast or a homeowner looking to renovate, this guide will provide you with the essential information you need to master the art of drywalling.
Drywalling involves installing and finishing drywall panels to create a smooth surface. This process requires attention to detail, patience, and practice. With the right tools and techniques, you can achieve professional-looking results that will enhance the beauty and value of your home.
Understanding Drywall Types and Applications
When it comes to drywalling, selecting the right type of drywall is essential. There are several types of drywall, each designed for specific applications and environments. The most common types of drywall include regular drywall, mold-resistant drywall, and fire-resistant drywall. Regular drywall is suitable for most interior applications, while mold-resistant drywall is ideal for areas with high humidity, such as bathrooms and kitchens.
Mastering drywalling requires understanding the different types of drywall and their applications. For example, fire-resistant drywall is designed for areas that require a higher level of fire protection, such as near heating vents or in commercial buildings. By choosing the right type of drywall for your project, you can ensure a safe and durable finish.
Preparing the Workspace and Tools
Before starting your drywalling project, it's essential to prepare your workspace and tools. This includes clearing the area of debris and obstructions, covering floors and furniture with drop cloths, and ensuring good ventilation. You'll also need to gather the necessary tools, such as a drywall saw, drill, and sanding block.
Measuring and Cutting Drywall
Measuring and cutting drywall accurately is critical to a successful drywalling project. Use a tape measure to determine the dimensions of your space, and mark the drywall panels accordingly. A drywall saw or utility knife can be used to cut the panels, and a sanding block can help smooth out any rough edges.
Installing Drywall Panels
Installing drywall panels requires attention to detail and a steady hand. Begin by applying a thin layer of joint compound to the back of the panel, and then press it firmly into place. Use drywall screws to secure the panel to the studs, and ensure the edges are aligned with the surrounding panels.
Finishing and Taping
Once the drywall panels are installed, it's time to finish and tape the joints. Apply a thin layer of joint compound to the joints, and press the tape firmly into place. Use a putty knife to smooth out any excess compound, and allow it to dry completely before sanding.
Common Drywalling Mistakes and Solutions
Even experienced drywallers can make mistakes. Common errors include uneven panels, mismatched joints, and insufficient compound. To avoid these mistakes, it's essential to take your time and work methodically. If you do encounter a problem, don't panic – there are often simple solutions. For example, if a panel is uneven, you can use a sanding block to smooth out the surface.
Drywalling in Different Rooms and Environments
Drywalling in different rooms and environments requires special consideration. For example, bathroom renovations require mold-resistant drywall to prevent water damage. In areas with high humidity, it's essential to use a moisture-resistant joint compound to ensure a durable finish.
Tips and Tricks for a Professional Finish
Achieving a professional finish requires attention to detail and a few insider tips. For example, use a laser level to ensure straight lines and accurate measurements. Apply multiple thin layers of joint compound, allowing each layer to dry completely before sanding. Finally, use a high-quality sanding block to smooth out the surface, and finish with a coat of primer and paint.
Conclusion
Mastering the art of drywalling takes time and practice, but with the right techniques and best practices, you can achieve professional-looking results. By understanding the different types of drywall, preparing your workspace and tools, and taking your time to ensure accurate measurements and finishes, you can create a smooth surface that will enhance the beauty and value of your home. Whether you're a seasoned DIY enthusiast or a homeowner looking to renovate, I hope this guide has provided you with the essential information you need to tackle your next drywalling project.
Additional Resources
For more information on drywalling and home renovation, check out our comprehensive guides on interior design and home renovation checklists. These resources will provide you with the knowledge and inspiration you need to tackle your next project.

Paul Gray is a dynamic blogger based in Brampton, where he shares his life with his amazing wife, Sarah. Known for his engaging writing style and relatable insights, Paul has carved out a niche in the blogging world that resonates with readers from all walks of life. When he's not crafting captivating posts, you can find him savoring a cold beer or indulging in the latest blockbuster movie. With a friendly demeanor and a passion for storytelling, Paul brings a unique perspective to his work, making him not just a blogger, but a voice for those who appreciate the simple joys of life.
Related Posts
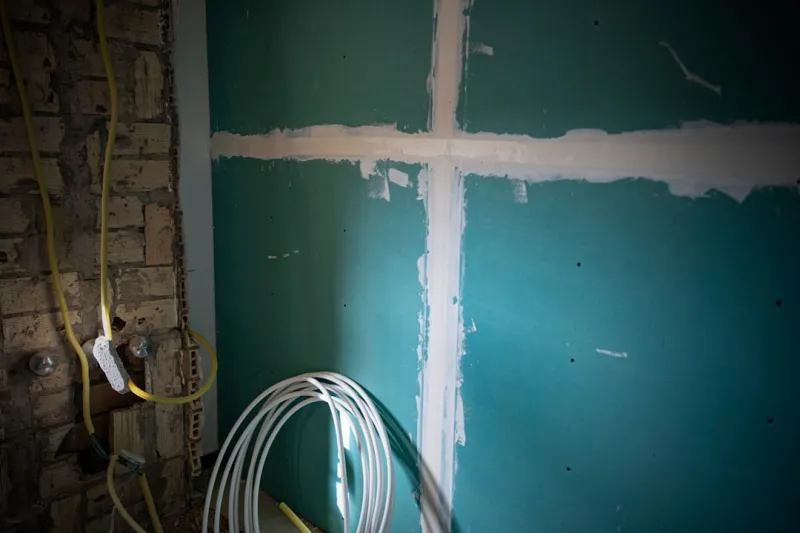
Drywalling Secrets: Sustainable Strategies Every Renovator Should Know
Learn how smart drywall choices, low‑VOC materials, and efficient installation techniques create s... Read More
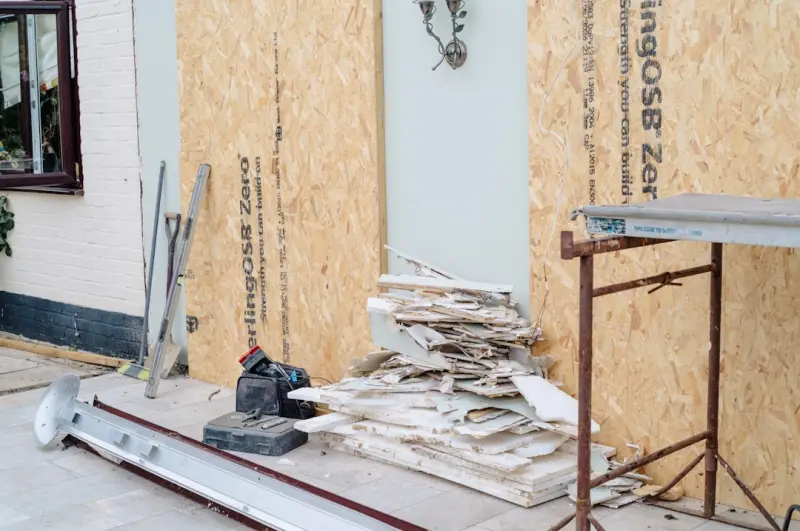
Revamping Your Walls: Sustainable Drywall Strategies for Modern Homes
From greener board selections to acoustic upgrades, this guide walks you through the latest drywall ... Read More

The Evolution of Sustainable Drywalling: A Comprehensive Guide
Sustainable drywalling involves the use of eco-friendly materials, techniques, and practices that mi... Read More
Top Posts
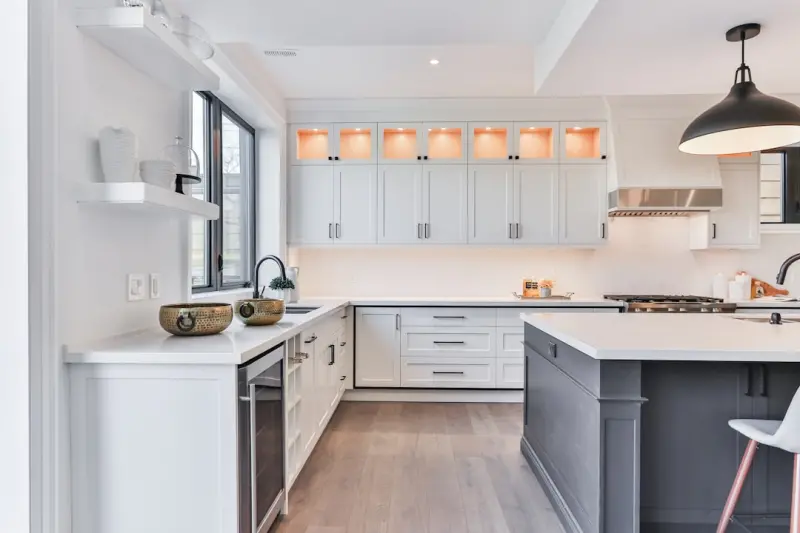
Beyond the Look: Turning Your Kitchen Renovation into a Wellness Powerhouse
A kitchen remodel isn’t just about style—it’s a chance to create a wellness engine. This guide explores air quality, smart waste, AI‑driven storage, aco...Read More
From Wrenches to Wins: A Handyman’s Blueprint for Consistent Profit
Learn how to transform everyday repairs into a thriving side hustle with a streamlined toolkit, accurate estimates, and repeatable processes that keep customers...Read More
The Sustainable Homeowner’s Guide to Gutter Mastery
Discover why gutters matter, how to upgrade sustainably, and simple maintenance tricks that protect your home and the planet....Read More
Smart Tile Ecosystems for Future‑Ready Buildings
This article reveals how modern tiles, embedded with sensors and sustainable materials, can become active building components—enhancing energy efficiency, com...Read More
0 Comments
Post Comment
You will need to Login or Register to comment on this post!