

Why a DIY Mindset Is Worth Its Weight in Screws and Sealant
When you first pick up a hammer, the clink of metal against wood feels like an invitation to a secret club. The truth is, every homeowner is already a member—you just need the right playbook. DIY home repairs aren’t about becoming a certified contractor; they’re about gaining confidence, saving money, and extending the life of the spaces you love. In this guide, I’ll walk you through the mental framework, the essential tools, and a handful of proven techniques that turn “I wish I could fix that” into “I just did.”
The Core Philosophy: Small Wins Lead to Big Gains
Think of home maintenance as a series of micro‑projects. Each tiny victory—tightening a loose cabinet hinge, sealing a drafty window, or fixing a leaky faucet—adds up to a house that runs smoother, looks better, and retains value longer. The key principle is to address problems while they’re still manageable, rather than waiting for them to snowball into costly emergencies.
- Identify: Walk through each room once a month and note anything that looks out of place.
- Prioritize: Rank issues by severity (safety first, then comfort, then aesthetics).
- Act: Tackle the highest‑priority items with the tools you already have.
This loop creates a habit loop that keeps you proactive rather than reactive.
Building the Ultimate DIY Toolkit
Before you start patching drywall or swapping out a toilet flapper, make sure your toolbox is stocked with the basics. Quality matters more than quantity—invest in a few reliable pieces and you’ll find they last a decade or more.
- Measuring & Layout: A 25‑foot tape measure, a carpenter’s square, and a level.
- Cutting & Shaping: A medium‑size utility knife, a pair of diagonal pliers, and a cordless drill with a set of bits.
- Fastening: A hammer, a set of screwdrivers (flat‑head and Phillips), and a cordless impact driver for larger jobs.
- Finishing: Sandpaper (various grits), a putty knife, painter’s tape, and a small caulking gun.
- Safety Gear: Safety glasses, work gloves, and an ear‑plug set for noisy tasks.
Once you’ve mastered the basics, you can layer on specialty tools—like a pipe wrench for plumbing or a multi‑meter for electrical diagnostics—based on the projects that interest you most.
Mastering the Art of the Quick Fix: 5 Everyday Repairs You Can Do in Under an Hour
Below are the most common “quick wins” that any homeowner can complete in 30‑60 minutes, even on a weekend night.
1. Stubborn Cabinet Hinges
Loose or squeaky hinges are often caused by stripped screws. Replace the screw with a slightly longer wood screw, or add a piece of toothpick coated in wood glue into the existing hole before re‑driving the screw. This simple trick restores stability without a full hinge replacement.
2. Drafty Windows
Cold air sneaks in through gaps around the sash. Use a thin, self‑adhesive weatherstripping tape around the perimeter, and apply a clear silicone caulk to any larger cracks. If you have older double‑pane windows, consider a smart glazing upgrade down the line, but the weatherstripping alone can shave off a few dollars on your heating bill.
3. Leaky Faucet
Most bathroom and kitchen faucet leaks stem from a worn washer or O‑ring. Shut off the water supply, disassemble the faucet, replace the rubber washer, and reassemble. The whole process usually takes less than 45 minutes and can save you gallons of water each month.
4. Cracked Drywall
For hairline cracks, a quick skim coat of joint compound and a fresh sheet of drywall tape will do the trick. Larger cracks (wider than 1/4 inch) require a backing piece of mesh tape and two layers of compound. Sand smooth, prime, and paint for a seamless finish.
5. Clogged Showerhead
Mineral buildup is the culprit. Soak the showerhead in a bag of white vinegar for an hour, scrub with an old toothbrush, and rinse. The restored flow feels like a brand‑new fixture.
Preventative Maintenance: The Power of Predictive Thinking
While quick fixes are essential, adopting a predictive maintenance mindset can dramatically reduce the frequency of emergencies. The idea is simple: use data you already have—like the age of appliances, usage patterns, and seasonal changes—to schedule pre‑emptive checks.
For example, set a calendar reminder to clean your HVAC filter every three months, or to inspect the caulking around your bathtub after each winter. Over time, these small checks become habit, and the cost of a scheduled service is far lower than an unexpected breakdown.
When to Call a Pro—and When to DIY
Not every repair belongs in the DIY bucket. Knowing the line between safe, doable tasks and those that require licensed professionals can protect both your home and your peace of mind.
- Electrical Work: Anything beyond replacing a switch or outlet should be left to a certified electrician.
- Structural Issues: Cracks in load‑bearing walls, sagging floors, or roof damage demand a professional inspection.
- Gas Appliances: Leaks or malfunctions in gas lines should be handled only by certified technicians.
- Complex Plumbing: Major pipe replacements or sewer line issues are best left to the pros.
For everything else—painting, minor tiling, fixture swaps—you can confidently roll up your sleeves.
Leveraging Subscription Services for Peace of Mind
Even the most diligent DIYer can benefit from a safety net. Subscription-based repair plans, such as the one described in subscription appliance repair, give you priority service and discounted parts. Think of it as an insurance policy for your home’s most vital systems. If a major appliance fails after you’ve exhausted your DIY knowledge, the plan ensures a quick fix without breaking the bank.
DIY Upgrade Projects That Add Real Value
Beyond maintenance, targeted upgrades can boost your home’s resale value and daily enjoyment. Here are three projects that strike a balance between effort and ROI.
1. Refreshing Interior Paint
A fresh coat of paint can rejuvenate a room in hours. Choose a neutral palette for broad appeal, and use a high‑quality primer to ensure color fidelity. The trick to a flawless finish? Apply thin, even coats and use a “wet‑edge” technique to avoid lap lines.
2. Installing a Pocket Door
Pocket doors save space and add a modern touch. They’re more straightforward than they look—just frame the opening, insert the sliding track, and hang the door. The result is a sleek solution that can be marketed as a space‑saving feature.
3. Upgrading Bathroom Fixtures
Swapping out an outdated faucet, showerhead, or toilet flush mechanism can make the entire bathroom feel new. Look for WaterSense‑labeled fixtures to improve efficiency without sacrificing performance.
Documenting Your Repairs: The Homeowner’s Logbook
Keeping a simple spreadsheet or notebook of all repairs—date, issue, parts used, cost, and time spent—offers several hidden benefits:
- It helps you spot recurring problems that may need a deeper fix.
- It provides a clear maintenance history for future buyers.
- It lets you calculate the true cost‑benefit of DIY versus professional services.
Even a basic Google Sheet with columns for “Location,” “Problem,” “Solution,” and “Cost” can become a powerful tool for long‑term home health.
Seasonal Check‑Ins: A Quarterly Cheat Sheet
Align your DIY schedule with the seasons to stay ahead of weather‑related wear and tear.
| Season | Key Tasks |
|---|---|
| Spring | Inspect roof for winter damage, clean gutters, test exterior caulking, service HVAC. |
| Summer | Check deck stability, seal any exposed wood, clean and lubricate sliding doors and windows. |
| Fall | Seal cracks around foundation, inspect chimney, replace HVAC filters, prep outdoor faucets. |
| Winter | Monitor for frozen pipes, keep an eye on indoor humidity, test smoke and CO detectors. |
By breaking maintenance into four manageable blocks, you avoid the overwhelm of “all‑at‑once” projects.
Final Thoughts: Turn Your Home Into a Personal Workshop
DIY home repairs are less about the tools you own and more about the mindset you cultivate. When you approach each issue with curiosity, a methodical plan, and a willingness to learn, you transform your house from a passive asset into an active, evolving space. The confidence you gain from fixing a leaky pipe or repainting a bedroom will ripple into other areas of life—problem‑solving, budgeting, and even creativity.
So grab that screwdriver, set a timer for 45 minutes, and start with one small repair today. Your future self—and your wallet—will thank you.

Tom Ferguson is a Canadian freelance writer with a passion for storytelling, current events, and thoughtful commentary. Drawing on years of writing experience, he shares engaging insights on a wide range of topics, bringing a uniquely Canadian perspective to his work.
Related Posts
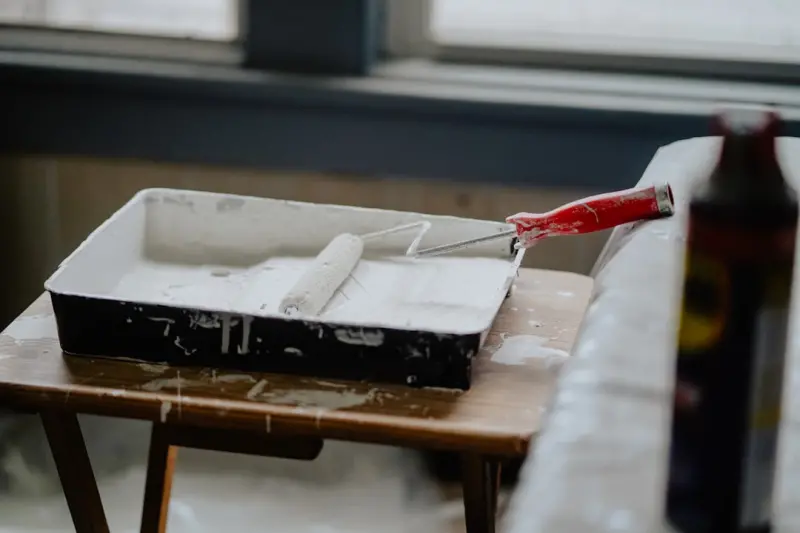
The Mobile Repair Cart: A DIYer's Ultimate Portable Workshop
Learn step-by-step how to create a mobile repair cart that organizes tools, adapts to seasonal proje... Read More
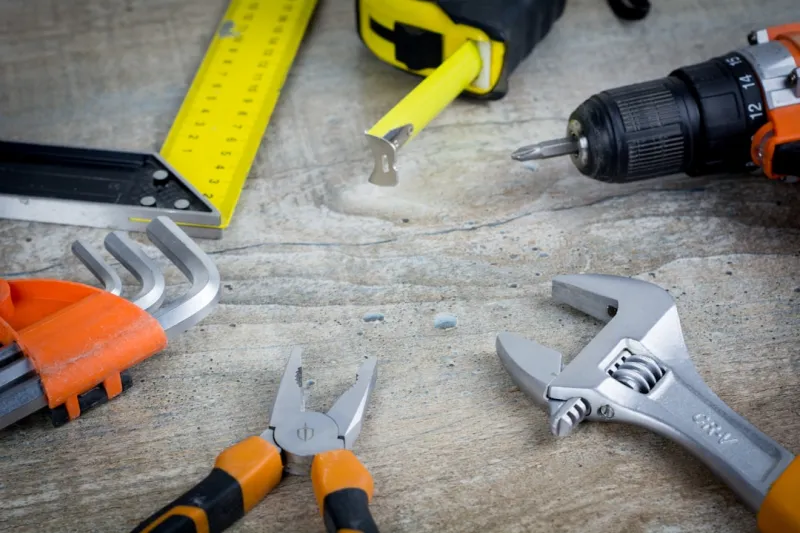
Embracing Sustainable DIY Home Repairs for a Greener Tomorrow
Make a positive impact on the environment by embracing sustainable DIY home repairs. Learn how to ch... Read More

Silencing Squeaks and Fixing Tiles: A DIY Home Repair Playbook
A comprehensive, step‑by‑step DIY guide that shows homeowners how to diagnose, repair, and maint... Read More
Top Posts

Embracing Sustainable Electrical Solutions for a Greener Future
Sustainable electrical solutions are critical for creating a greener future. Learn about the benefits of renewable energy sources, energy-efficient appliances, ...Read More

The Foundation of Sustainability: How Eco-Friendly Construction is Revolutionizing the Industry
The construction industry is undergoing a significant transformation. Eco-friendly construction practices are becoming increasingly popular, and it's not just a...Read More

Rooftop Gardens: The Next Frontier in Home Additions
Turning an underused roof into a green oasis can lower energy costs, improve air quality, and add lifestyle value. This guide walks you through structural prep,...Read More

Navigating Construction Permits: A Pragmatic Playbook for Modern Builders
A detailed guide that walks builders through zoning, code compliance, digital filing, inspections, and cost management to turn the often‑troublesome permit pr...Read More
0 Comments
Post Comment
You will need to Login or Register to comment on this post!