
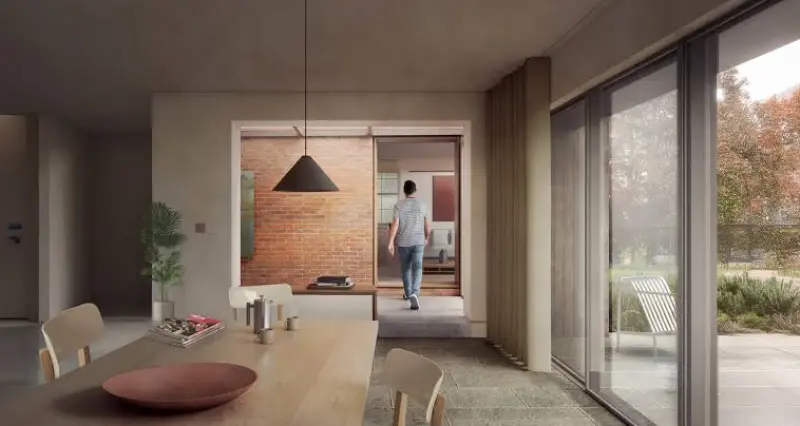
Why Historic Plasterwork Deserves a Second Chance
Walking through a home built before the age of drywall, you can feel the historic plaster breathing beneath your fingertips, a tangible link to the craftsmanship of a bygone era. Those smooth, slightly textured walls hold stories of the families who lived there, and restoring them is more than a cosmetic upgrade—it’s an act of preservation that honors architectural heritage. As a seasoned restoration specialist, I’ve seen how a well‑executed plaster revival transforms not just a room’s appearance, but its very soul, creating a backdrop that modern finishes simply can’t replicate.
Diagnosing the Damage Before You Dive In
The first step is a thorough assessment, because not every crack signals the same level of urgency. Look for signs like delamination, powdery dust after a tap, or bulging sections that hint at moisture intrusion, each of which dictates a different repair strategy. I always start by tapping the surface with a rubber mallet; a hollow sound warns of a detached backing, while a solid thud suggests the plaster is still anchored. Documenting these findings in a simple spreadsheet helps you prioritize work and allocate budget wisely, ensuring you tackle the most vulnerable areas first.
Choosing Materials That Respect the Original Craft
When it comes to historic plaster, the choice between lime and gypsum is pivotal, as each interacts uniquely with the building’s breathability and structural movement. Lime plaster, the traditional material, offers flexibility, allowing walls to expand and contract without cracking—a quality modern gypsum often lacks. However, gypsum’s quick set time can be advantageous for small patches, provided you blend it with a lime‑based base to maintain compatibility. Selecting the right mix preserves the wall’s ability to “breathe,” preventing future moisture buildup and extending the lifespan of your restoration.
Preparing the Workspace for a Safe and Efficient Restoration
Before any material touches the wall, clear the area of furniture, protect flooring with drop cloths, and seal off adjacent rooms to contain dust—a crucial step for both health and cleanliness. Essential tools include a sturdy hawk, flexible stainless‑steel trowels, a wide putty knife, and a spray bottle for misting the surface during application; a simple checklist keeps everything within reach and reduces downtime. Safety gear is non‑negotiable: wear a respirator rated for silica dust, goggles, and gloves, especially when sanding old plaster that may contain hazardous fibers.
The Core Repair Process: From Cleaning to Skim‑Coating
Begin by gently removing loose plaster with a cold‑chisel, taking care not to damage the lath or underlying substrate; this creates a clean edge for the new material to bond. Next, apply a bonding agent—often a diluted PVA solution—to the exposed area, allowing it to become tacky before laying the first “scratch coat” of lime or gypsum mix. Once the scratch coat sets, lightly score the surface to improve adhesion, then proceed with a “brown coat” that builds thickness and restores the wall’s original contour, finishing with a feather‑light skim coat for a seamless surface ready for finishing.
Finishing Touches: Matching Texture and Preserving Patina
Achieving a flawless finish hinges on replicating the original texture, whether it’s a smooth plaster, a subtle stipple, or an ornate swash pattern. Practice on a spare board to perfect the trowel technique, then use a sponge float or a texture roller to mimic the historic look. When the wall is dry, a low‑sheen, breathable paint preserves the wall’s ability to regulate humidity while highlighting the natural warmth of plaster. For those who cherish the aged character, consider a light wash of limewash that enhances patina without obscuring the surface’s subtle imperfections.
Embedding Preventive Maintenance into Your Routine
Restoration is only half the battle; ongoing care ensures the plaster remains resilient for decades. Adopt a schedule that includes gentle dusting with a soft brush, periodic humidity checks, and prompt attention to any new cracks—a habit reinforced by the guidelines in DIY Home Repairs: A Year‑Long Preventive Maintenance Blueprint. By integrating these practices into your seasonal chores, you safeguard the investment you’ve made and keep the walls breathing as they were intended.
Custom Moldings and the Art of Modular Woodworking
While plaster provides a solid canvas, decorative moldings add the finishing flourish that elevates a room from restored to refined. Partnering plaster work with bespoke wood trim, inspired by the principles in Modular Woodworking: Designing Flexible Furniture That Grows With You, lets you create adaptable cornices and picture rails that can be reconfigured as your interior evolves. By designing moldings as modular pieces, you preserve the integrity of the historic wall while offering the flexibility to update accents without invasive alterations—a perfect blend of tradition and modern convenience.
Long‑Term Benefits: Value, Sustainability, and Heritage
A meticulously restored plaster wall not only enhances curb appeal but also boosts property value, as buyers increasingly appreciate authentic craftsmanship over cheap synthetic finishes. Environmentally, plaster’s low embodied energy and ability to regulate indoor humidity contribute to a healthier, more sustainable home ecosystem. Most importantly, each restored wall stands as a silent storyteller, inviting future generations to experience the tactile beauty of a bygone building practice. By committing to this level of care, you become a steward of cultural heritage, ensuring that the elegance of historic plaster endures for years to come.

Paul Gray is a dynamic blogger based in Brampton, where he shares his life with his amazing wife, Sarah. Known for his engaging writing style and relatable insights, Paul has carved out a niche in the blogging world that resonates with readers from all walks of life. When he's not crafting captivating posts, you can find him savoring a cold beer or indulging in the latest blockbuster movie. With a friendly demeanor and a passion for storytelling, Paul brings a unique perspective to his work, making him not just a blogger, but a voice for those who appreciate the simple joys of life.
Related Posts

Breathing New Life into Vintage Homes: A Hands‑On Restoration Journey
A seasoned restoration specialist shares a step‑by‑step roadmap for reviving historic homes, bal... Read More
Sustainable Home Restoration: A Greener Future for Your Home
Sustainable home restoration is a critical step towards creating a greener future for our homes and ... Read More
Reviving Classic Trim: A Handyman’s Guide to Timeless Home Restoration
A detailed, hands‑on guide walks you through assessing, repairing, and finishing classic baseboard... Read More
Top Posts
The Secret Power of Smart Paint: Turning Your Walls into Active Assets
Smart paint blends nanotech, sensors, and adaptive pigments to turn ordinary walls into health‑monitoring, energy‑saving surfaces, offering homeowners a pro...Read More

Seasonal Tree Care: Turning Canopies into Strategic Assets
A detailed, seasonal checklist shows property managers how to transform tree maintenance from a reactive expense into a strategic asset that lowers energy costs...Read More
Beyond Concrete: Rethinking Foundations for Resilient Construction
Foundations are being reimagined through predictive modeling, modular systems, and advanced composites, turning static slabs into adaptable, data‑driven platf...Read More

Unlocking Everyday Comfort: 12 Home Hacks That Actually Work
A seasoned homeowner shares twelve easy, low‑cost tips—from smart lighting to DIY acoustic fixes—that transform everyday living into a more comfortable, e...Read More
0 Comments
Post Comment
You will need to Login or Register to comment on this post!