
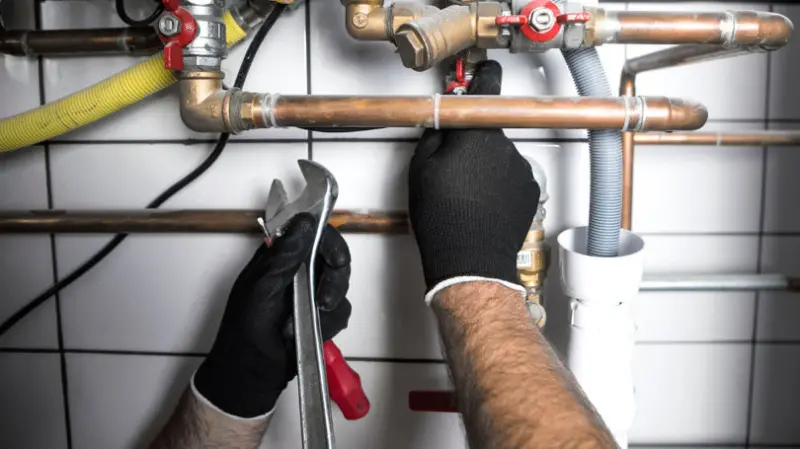
Why Preventive Maintenance Beats Emergency Repairs
When a pipe bursts at three in the morning, the panic is real, but the cost is even more real. Preventive maintenance is the quiet hero that keeps those midnight emergencies at bay, and it starts with a mindset shift: treat your home like a car that needs regular oil changes. By scheduling a quick visual inspection each month, you catch loose screws, water stains, or squeaky hinges before they snowball into costly replacements. This habit also builds confidence; you’ll know the exact condition of your roof, foundation, and plumbing, which means you can plan upgrades on your terms, not under duress. The payoff is twofold: you preserve the structural integrity of your space and you protect your budget, freeing cash for those fun projects you’ve been dreaming about. In my own experience, a simple weekly walk‑through has saved me from a cracked foundation that would have required a full slab replacement.
Creating a Home‑Maintenance Calendar That Actually Works
The secret to consistency is a visual calendar that breaks the year into bite‑size tasks. I like to divide the calendar into four seasonal blocks, assigning each a handful of focused projects that align with weather patterns and system usage. In spring, for example, check your exterior caulking and clean gutters; in summer, test HVAC efficiency and inspect deck fasteners; in fall, seal windows and service the furnace; in winter, verify insulation integrity and protect outdoor faucets. Using a wall‑mounted planner or a shared digital board ensures every household member knows what to look for and when. Pair each task with a brief checklist—no more than three steps—so you can tick them off without feeling overwhelmed. To make the process even smoother, I keep a small “maintenance kit” in the garage, stocked with a flashlight, a multi‑meter, and a few basic fasteners, so I’m always ready to act on the spot.
Spotting Hidden Water Intrusion Before It Becomes a Disaster
Water is the silent assassin of home health, slipping through tiny cracks and unnoticed for months. One of the most effective early‑warning methods is a moisture meter, a handheld device that tells you exactly where dampness is lingering behind walls or under floors. Start by scanning the perimeter of bathrooms, kitchens, and laundry rooms—areas where plumbing connections are most vulnerable. If the meter reads above 15% humidity inside a wall cavity, you likely have a slow leak or condensation issue. Another low‑tech trick is the “plastic sheet test”: tape a clear sheet of polyethylene to the exterior wall near the roofline; after a rainstorm, any water spots on the interior side indicate infiltration. Addressing these signs early with sealant, flashing repair, or a simple pipe re‑wrap can prevent mold growth, structural rot, and skyrocketing energy bills. For those who love a good toolbox reference, the essential tools for quick fixes article is a great companion when you need the right gear on hand.
Mastering DIY Electrical Safety Checks Without a License
Even if you’re not a certified electrician, a few basic safety checks can keep your wiring from turning into a fire hazard. Begin by turning off the main breaker and removing the cover plates from all accessible outlets. Look for any signs of scorching, loose wires, or outlets that feel warm to the touch. A simple voltage tester will tell you if a circuit is truly dead before you start poking around. Next, tighten any loose terminal screws and replace any cracked or discolored plugs. It’s also wise to install arc‑fault circuit interrupters (AFCIs) in high‑risk areas like kitchens and bedrooms; they detect stray currents that regular breakers miss. While you’re at it, consider labeling each breaker in your panel—clear labels save precious minutes during an outage and help professionals diagnose issues faster if you ever need to call one. Remember, if anything feels beyond your comfort level, it’s always smarter to bring in a licensed pro.
Insulation Audits: Finding the Leaky Spots That Inflate Your Bills
Many homeowners assume that once walls are closed, insulation is a set‑and‑forget system, but the truth is that gaps develop over time. Conducting a DIY insulation audit begins with a simple visual scan of the attic, crawl spaces, and any exposed basement walls. Look for compressed or missing batts, especially around joists and pipe penetrations. The next step is the “hand test”: run your hand along the interior walls on a cold day; a noticeable draft indicates missing insulation or inadequate sealing. For a more precise reading, a thermal imaging camera—often available for rent at hardware stores—highlights cold spots in real time. Once you identify the weak points, fill them with blown‑in cellulose or spray foam, depending on the area’s accessibility. Sealing gaps with caulk or expanding foam around windows, doors, and electrical outlets further improves the envelope, cutting heating and cooling costs dramatically.
Simple Plumbing Fixes That Save Time and Money
Plumbing woes don’t have to mean calling a plumber for every drip. A common culprit is a worn‑out faucet washer, which you can replace in under ten minutes with a basic wrench and a new rubber seal. For stubborn clogs, skip the chemical snake and reach for a homemade enzyme cleaner—mix baking soda and vinegar, let it fizz for fifteen minutes, then flush with hot water. If you notice low water pressure in a single fixture, the aerator is likely clogged; unscrew it, soak in vinegar, and you’ll restore flow instantly. For more persistent issues, such as a leaking pipe joint, a quick wrap of self‑fusing silicone tape can hold the leak until you’re ready for a permanent fix. These small victories not only preserve your plumbing system but also give you the confidence to tackle bigger projects down the line.
Leveraging Smart Home Tech for DIY Diagnostics
Modern smart devices can be your best allies in home maintenance, turning vague suspicions into data‑driven decisions. Smart leak detectors, placed near appliances and under sinks, send instant alerts to your phone at the first sign of moisture, allowing you to intervene before a small puddle becomes a flood. Similarly, Wi‑Fi‑enabled thermostats track heating and cooling cycles, flagging inefficiencies that often point to insulation gaps or duct leaks. For electrical health, a whole‑home energy monitor visualizes real‑time consumption, highlighting spikes that could indicate a faulty appliance or wiring issue. Integrating these tools into your preventive routine not only adds a layer of safety but also builds a habit of proactive monitoring. By reviewing the data each month, you can pinpoint the exact time of year when certain systems need extra attention, fine‑tuning your seasonal maintenance calendar accordingly.
DIY Seasonal Exterior Touch‑Ups to Boost Curb Appeal
Exterior upkeep is often overlooked, yet it’s the first thing visitors notice and the biggest factor in protecting the structure. Early spring is the perfect window to power‑wash siding, removing grime that can trap moisture against the wood or brick. Follow up with a fresh coat of exterior paint on high‑traffic trim; a thin, even layer not only revives color but also adds a protective barrier against UV damage. In the fall, inspect the roof for missing shingles and replace them with a simple click‑lock system that doesn’t require a professional ladder crew. Don’t forget the driveway—re‑seal it every few years to prevent cracks that let water seep into the foundation. These modest, budget‑friendly projects keep your home looking polished while extending the lifespan of critical components.
Putting It All Together: A Year‑Long DIY Maintenance Blueprint
To transform these tips into lasting results, I recommend drafting a master blueprint that outlines each task, the tools required, and a realistic timeline. Start with a spreadsheet or a free project‑management app, creating columns for “Season,” “Task,” “Materials,” and “Completed.” Populate it with the seasonal tasks discussed above, linking each entry to a quick reference guide or a tutorial video when needed. Schedule a dedicated “maintenance weekend” each quarter, inviting family members to pitch in—turn it into a fun, educational activity rather than a chore. Track your progress, celebrate completed milestones, and adjust the plan as you discover new areas needing attention. Over time, you’ll build a living document that evolves with your home, ensuring that preventive care becomes second nature and emergency repairs become a rarity.

Craig Brett is a freelancer with a passion for the outdoors. His love for nature inspires his work, bringing authentic and engaging perspectives to projects related to outdoor activities, adventure, and environmental topics.
Related Posts
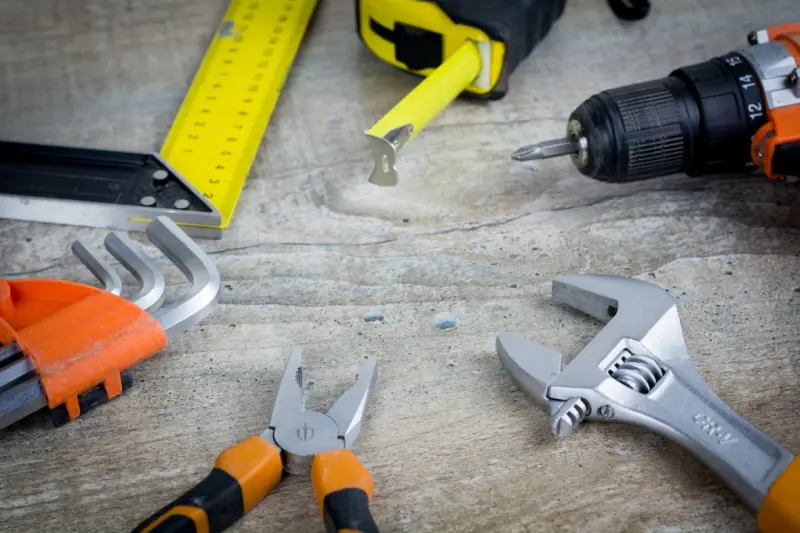
Micro‑Fixes for Home Repair: Save Time and Money
Learn how to tackle everyday home repair issues with a mini‑project mindset, essential tools, and ... Read More
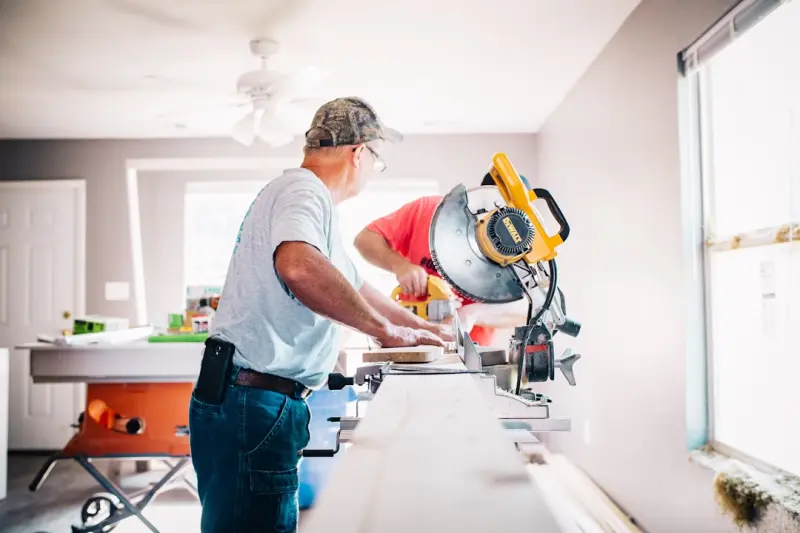
Invisible Wins: Small DIY Repairs That Save Money and Boost Comfort
Learn how simple, often overlooked fixes—from draft‑proofing doors to sealing drywall cracks—c... Read More
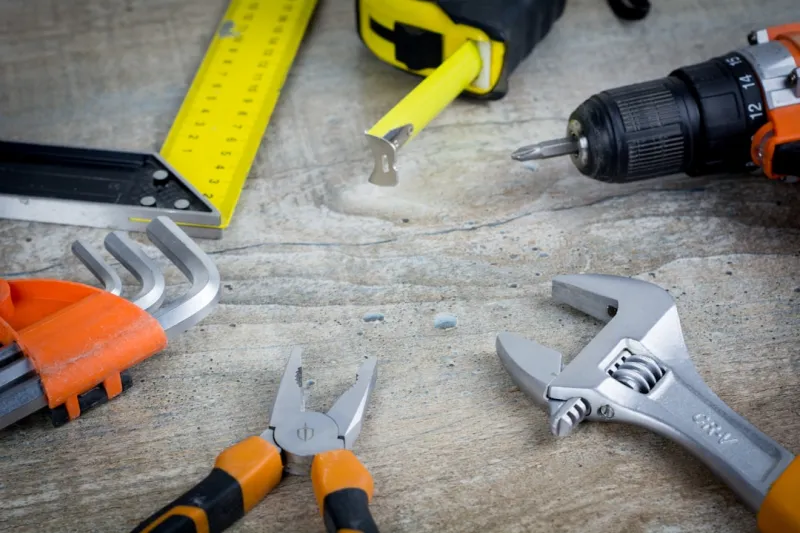
Embracing Sustainable DIY Home Repairs for a Greener Tomorrow
Make a positive impact on the environment by embracing sustainable DIY home repairs. Learn how to ch... Read More
Top Posts

Solar Energy for Everyone: Community Power, Storage, and the Future of Clean Living
Explore how community solar, home battery storage, and agrivoltaics are democratizing clean energy, offering practical steps for households and neighborhoods to...Read More

The Evolution of Sustainable Drywalling: A Comprehensive Guide
Sustainable drywalling involves the use of eco-friendly materials, techniques, and practices that minimize waste and reduce the environmental impact of the cons...Read More

The Foundation Revolution: How Real‑Time Data Is Redefining Site Stability
Foundations are evolving from static concrete slabs into data‑rich, intelligent systems. Learn how real‑time monitoring, predictive analytics, and sustainab...Read More

Building Homes That Withstand the Storm: A Practical Guide to Weather‑Resilient Construction
A comprehensive guide outlines foundation elevation, reinforced framing, advanced envelope systems, and smart technologies that together create homes capable of...Read More
0 Comments
Post Comment
You will need to Login or Register to comment on this post!