
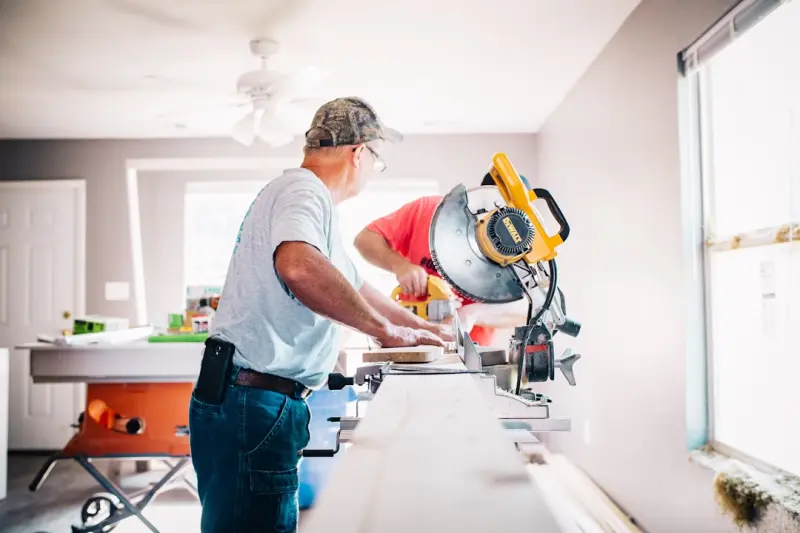
Why the Small, Invisible Fixes Matter More Than the Big Overhauls
When I first started swapping out leaky faucet washers in my own kitchen, I quickly realized that the true value of DIY home repair isn’t measured by the size of the project but by the cumulative impact of the little things that most homeowners overlook. Those squeaky hinges, drafty window frames, and hairline cracks in plaster may not look like headline‑grabbing renovations, but they’re the silent guardians of comfort, energy efficiency, and long‑term cost savings.
Building a Mindful Repair Toolkit
Before you dive into any fix, take a moment to curate a toolkit that reflects a philosophy of “repair before replace.” This mindset keeps you from chasing the newest gadget for every problem and instead focuses on versatile, durable tools that stand the test of time.
- Adjustable wrench set – A good set replaces a dozen individual wrenches.
- Multi‑bit screwdriver – Switch heads on the fly; no more rummaging through drawers.
- Utility knife with replaceable blades – Perfect for everything from trimming drywall tape to slicing insulation.
- Portable stud finder – Essential for anchoring shelves, picture frames, or heavy mirrors without guessing.
- Mini level and laser line – Small but mighty for aligning trim, cabinets, and door hinges.
Investing in quality basics means you’ll spend less time hunting for the right tool and more time actually fixing the issue at hand.
Draft‑Proofing: The Unnoticed Energy Saver
One of the most rewarding “invisible” repairs is sealing drafts. A single poorly sealed door can bleed enough conditioned air to raise heating bills by up to 15%. Here’s a systematic approach:
- Identify the culprits – Run a lit candle or incense stick along window frames and door jambs. If the flame wavers, you’ve found a leak.
- Apply weatherstripping – Self‑adhesive foam or silicone-backed strips are easy to install and last for years.
- Seal gaps with caulk – Use a paint‑compatible acrylic caulk for interior seams; silicone for exterior joints.
- Install door sweeps – The simple rubber brush at the base of exterior doors eliminates under‑door drafts.
These steps take under an hour and produce an immediate, measurable drop in utility costs.
Quieting That Squeaky Door
Every home has at least one door that announces its presence with a high‑pitched squeak. The culprit is almost always a dry hinge. The fix is deceptively simple:
- Remove the hinge pin using a small screwdriver and a hammer.
- Apply a few drops of lightweight oil (WD‑40, silicone spray, or even a dab of petroleum jelly).
- Work the pin back in, swing the door a few times, and enjoy the newfound silence.
For a longer‑lasting solution, consider replacing the hinge with a ball‑bearing model. It costs a few dollars per pair and eliminates future noise.
Repairing Cracks in Drywall Without a Full Repaint
Cracks in plaster or drywall often get a quick coat of paint and are forgotten—until they spread. A proper patch can keep the wall’s integrity without the need for a full room repaint.
- Clean the crack – Use a utility knife to cut away any loose material and create a V‑shaped groove.
- Apply joint compound – Spread a thin layer using a putty knife, feathering the edges into the surrounding wall.
- Embed a backing mesh – For cracks larger than a hairline, embed a small piece of fiberglass mesh for added strength.
- Sand smooth – Once dry, sand with fine‑grain paper, then touch up with a matching paint.
If you’re curious about how color and texture can change a room’s feel, check out color and texture tricks for walls. The right hue can make even a repaired wall feel intentional.
Fixing Leaky Faucets: A 5‑Minute Money Saver
A drip that drops once per second can waste over 3,000 gallons per year. Replacing the inner washer is the most common fix.
- Shut off the water supply beneath the sink.
- Disassemble the faucet handle—usually a set screw under a decorative cap.
- Remove the cartridge or stem, then replace the rubber washer or O‑ring.
- Reassemble, turn the water back on, and test.
Keep a spare set of washers in a labeled drawer; you’ll thank yourself the next time a drip appears.
Reinforcing Loose Cabinet Doors
Loose cabinet hinges are a visual sign of wear, but they also affect functionality. Tightening the screws is often enough, but if the wood around the screw is stripped, a simple plug can rescue the situation.
- Insert a wooden dowel, coated with wood glue, into the stripped hole.
- Let the glue cure for 30 minutes.
- Re‑drill a pilot hole and re‑attach the hinge.
This technique restores stability without the need for new hardware and extends the lifespan of your cabinets.
Transforming an Under‑Used Shed Into a Handy Workshop
Many homeowners store tools in a garage or basement, but a modest garden shed can become a dedicated repair station. By adding a sturdy workbench, proper lighting, and a few storage solutions, you create a focused environment that boosts productivity.
For inspiration on turning a basic structure into a functional space, see transforming garden sheds. The same principles apply—think modular shelves, weather‑proof flooring, and a clear workflow.
Understanding the Role of Proper Ventilation in Small Repairs
When you sand, paint, or apply adhesives, the air quality can deteriorate quickly. Simple ventilation tricks keep the indoor environment safe:
- Open windows on opposite sides to create a cross‑draft.
- Use a box fan facing outward to pull fumes out.
- Consider a portable air purifier with a carbon filter for lingering odors.
These low‑cost measures prevent headaches and protect the longevity of finished surfaces.
Maintaining Floor Tiles Without Professional Help
Tile grout can discolor over time, giving the impression of damage. Re‑grouting is a straightforward DIY task that restores both appearance and water resistance.
- Scrape out old grout with a grout removal tool.
- Vacuum the gaps to remove dust.
- Mix new grout according to the manufacturer’s directions.
- Apply with a rubber float, pressing firmly into the joints.
- Wipe excess with a damp sponge, then let cure.
Seal the fresh grout after it cures to guard against stains and moisture penetration.
The Power of Routine Checks
DIY repair isn’t just about fixing problems after they appear; it’s about proactive inspection. Schedule a quarterly walkthrough and keep a simple checklist:
- Inspect caulking around tubs, showers, and exterior doors.
- Run water in each bathroom to detect drips under sinks.
- Check that all outlet covers are secure.
- Test smoke detectors and replace batteries annually.
A brief 30‑minute audit each season can catch issues before they become costly emergencies.
Final Thoughts: The Cumulative Effect of Tiny Wins
Each repair you complete adds up. A sealed window, a quiet door, a drip‑free faucet—these are the building blocks of a home that feels intentional, runs efficiently, and saves money year after year. Embrace the mindset that every small fix is a strategic move toward a healthier, more comfortable living space.

David MacKinnon is a dynamic freelance writer known for his captivating storytelling and keen insights into the world of technology. With a passion for exploring the intersection of innovation and everyday life, he crafts engaging narratives that not only inform but also inspire his readers.
Related Posts
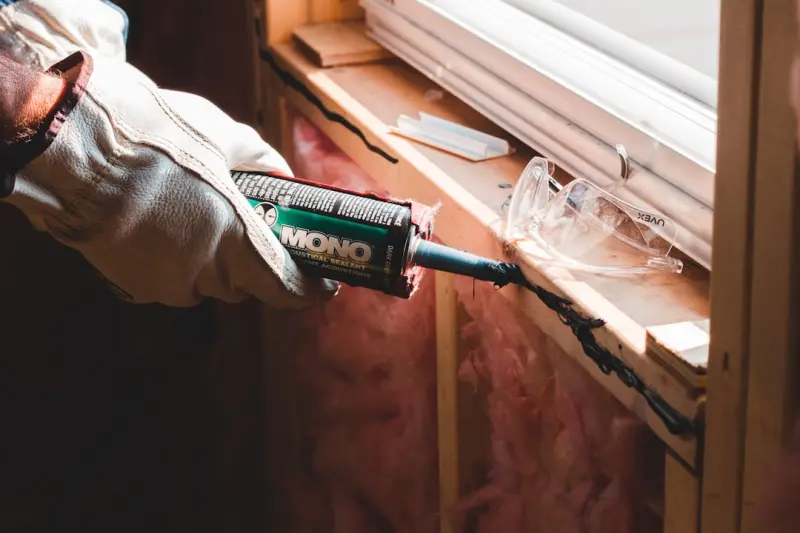
Quiet Fixes: DIY Home Repairs That Save Money and Stress
Rose DesRochers shares a step‑by‑step guide to everyday DIY repairs, offering practical tools, s... Read More
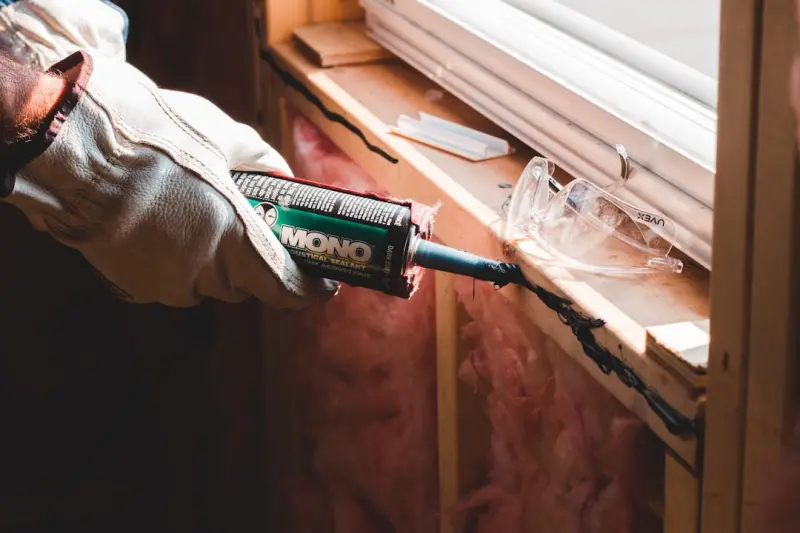
DIY Caulk Revival: A Homeowner’s Guide to Sealing Bathrooms and Kitchens
A practical, homeowner‑focused guide to removing old caulk, choosing the right sealant, and applyi... Read More
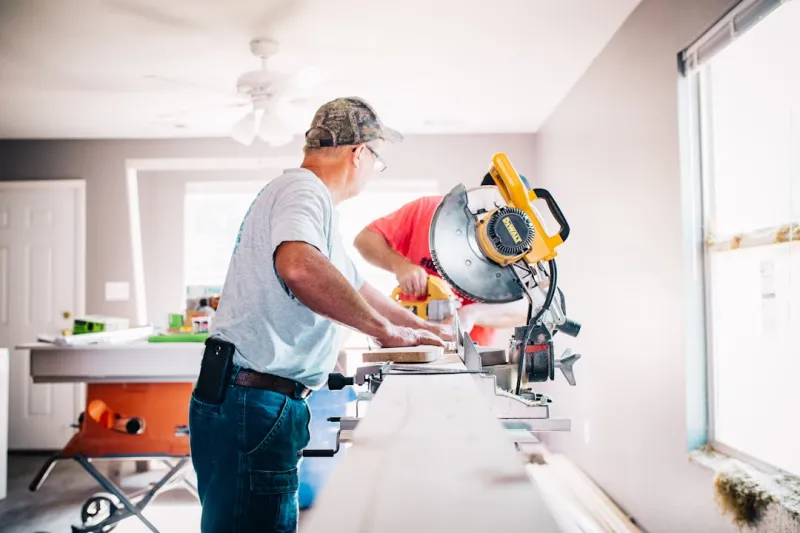
DIY Home Repairs: Turning Everyday Fixes into Sustainable Wins
Learn how simple DIY home repairs can slash bills, reduce waste, and give you the satisfaction of fi... Read More
Top Posts

Turning Floors into Interactive Workspaces: The Next Frontier in Office Design
Discover how embedding sensors into flooring turns a simple surface into a strategic asset, delivering real‑time insights on space usage, employee health, and...Read More

Why Subscription‑Based Appliance Repair Is the Future for Growing Businesses
Traditional pay‑per‑visit repairs drain budgets and cause unexpected downtime. This article explains how subscription‑based appliance repair offers predic...Read More

Next‑Gen Tiles: Adaptive, Sustainable, and Sensory
Discover the future of tiling: smart sensors, reclaimed materials, acoustic cores, and thermal‑mass designs that transform floors into active, sustainable, an...Read More

Why Subscription-Based Appliance Repair Is the Future of Home Maintenance
Subscription-based appliance repair offers predictable fees, priority service, and regular maintenance, turning reactive repairs into proactive care and deliver...Read More
0 Comments
Post Comment
You will need to Login or Register to comment on this post!