
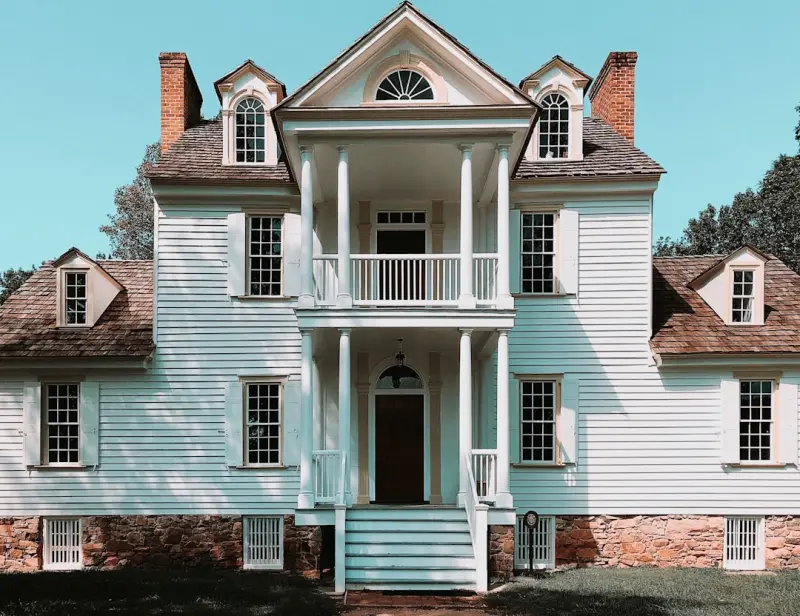
Why a Dedicated Checklist Matters for Historic Homes
Renovating a historic home is a delicate dance between honoring the past and meeting today’s standards. A well‑crafted checklist becomes your roadmap, ensuring no hidden flaw or cherished detail slips through the cracks. It forces you to pause, research, and prioritize, turning what could be a chaotic series of decisions into a purposeful, confidence‑building process. By following a proven sequence, you protect the architectural soul of the house while avoiding the budget blowouts that so often derail preservation projects.
Research, Documentation, and Legal Considerations
The first step is to dive into the history of the property. Locate original blueprints, old photographs, and any previous renovation records; these documents reveal hidden construction methods and original materials. Next, check local preservation ordinances and obtain any necessary permits—many municipalities require approval before altering façade elements or structural components. A thorough research phase also uncovers tax incentives and grants that can offset costs, making the renovation financially viable. For structural clues, I often start with the foundation assessment detailed in When Foundations Speak, which helps spot settlement issues before they become costly repairs.
Comprehensive Structural Assessment
A historic home’s skeleton may have endured generations of weather, settlement, and previous DIY fixes. Engage a structural engineer experienced with older construction to evaluate load‑bearing walls, joists, and roof trusses. Look for signs of rot, insect damage, and moisture intrusion—especially in crawl spaces and basements. Create a checklist of critical items such as cracked masonry, sagging beams, and compromised chimneys, and rank them by urgency. Addressing these structural concerns early prevents later disruptions when you begin interior work, and it ensures the building’s long‑term stability.
Preserving Exterior Materials and Character‑Defining Features
The façade is the public face of a historic home, and preserving its original materials is both an aesthetic and regulatory priority. Conduct a meticulous survey of siding, clapboard, stone, and decorative trim, noting areas that require repair versus full replacement. Where possible, source reclaimed lumber or salvaged bricks that match the original profile; this not only maintains authenticity but also supports sustainable practices. My own experience with reclaimed resources was greatly inspired by Turning Scraps into Signature Pieces, which offers practical tips on locating and integrating reclaimed elements without compromising structural integrity.
Interior Features: Plaster, Woodwork, and Tile Preservation
Inside a historic residence, original plaster walls, handcrafted wood moldings, and period tile patterns tell the story of the era. Before any demolition, photograph every detail and label each component for future reference. Conduct gentle tests on plaster to identify areas that can be patched versus those needing full replacement. For ornamental woodwork, use low‑abrasive cleaning methods to retain patina. When dealing with historic tile, consider restoration rather than replacement; the process can revive color and glaze while preserving the narrative embedded in each piece. A deeper dive into tile preservation is available in Tiles as Storytellers, which showcases techniques for maintaining the integrity of these artistic surfaces.
Modernizing Building Systems Without Disrupting History
Upgrading electrical, plumbing, and HVAC systems is essential for safety and comfort, yet these upgrades must be concealed to respect historic aesthetics. Choose slim‑profile wiring and pipe conduits that can be routed through existing chases or behind walls without widening openings. Consider ductless mini‑split HVAC units; they provide efficient climate control while minimizing the need for extensive ductwork that could damage original plaster or wood. When installing new fixtures, select designs that echo the period style—reproduced brass switches or vintage‑inspired radiators blend modern performance with historic charm. Document every system change on your checklist to keep the project organized and to simplify future maintenance.
Energy Efficiency and Sensitive Insulation Strategies
Improving energy performance is possible without sacrificing historic character. Focus on sealing air leaks around windows, doors, and the roof deck using breathable caulks that allow walls to “breathe” and prevent moisture buildup. Add interior insulation in attic spaces and crawl spaces where it won’t be visible; rigid foam or blown‑in cellulose can be installed without altering interior finishes. Upgrade to double‑glazed storm windows that match the original sash profiles, preserving the visual integrity while reducing heat loss. By approaching energy upgrades as enhancements rather than replacements, you maintain the building’s authenticity and comply with many preservation guidelines that discourage exterior alterations.
Budgeting, Phasing the Work, and Managing Expectations
A historic renovation can quickly become a financial marathon if not carefully phased. Break the project into logical stages—foundation and structural repairs, exterior envelope, interior finishes, and system upgrades—assigning a budget to each phase. Create a contingency fund of 10‑15 % for unforeseen discoveries, such as hidden rot or outdated hazardous materials. Use a simple spreadsheet to track expenses, vendor quotes, and timeline milestones; this transparency helps you stay on schedule and avoid scope creep. Regularly revisit your checklist to confirm that each completed task aligns with the original preservation goals, ensuring that the final result remains true to the home’s heritage.
Final Walkthrough, Documentation, and Ongoing Maintenance
Once construction wraps, conduct a comprehensive walkthrough with all contractors to verify that work matches the checklist specifications. Capture “as‑finished” photographs of every restored element, updating the documentation library you built at the project’s start. Create a maintenance schedule that outlines seasonal tasks—such as roof inspections, gutter cleaning, and exterior paint touch‑ups—to prolong the life of the historic fabric. By establishing a clear post‑renovation plan, you safeguard your investment and ensure the house continues to tell its story for generations to come.

Tom Ferguson is a Canadian freelance writer with a passion for storytelling, current events, and thoughtful commentary. Drawing on years of writing experience, he shares engaging insights on a wide range of topics, bringing a uniquely Canadian perspective to his work.
Related Posts

Strategic Renovation Checklist: Building Future‑Ready Spaces
A deep‑dive strategic renovation checklist that moves beyond a simple to‑do list, integrating vi... Read More
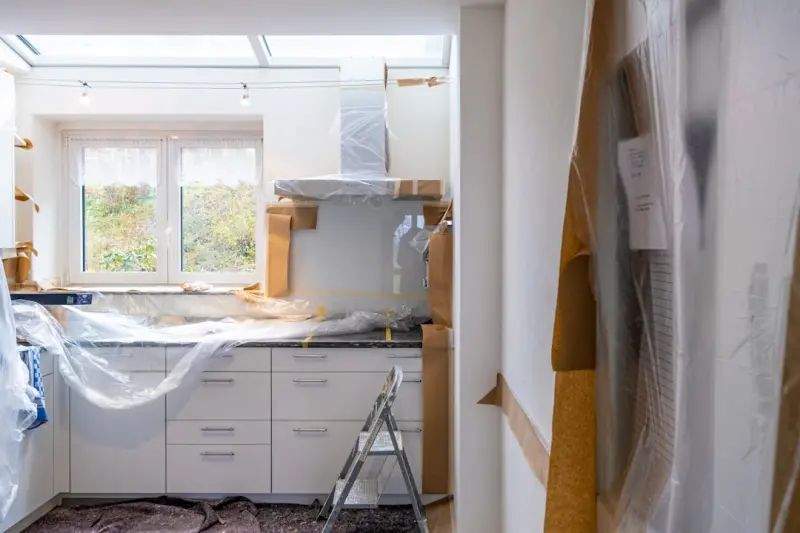
The Ultimate Renovation Checklist for Seamless Project Execution
Discover a detailed renovation checklist that walks you through every phase—from budgeting and per... Read More

Renovation Checklist: A Practical Playbook for Stress‑Free Home Transformations
Discover a comprehensive renovation checklist that guides you from vision to final walk‑through, i... Read More
Top Posts
The Ultimate Renovation Checklist for Historic Home Preservation
A detailed checklist guides you through researching, assessing structure, preserving original features, modernizing systems, and budgeting to successfully renov...Read More
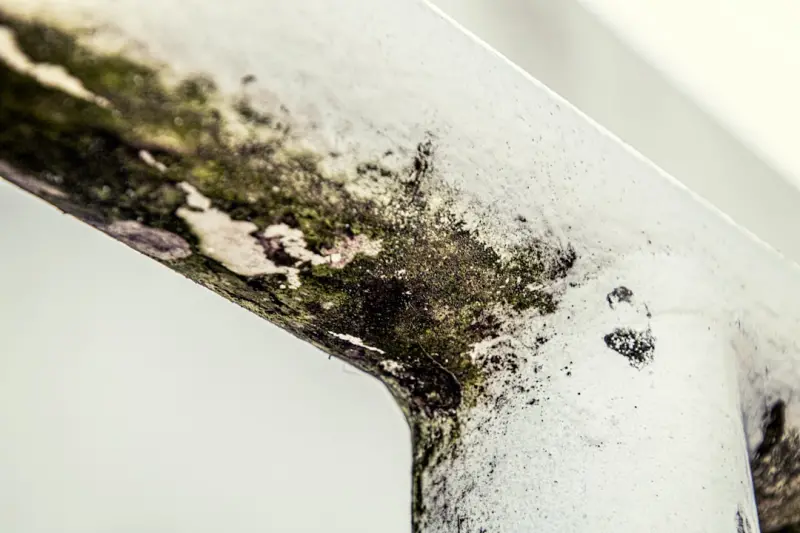
Mold Removal Mastery: A Pro’s Playbook for Healthy Spaces
A seasoned facilities expert shares a step‑by‑step playbook for diagnosing, eradicating, and preventing mold, turning remediation into a long‑term health ...Read More
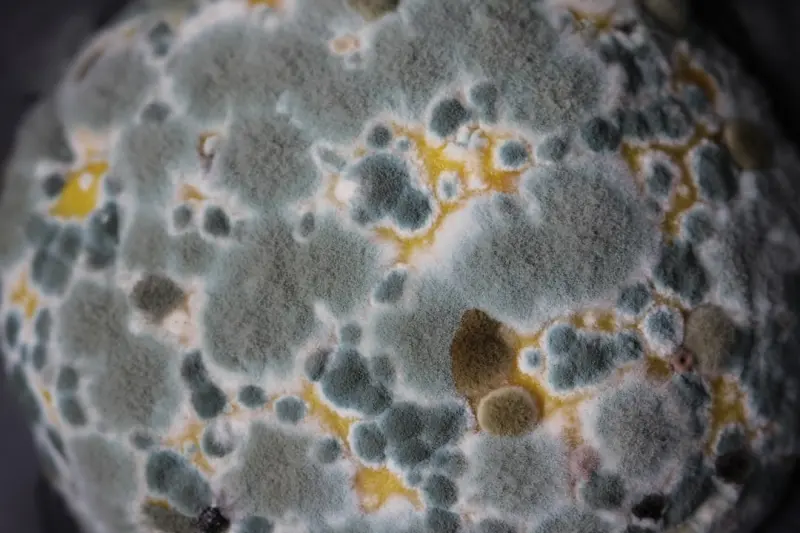
Predictive Mold Removal: Turning Data Into a Clean, Healthy Building
A fresh look at mold removal shows how continuous humidity monitoring, smart ventilation, and AI-powered digital twins can prevent mold before it spreads, turni...Read More
The Secret Power of Smart Paint: Turning Your Walls into Active Assets
Smart paint blends nanotech, sensors, and adaptive pigments to turn ordinary walls into health‑monitoring, energy‑saving surfaces, offering homeowners a pro...Read More
0 Comments
Post Comment
You will need to Login or Register to comment on this post!