

Why Architectural Details Matter More Than You Think
I first fell in love with restoration when the cracked crown molding in my grandparents' house whispered stories of a bygone era, urging me to listen and learn. As a self‑taught craftsman living at the crossroads of modern design and heritage preservation, I have come to view every piece of trim, every ornamental plaster rose, and every weathered doorframe as a living archive that can be coaxed back to its original glory with patience, research, and the right tools. In this guide I will walk you through my proven workflow for reviving those architectural details that give an old home its character, from meticulous assessment to the final protective finish, so you can honor the past while creating a space that feels unmistakably yours.
Assessing the Existing Details Before You Begin
The first step is a systematic audit of all visible woodwork, plaster moldings, and built‑in features; I treat it like a forensic investigation, photographing each element, noting its condition, and cataloguing any missing sections. This inventory not only informs the scope of work but also reveals patterns of wear that guide material selection; for instance, knowing whether a room suffered prolonged sun exposure helps you choose the right historic paint palette that respects original hues while providing modern durability. I also recommend creating a simple spreadsheet to track location, damage type, and repair priority—an approach that keeps the project from spiralling into endless guesswork and ensures you stay within budget and timeline constraints.
Cleaning and Preparing Surfaces for Restoration
Before any repair, each surface must be stripped of dust, grime, and old finish layers; I start with a gentle vacuum, followed by a low‑odor, biodegradable cleaner that lifts soot without saturating the wood. For stubborn residue, a soft‑bristle brush and a mild citrus‑based solution work wonders, especially on plaster that can crack under aggressive chemicals. Once clean, the material needs to be dried thoroughly—any lingering moisture can lead to swelling or mold later on. If you’re working with trim that borders exterior walls, remember to protect moisture‑prone trim with a breathable sealant before proceeding to sanding or painting.
Repairing Damaged Moldings and Trim
When you uncover cracks, splits, or missing sections, resist the urge to replace the entire piece; instead, focus on targeted repairs that preserve as much original material as possible. Small cracks are best filled with a two‑part epoxy that can be tinted to match the wood grain, while larger gaps often require a combination of wood filler and thin veneer shims glued in place. The key is to feather the repair edges with a fine‑grit sandpaper so the transition becomes invisible once the final finish is applied. For extensive rot, I cut away the compromised core, treat the surrounding wood with a borate solution, and insert a matching hardwood dowel—this method reinforces structural integrity without sacrificing authenticity.
Recreating Missing Pieces Using Traditional and Digital Tools
Missing decorative elements, such as a lost dentil or a broken scroll, can be recreated by studying period pattern books or historic photographs; I often start with a high‑resolution scan of a similar original piece and import it into a CAD program to generate a precise template. From there, a CNC router can cut the profile out of matching wood, saving countless hours of hand carving while maintaining accuracy. If you lack CNC access, a skilled woodturner can replicate the profile using hand tools, though it will demand more patience. Whichever method you choose, always sand the new piece to the same finish level as the surrounding material, then test‑fit it before securing it with concealed wood glue and tiny brads.
Choosing Finishes That Respect History and Modern Living
The final appearance of restored details hinges on the finish you select; historically, many homes used oil‑based paints or shellac, which offer deep colour saturation and a subtle sheen that modern latex cannot replicate. If you prefer the ease of water‑based products, look for low‑VOC paints formulated to mimic the look of oil finishes while providing quicker drying times and easier cleanup. For wood that originally featured a natural stain, a hand‑rubbed Danish oil can enhance the grain without creating a glossy surface that attracts dust. I always recommend applying a thin, breathable topcoat—such as a matte polyurethane—to protect the work from everyday wear while allowing the material to “breathe,” a crucial factor for older structures that still move with seasonal humidity changes.
Establishing a Maintenance Routine to Preserve Your Work
Even the most meticulous restoration will deteriorate without regular care; I suggest incorporating a seasonal maintenance checklist that focuses on dust removal, humidity monitoring, and quick touch‑ups of any chipped paint or loosened hardware. During humid months, use a dehumidifier in rooms with extensive woodwork to prevent swelling, and in dry seasons, a humidifier can keep the wood from cracking. A soft microfiber cloth and a pH‑neutral cleaner are sufficient for routine cleaning; avoid abrasive tools that could scratch the finish. Finally, schedule an annual inspection with a preservation specialist to catch early signs of wear, ensuring your restored details continue to shine for generations to come.
From Restoration to Celebration: The Emotional Payoff
When the last coat of finish dries and you step back to admire the revived crown molding catching the light, the satisfaction is almost palpable; you’ve not only salvaged material but also reclaimed a piece of family history that might otherwise have been lost. Each restored element becomes a conversation starter, a tangible link between the past occupants and the present, enriching the home’s narrative and increasing its market appeal. More importantly, the process teaches you patience, attention to detail, and respect for craftsmanship—skills that transcend any single project. So roll up your sleeves, trust the process, and let the soul of your home shine through the renewed architectural details you lovingly bring back to life.

Lifan Chen is a freelancer based in Toronto specializing in marketing. With expertise in crafting effective marketing strategies and campaigns, Lifan helps businesses grow their brand presence and reach target audiences. As a Toronto-based freelancer, Lifan combines local market insights with creative marketing skills to deliver tailored solutions for clients.
Related Posts

Breathing New Life into Vintage Windows: A Restoration Blueprint
Restoring vintage windows blends heritage preservation with modern performance. This guide walks you... Read More

Reviving Your Home's Former Glory: A Comprehensive Guide to Sustainable Home Restoration
Sustainable home restoration is about creating a living space that's not only beautiful but also sus... Read More
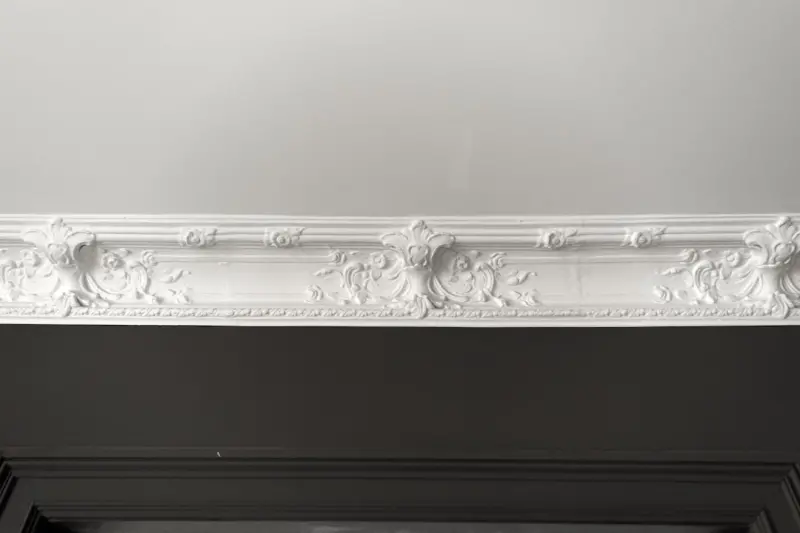
Reviving Historic Crown Molding: A Hands‑On Guide to Authentic Home Restoration
Discover a step‑by‑step approach to restoring historic crown molding, balancing authenticity, co... Read More
Top Posts

Micro‑Climate Mastery: Transform Your Home into a Natural Weather‑Proof Fortress
Learn to harness nature and technology to weather‑proof your home, from strategic plantings to smart sensors, creating a resilient micro‑climate that saves ...Read More

Silent Walls: The Rise of Acoustic Wallpaper in Modern Interiors
Acoustic wallpaper offers a thin, design‑forward solution that absorbs noise while enhancing interior aesthetics, providing measurable productivity gains and ...Read More

Guarding Your Home’s Core: Innovative Strategies for Foundation Repair
Learn how soil science, smart sensors, and eco‑friendly materials combine to create proactive, cost‑effective foundation repair solutions that safeguard you...Read More
Unearthing Potential: How a Basement Renovation Can Transform Your Home
Your basement is more than just storage; it's untapped potential. Learn from Lifan Chen how a strategic basement renovation can add significant value and create...Read More
0 Comments
Post Comment
You will need to Login or Register to comment on this post!