
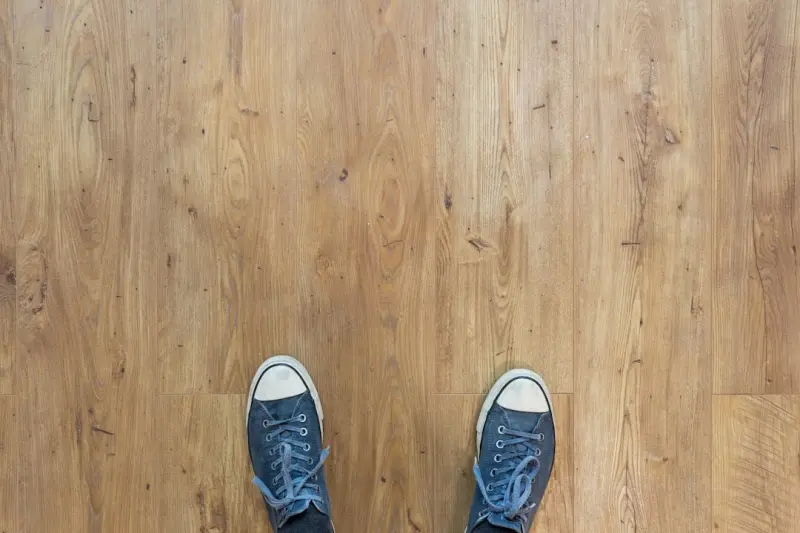
Why Restoring Original Wood Matters
Walking across a floor that has survived generations tells a story that paint and carpet simply can’t convey, and preserving that narrative adds both character and value to a home; I’ve spent countless weekends kneeling on creaking boards, feeling the grain under my fingertips, and realizing that each knot holds a memory of the house’s early days. Modern homeowners often overlook the subtle elegance of aged timber, opting instead for quick‑install laminates, yet the tactile warmth and acoustic comfort of authentic wood remain unmatched. By choosing to restore rather than replace, you not only honor the craftsmanship of the past but also embrace a sustainable approach that reduces waste, cuts down on material costs, and supports a circular economy—principles that have guided my own restoration philosophy for years.
Assessing the Condition Before You Begin
The first step is a thorough inspection, which may feel like detective work, but it’s essential for mapping out a realistic restoration plan; look for signs of moisture, insect damage, uneven wear, and surface contaminants that can affect adhesion of finishes. I always start by tapping each board to listen for hollow spots that indicate rot, then I use a moisture meter to confirm hidden saturation before any sanding begins. When you spot areas that need structural reinforcement, consider consulting a structural engineer, but for most surface imperfections, a careful visual assessment will suffice. For those moments when you need to prep adjacent walls or ceilings, remember the smart drywall prep techniques that can save you time and prevent future cracking.
Cleaning and Decontaminating the Surface
Before any sanding or refinishing, the wood must be meticulously cleaned to remove dust, oils, and historic finishes that can interfere with new sealants; I start with a gentle vacuum, followed by a mild, pH‑balanced wood cleaner applied with a soft microfiber cloth, working in the direction of the grain to avoid streaks. For stubborn grime or old waxes, a diluted trisodium phosphate solution can break down residues, but it’s crucial to rinse thoroughly and allow the surface to dry completely—any remaining moisture will cause the new finish to lift or bubble later on. Once the floor is spotless, a light sanding with a fine‑grit screen helps open the pores, allowing the new stain or sealant to penetrate evenly, setting the stage for a durable, beautiful finish that will last for decades.
Repairing Damaged Sections with Respect for History
When you encounter cracked boards, gaps, or rot, the goal is to repair rather than replace whenever possible, preserving the original material and its patina; for minor cracks, wood filler tinted to match the surrounding tone works well, while larger gaps may require carefully cut spline inserts glued in place for structural stability. If a board is beyond salvage, source reclaimed timber of the same species and age, then splice it using traditional mortise‑and‑tenon joints to maintain authenticity. In my workshop, I often apply techniques learned from sustainable furniture restoration, such as hand‑carving replacement sections to match the existing grain pattern, ensuring the repaired area blends seamlessly with the original surface. Patience and precision here pay off, as a well‑executed repair will be virtually invisible once the final finish is applied.
Choosing the Right Finish for Longevity and Aesthetic
The finish you select will define both the visual appeal and the protective qualities of your restored wood, and there are three main categories to consider: oil‑based polyurethane, water‑based polyurethane, and natural oil finishes such as tung or linseed; each offers distinct advantages, from the high gloss and durability of oil‑based products to the low VOCs and quick drying times of water‑based alternatives. For historic homes, I often lean toward a penetrating oil that enhances the grain without creating a thick film, allowing the wood to breathe while offering resistance to moisture and wear. Apply the finish in thin, even coats, sanding lightly between each layer with a fine grit screen to achieve a smooth, professional look. Remember that a final topcoat of a matte or satin sheen can preserve the floor’s natural character while still providing everyday protection.
Balancing Historic Authenticity with Modern Performance
Restoring original wood does not mean you must reject all modern innovations; incorporating contemporary technologies, such as moisture‑blocking underlayments or nano‑sealants, can dramatically extend the life of your floors without compromising their historic integrity. I recommend installing a breathable vapor barrier beneath the floorboards to guard against rising damp, especially in older homes with crawl spaces, while still allowing the wood to expand and contract naturally. Additionally, using a low‑VOC, nanotechnology‑enhanced sealant can provide superior wear resistance and easier maintenance, ensuring your restored floors remain both beautiful and functional for future generations.
DIY vs. Professional Help: Knowing When to Call the Experts
While many aspects of wood restoration can be tackled by a motivated homeowner, certain tasks demand specialized expertise; structural repairs, extensive rot removal, and the application of high‑performance finishes often require professional equipment and knowledge to avoid costly mistakes. If you feel uncertain about the stability of the subfloor or the compatibility of a particular finish with your wood species, it’s wise to consult a restoration contractor who specializes in historic properties. However, for routine sanding, staining, and sealing, a well‑equipped DIY approach can yield results that rival those of a pro, especially when you follow proven methods and take the time to prep meticulously.
Maintaining Restored Wood Over Time
After you’ve completed the restoration, the real work begins: regular maintenance ensures that the beauty you’ve revived endures; I follow a simple schedule that includes weekly dusting with a soft brush, monthly cleaning with a pH‑balanced wood cleaner, and quarterly re‑application of a light oil or wax coat to replenish the protective layer. Place felt pads under furniture legs to prevent scratches, and use area rugs in high‑traffic zones to reduce wear while still showcasing the floor’s natural elegance. By staying proactive with these habits, you’ll keep the wood breathing, prevent moisture buildup, and maintain the luster that makes historic floors so captivating.
Wrapping Up: A Sustainable Home Legacy
Restoring original wood floors is more than a cosmetic upgrade; it’s an act of stewardship that honors the craftsmanship of the past while embracing sustainable, waste‑reducing practices for the future, and the sense of pride that comes from walking on a surface you’ve lovingly revived is unparalleled. As you embark on this journey, remember that patience, careful preparation, and respect for the material’s history are your greatest tools, and with the right balance of traditional techniques and modern innovations, your home will enjoy a timeless elegance that stands the test of time. Let your restored floors tell the story of your home’s enduring spirit, one step at a time.

Kelly Reynolds is a dynamic freelance writer hailing from the picturesque landscapes of Alberta. A master of the written word, she juggles her passion for storytelling with the exhilarating chaos of being a mother to five spirited children. With an impressive portfolio that spans various genres, Kelly captivates readers through her engaging blog posts and thought-provoking articles.
Related Posts

Restoring the Soul of Your Home: A Hands‑On Guide to Reviving Architectural Details
Discover a practical roadmap for breathing new life into aging crown molding, baseboards, and orname... Read More

Reviving Historic Woodwork: A Step‑by‑Step Restoration Guide
A detailed guide walks you through assessing, repairing, and finishing original woodwork, blending h... Read More
Reviving Historic Homes with Subtle Tech: A Modern Restoration Playbook
A detailed guide on using 3‑D scanning, bio‑based plasters, fiber‑reinforced polymers, and sma... Read More
Top Posts

Foundations for the Future: How Smart Materials and Data Are Redefining the Groundwork
A modern foundation can be more than concrete—it can be a carbon‑reduced, sensor‑enabled, modular platform that predicts settlement, adapts to climate, an...Read More

When CNC Meets Handcraft: A New Era for Small‑Shop Woodworkers
This article explores the practical steps for integrating CNC routers into modest woodworking shops, balancing machine precision with artisanal finishing, optim...Read More

Beyond Paint: How Modern Wallpaper Elevates Home Functionality
Explore the rise of functional wallpaper—sound‑absorbing, sustainable, and tech‑ready solutions that turn walls into performance‑driven design elements....Read More

Silent Sanctuaries: Boosting Acoustic Comfort with Smart Windows and Doors
Explore the power of acoustic windows and doors to silence street noise, improve wellbeing, and add lasting value to your home with expert design and smart tech...Read More
0 Comments
Post Comment
You will need to Login or Register to comment on this post!