

Why a Checklist Is Your Renovation Super‑Power
When I first tackled a full‑scale remodel, I quickly realized that wandering from room to room with a vague to‑do list was a recipe for chaos. A well‑structured renovation checklist turns that chaos into a clear roadmap, allowing you to prioritize tasks, control costs, and keep the project on schedule. By breaking the process into bite‑size milestones, you also give yourself mental breathing room, which makes every decision—from paint color to plumbing fixture—feel intentional rather than reactive.
Phase 1: Dreaming, Defining, and Dollar‑Counting
The very first step is to sit down with a notebook (or a digital tool you love) and capture the big picture: what spaces need love, what style vibe you’re chasing, and how each improvement will serve your daily life. Once the vision is clear, translate it into a realistic budget by researching average material costs, labor rates, and a contingency buffer of at least ten percent for unexpected surprises. Remember, the most successful renovations are those that balance ambition with financial prudence, so keep your numbers in a spreadsheet you can revisit weekly.
Phase 2: Navigating Permits and Local Codes
Before any hammer swings, check with your city or county to determine which permits are required for structural changes, electrical upgrades, or plumbing modifications. Missing a permit can halt work, lead to fines, or even force you to undo completed work, costing both time and money. I always create a simple checklist that lists each required permit, the agency to contact, fees, and expected processing times—ticking these off as you secure them keeps the project moving smoothly.
Phase 3: Choosing Sustainable Materials That Shine
Eco‑friendly choices don’t have to sacrifice style; in fact, many sustainable products bring a unique texture and depth that traditional options lack. Look for reclaimed wood, low‑VOC paints, and recycled‑content countertops that align with your green goals while adding character to every room. For deeper insight on marrying sustainability with smart living, explore The Home Inspector’s Blueprint for Sustainable, Smart Living—it’s packed with practical tips on material sourcing and performance.
Phase 4: Integrating Smart Home Technology Early
Embedding smart systems—like thermostats, lighting controls, and security cameras—during the rough‑in stage saves you the hassle of retrofitting later, which can be both pricey and invasive. Map out where wiring, conduit, and Wi‑Fi access points will go, and coordinate with your electrician to install dedicated circuits for high‑load devices such as EV chargers or home theaters. A thoughtful integration plan ensures that every new outlet or switch contributes to a cohesive, future‑proofed environment.
Phase 5: Conducting an Energy Efficiency Audit
Before sealing walls, run an energy audit to pinpoint leaks, insulation gaps, and inefficient windows that could undermine your renovation’s ROI. This audit informs decisions like adding spray‑foam insulation, upgrading to triple‑pane windows, or sealing ductwork—all of which dramatically cut heating and cooling bills. For a broader perspective on protecting your home from the elements, read Mastering Home Weather Proofing: A Sustainable, Smart Approach, which walks you through weather‑proofing tactics that complement your energy upgrades.
Phase 6: Elevating Outdoor Living Spaces
Renovation isn’t confined to four walls; a thoughtfully designed patio, deck, or garden can extend your living area and boost property value. Choose durable, low‑maintenance decking materials and consider shade structures that double as solar panels for added efficiency. My favorite resource for turning an outdoor area into a sustainable oasis is Revitalizing Outdoor Living: The Smart, Sustainable Deck Transformation, which offers design ideas that blend aesthetics with eco‑friendly practices.
Phase 7: Crafting a Realistic Timeline and Selecting the Right Contractor
With tasks defined, map them onto a calendar that accounts for material lead times, weather windows, and crew availability. A Gantt‑style chart can visualize overlapping activities, helping you spot potential bottlenecks before they arise. When interviewing contractors, prioritize those who share your sustainability values and can provide references for similar projects; this alignment reduces miscommunication and ensures that green specifications are respected throughout the build.
Phase 8: Quality Control, Punch List, and Final Walk‑Through
As demolition ends and finishes appear, adopt a systematic punch‑list approach: walk each room, verify that all specifications—like paint sheen, fixture placement, and smart system functionality—match the original plan. Document any discrepancies with photos and notes, then schedule a final walk‑through with the contractor to address each item before signing off. This meticulous close‑out phase safeguards your investment and guarantees that every sustainable and smart feature performs as intended.
Wrapping Up: Your Checklist Is the Blueprint for Success
Armed with a comprehensive checklist, you’ll navigate the renovation journey with confidence, turning dreams of a sustainable, tech‑savvy home into reality without unnecessary stress. Keep the list visible—whether on a fridge magnet or a project‑management app—so you can celebrate each checked box and stay motivated for the next phase. Remember, the true reward isn’t just a beautiful space; it’s the peace of mind that comes from knowing every decision was purposeful, efficient, and aligned with a greener future.

Kelly Reynolds is a dynamic freelance writer hailing from the picturesque landscapes of Alberta. A master of the written word, she juggles her passion for storytelling with the exhilarating chaos of being a mother to five spirited children. With an impressive portfolio that spans various genres, Kelly captivates readers through her engaging blog posts and thought-provoking articles.
Related Posts
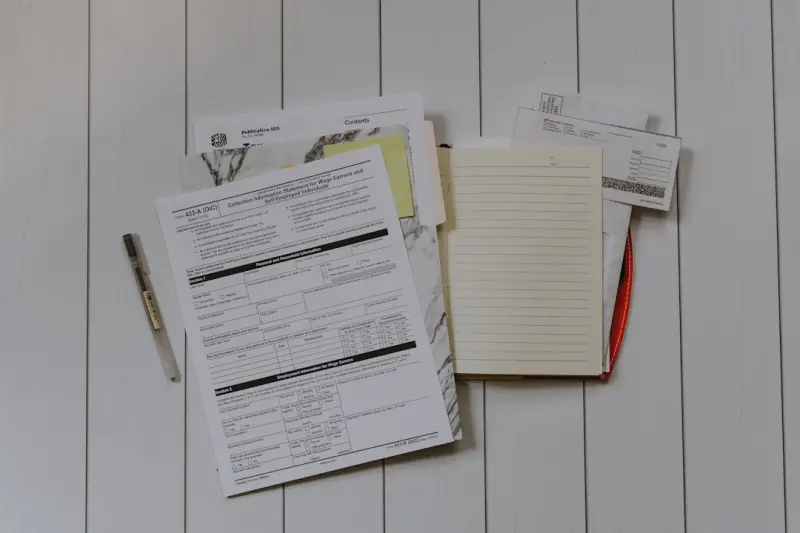
Your Complete Energy‑Efficient Renovation Checklist
A practical, personal guide to planning and executing energy‑saving home renovations, from airtigh... Read More
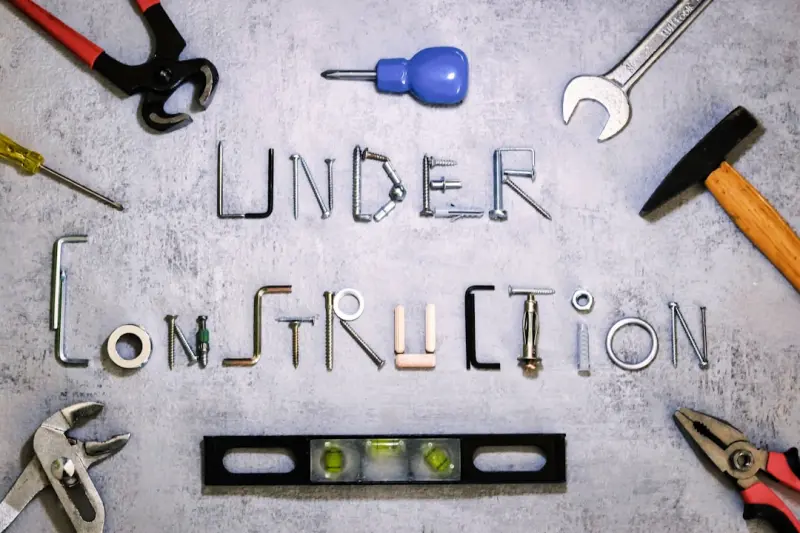
The Ultimate Renovation Checklist for Transforming Underused Spaces
Discover a detailed renovation checklist designed to turn neglected basements, attics, or converted ... Read More

The Ultimate Home Renovation Checklist: Paul Gray's Essential Guide
Paul Gray shares his essential home renovation checklist. Discover how to plan, budget, find the rig... Read More
Top Posts

Solar-as-a-Service: Transforming Sunlight into a Predictable Business Cost
Solar-as-a-Service turns solar installations into subscription‑style contracts, giving businesses predictable energy costs, zero upfront capital, and built‑...Read More
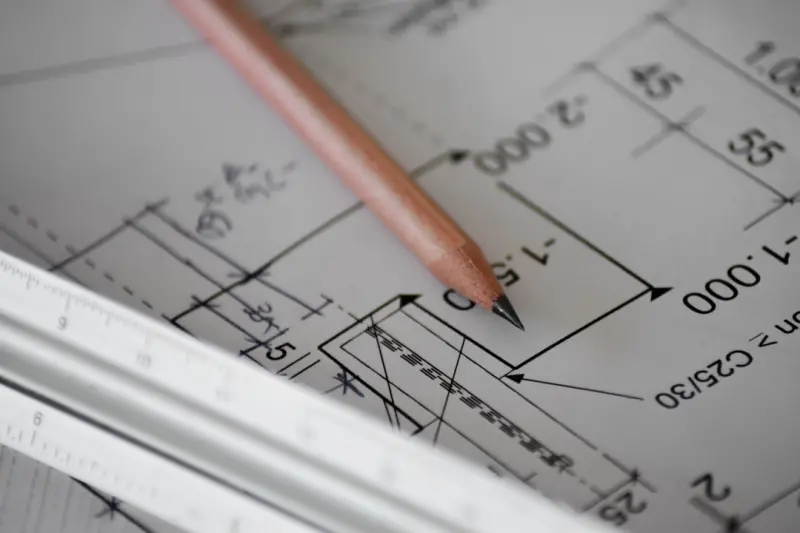
Renovation Checklist: A Blueprint for Stress‑Free Transformations
A practical, stress‑free renovation checklist that guides homeowners through planning, budgeting, and execution, ensuring smooth transformations without surpr...Read More

Eco‑Smart Wallpaper: Turning Walls Into Sustainable Brand Assets
Explore the rise of eco‑smart wallpaper as a strategic asset that blends sustainability, acoustic performance, and brand storytelling, turning ordinary walls ...Read More
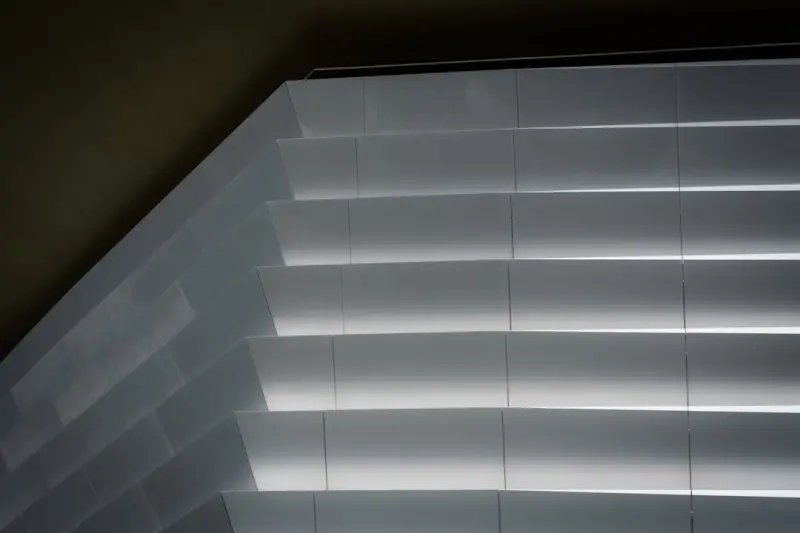
Mastering Layered Window Treatments for Light, Comfort, and Style
Learn the art of layering curtains, blinds, and sheers to master light, privacy, and comfort—plus tips on materials, tech integration, and budget-friendly upg...Read More
0 Comments
Post Comment
You will need to Login or Register to comment on this post!